A dry manicure offers a streamlined approach to nail care, skipping the water soak traditionally used in a wet manicure. This method prioritizes hydration through other means and focuses on beautifying the natural nail without weakening it.
How Does a Dry Manicure Differ from a Wet Manicure?
The key difference between a dry and wet manicure lies in the water element. Wet manicures involve soaking nails in warm water to soften the cuticles. Softer cuticles are easier to push back and trim, but this process can also leave nails more susceptible to breakage.
Dry manicures, on the other hand, forgo the soak. Instead, they rely on cuticle oil or remover to gently loosen and manage cuticles. This method is ideal for those with naturally weak or brittle nails.
Benefits of a Dry Manicure
Gentler on nails:
Skipping the water soak helps maintain natural nail strength and reduces the risk of breakage.
More time-efficient:
Dry manicures take less time than their wet counterparts, making them ideal for busy schedules.
Potentially better for sensitive skin:
Soaking can irritate some people’s skin. Dry manicures minimize the risk of irritation.
Can be done at home easily:
Dry manicures require minimal equipment and are perfect for self-care routines.
What to Expect During a Dry Manicure
A typical dry manicure includes the following steps:
-
Nail Shaping: The technician will file and shape your nails to your desired length and style.
-
Cuticle Care: Using cuticle oil or remover, the technician will gently loosen and push back your cuticles.
-
Exfoliation (optional): A gentle hand and nail scrub may be used to remove dry skin and promote healthy circulation.
-
Moisturizing: Moisturizer or hand cream will be applied to hydrate the hands and cuticles.
-
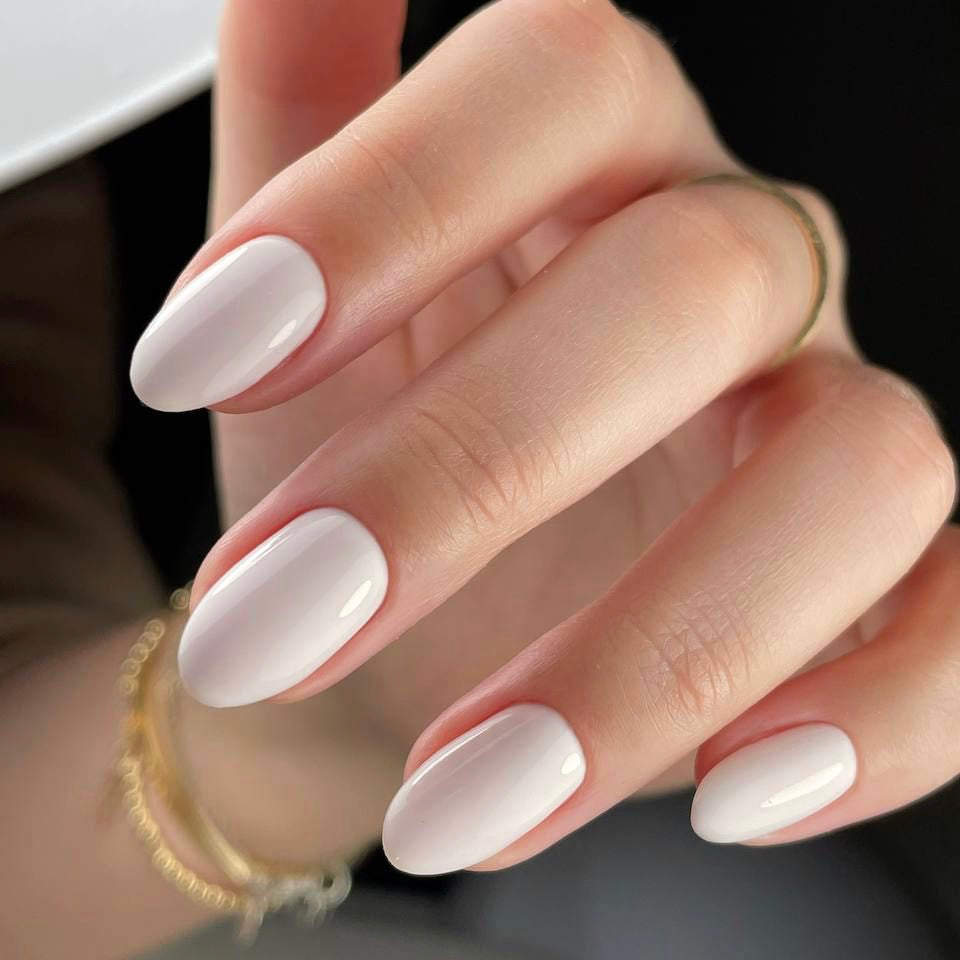
Nail Polish (optional): You can choose to have regular polish applied, or skip this step for a natural look
DIY Dry Manicure at Home
Here’s how to create a spa-worthy dry manicure in the comfort of your own home:
What you’ll need:
- Nail clippers
- Nail file
- Cuticle pusher (optional)
- Cuticle oil or remover
- Buffer (optional)
- Nail polish (optional)
- Base coat (optional)
- Top coat (optional)
- Moisturizer
- Cotton swabs (optional)
- Nail polish remover (optional)
Instructions:
-
Clean nails: Remove any old polish with nail polish remover.
-
Shape your nails: Use nail clippers and a file to trim and shape your nails to your preference.
-
Soften cuticles: Apply cuticle oil or remover and let it sit for a few minutes.
-
Push back cuticles (optional): Gently push back your cuticles with a cuticle pusher or your fingertip.
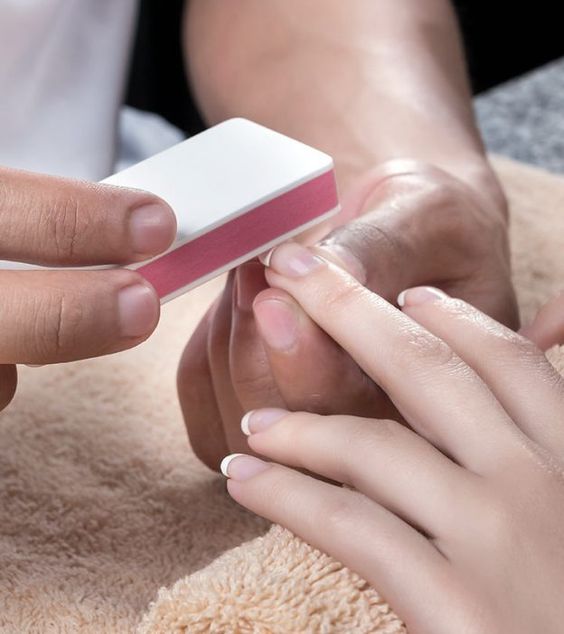
-
Buff (optional): Use a buffer for a smoother nail surface, but avoid over-buffing.
-
Moisturize: Apply hand cream or moisturizer to hydrate your hands and cuticles.
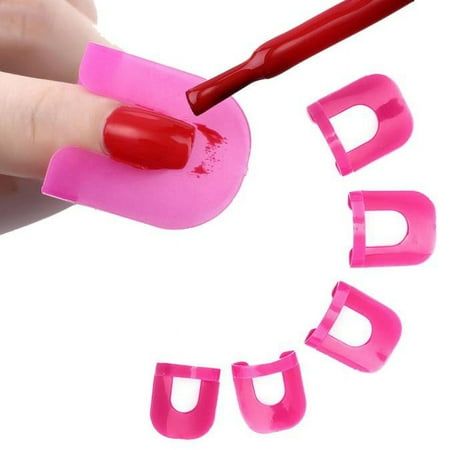
-
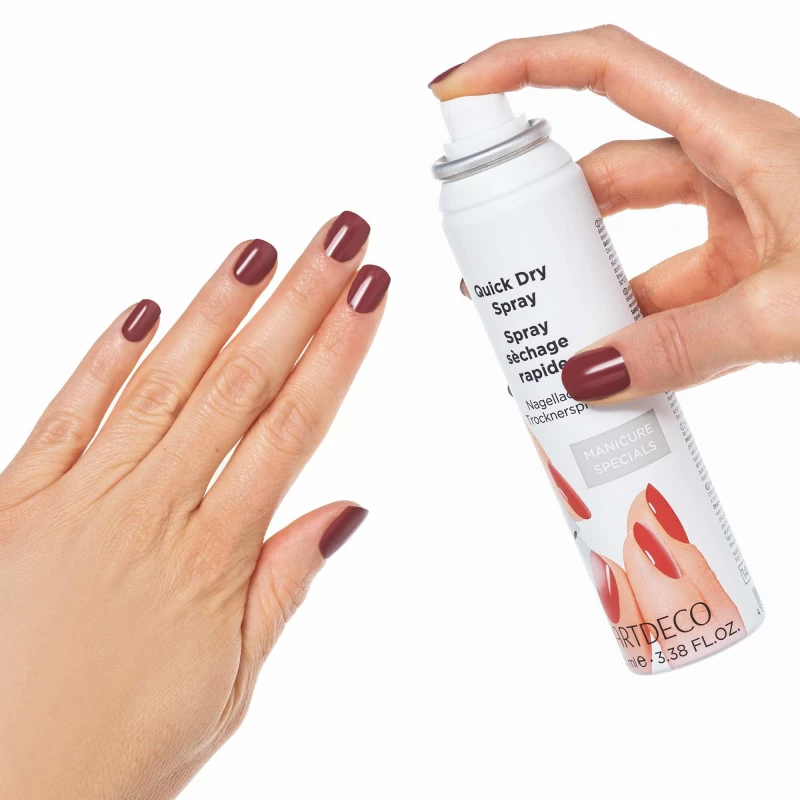
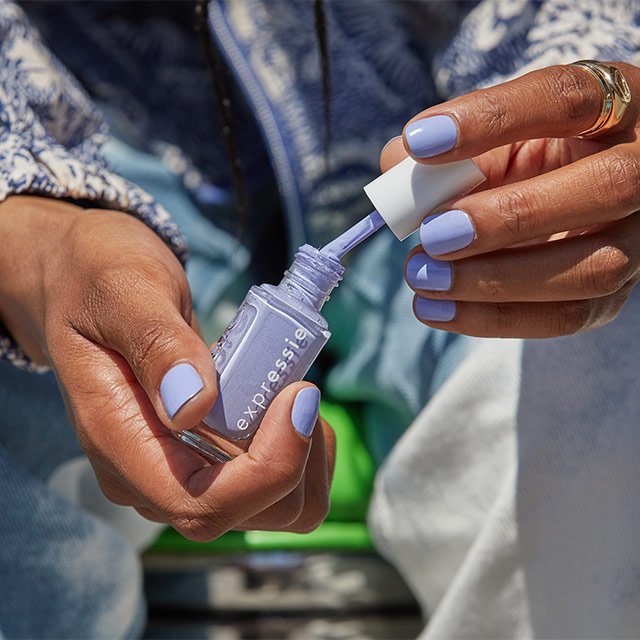
Apply nail polish (optional): If you choose to paint your nails, apply a base coat, followed by your chosen polish color, and finish with a top coat for extra shine and protection.
Tips:
- Use high-quality nail clippers and files to prevent damage.
- Be gentle when pushing back your cuticles.
- Apply thin coats of nail polish for a smooth, even finish.
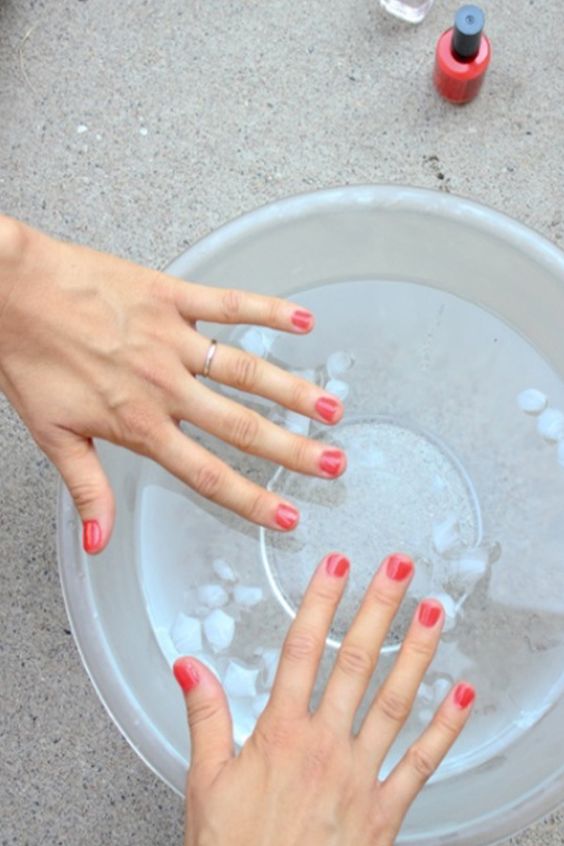
- Let each coat of polish dry completely before applying the next.
Dry manicures offer a healthy and time-saving alternative to traditional wet manicures. They prioritize nail health and can be easily done at home. So, skip the soak and embrace the gentle care of a dry manicure for beautiful, natural-looking nails.
The Art of Buffing: Perfecting Your Natural Shine (Optional Step)
Buffing can be an optional step in a dry manicure, adding a touch of polish to your natural nails. However, it’s important to buff carefully to avoid damaging your nails.
- Light Buffing: A very light buffing with a soft nail buffer can even out minor ridges and imperfections on your nails, creating a smoother and glossier look.
Tips for Buffing:
- Buff in one direction only, using short strokes.
- Avoid buffing too frequently, as this can thin your nails.
- Limit buffing to the top surface of your nails, not the sides or edges.
Healthy Hands and Nails: Beyond the Manicure
Dry manicures are a great way to maintain healthy-looking nails, but overall hand health is important too. Here are some tips for keeping your hands and nails healthy:
- Moisturize regularly: Apply hand cream or lotion daily to keep your hands and cuticles hydrated.
- Wear gloves for chores: Protect your hands from harsh chemicals and dryness by wearing gloves when doing housework like cleaning or dishes.
- Maintain a balanced diet: Eating a balanced diet rich in vitamins and minerals can contribute to overall nail health.
- Avoid biting your nails: Nail biting is a bad habit that can damage your nails and increase your risk of infection.
Dry manicures are a perfect way to incorporate some pampering into your self-care routine. They offer a healthy alternative to traditional manicures, promote natural nail health, and can be done at home with minimal effort. So, relax, take some time for yourself, and enjoy the process of creating beautiful, natural-looking nails.
Express Yourself with Nail Art
Dry manicures provide a clean canvas for you to unleash your creativity with nail art! There are countless designs you can try, from simple stripes or dots to more intricate patterns.
Unleashing Creativity with Nail Art on a Dry Manicure Canvas
Indulging in nail art is more than just a beauty ritual; it’s a form of self-expression that speaks volumes about your personality and mood. With a dry manicure laying the groundwork for a pristine canvas, the possibilities for artistic expression are virtually limitless. Begin with the basics—utilizing tools like dotting pens to add polka dots or using tape for sharp, geometric designs. As your confidence grows, so can the complexity of your designs. Venture into the realm of intricate lace patterns, colorful floral motifs, or even thematic art that reflects the seasons or holidays.
If you’re keen on trends, you could dip into the world of negative space designs, where your natural nail peeks through bold colors, or try out a minimalist chic look with fine lines and subtle accents. Each nail serves as a petite platform for your creativity, inviting admiration and conversation. Moreover, nail art isn’t just confined to advanced artists; with a multitude of stickers, stamps, and decals available, anyone can adorn their nails with stunning imagery.
- Nail Art Tools: You can use nail art pens, stencils, or even toothpicks to create your designs.
Here are some popular dry manicure nail art ideas:
- French Tips: A classic and elegant look that involves painting a white tip on the free edge of your nail.
- Ombré Nails: A gradual transition between two or more colors, creating a soft and stylish effect.
- Glitter Accents: Add a touch of sparkle with glitter polish on a single finger or as part of a design.
- Negative Space Nails: Leave a portion of your natural nail exposed for a modern and minimalist look.
Tips for Nail Art:
- Use high-quality nail art supplies for better results.
- Practice your design on a piece of paper before attempting it on your nails.
- Apply thin coats of polish and let each coat dry completely before adding another.
- Clean up any mistakes with a cotton swab dipped in nail polish remover.
Dry Manicures vs. Gel Manicures
Gel manicures offer a long-lasting, chip-resistant polish option. However, they require the use of a UV lamp to cure the polish, which can potentially damage nails over time. Dry manicures, on the other hand, are gentler on nails and don’t require special equipment.
When it comes to nail care and aesthetics, choosing between a dry manicure and a gel manicure involves considering both the health of your nails and the longevity of your polish. Gel manicures have become immensely popular for their durability and glossy finish, typically enduring much longer than traditional polishes without chipping. Yet, the necessity of UV light to cure the gel polish is a cause for concern for many, as prolonged exposure can weaken nails and may even pose a risk to skin health due to the UV radiation.
On the flip side, dry manicures are a more conservative approach to nail beauty. This method omits soaking the nails, which can often lead to weakened nail enamel and potential fungal growth. By forgoing water, the natural oils in the nail are preserved, leading to a healthier nail bed. Dry manicures focus intensely on the meticulous care of the cuticles and the precise application of regular polish, allowing for a cleaner, more refined look. Although regular polish used in dry manicures might not last as long as gel options, this method is ideal for those who prefer a less invasive and equipment-free option that maintains the integrity of their natural nails.