The French manicure is a timeless nail art design loved for its elegance and versatility. It creates a clean, natural-looking appearance that complements any outfit. This guide will take you through the steps of achieving a beautiful French manicure at home, even for beginners.
French Manicure Essentials
Before you begin, gather the following supplies:
- Nail clippers and nail file: These will be used to shape your nails.
- Base coat: This helps protect your nails and promotes polish adhesion.
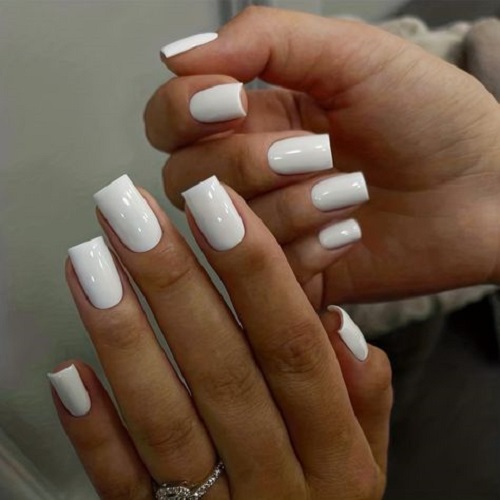
- White nail polish: This is for creating the classic white tips. Look for a bright white polish for best contrast.
- Light pink or sheer nail polish: This will be your main color for most of the nail. Opt for a shade that complements your skin tone.
- Top coat: This seals the polish and adds shine.
- Optional: French manicure tip guides: These can help ensure crisp and even white tips, especially when starting.
Prep Your Nails for Perfection
Here’s how to get your nails ready for the French manicure:
Remove any old nail polish.
Use a gentle, acetone-free nail polish remover to remove any existing polish on your nails.
Shape your nails.
Use nail clippers to trim your nails to your desired length. Then, file your nails into your preferred shape, such as round, square, or oval.
Apply a base coat.
Paint a thin layer of base coat onto all your nails. Let it dry completely according to the polish instructions.
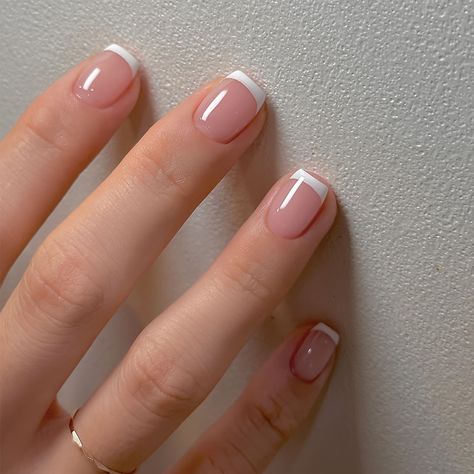
Creating the Classic White Tips
Now comes the iconic white tips:
- Apply white polish to the tips (optional: use guides). If you’re using French manicure tip guides, adhere them to your nails following the package instructions. Then, carefully paint a thin line of white polish across the tip of each nail, following the edge of the guide.
If you’re not using guides: Apply a thin layer of white polish to the very tips of your nails. You can use a small tipped brush for more control. It may take a few tries to get the white line even, so be patient and reapply the white polish if needed as you clean up any mistakes.
-
Clean up any mistakes. Use a cotton swab dipped in nail polish remover to carefully remove any white polish that strayed outside the desired line.
-
Let the white tips dry completely. This ensures the white polish won’t smudge when applying the next coat.
Polishing for a Flawless Finish
-
Apply your chosen pink or sheer nail polish. Once the white tips are dry, paint two thin coats of your chosen pink or sheer nail polish over your entire nails, including the white tips.
-
Apply a top coat. After the pink or sheer polish dries completely, apply a top coat to all your nails. This seals the polish, adds shine, and helps prevent chipping.
French Manicure Care Tips
Here are some tips for maintaining your French manicure:
-
Let your nails dry completely between each coat. This helps prevent smudging and ensures a smooth, even finish.
-
Apply a top coat every other day or so. This can help extend the life of your manicure.
-
Avoid using your nails as tools. This can damage both your nails and the polish.
-
Wear gloves when doing housework or chores that involve harsh chemicals.
With a little practice, you can achieve a beautiful and long-lasting French manicure at home. Enjoy experimenting with different shades of pink or adding a touch of nail art for a personalized touch!

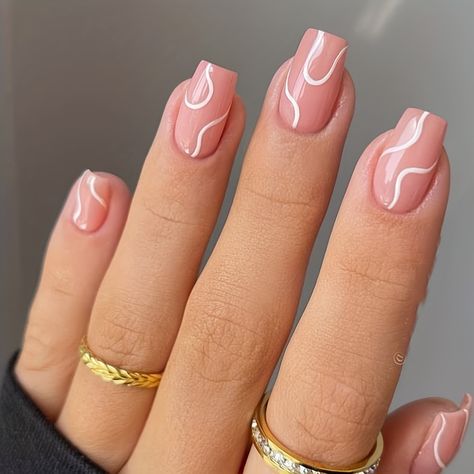
Adding Your Personal Touch (Optional)
The beauty of a French manicure is its versatility. Once you’ve mastered the classic white tip, you can experiment and add your own creative touch! Here are some ideas:
-
Glitter tips: For a touch of sparkle, use a glitter polish instead of plain white for the tips.
-
Colored tips: Instead of white, try using a pastel color or another shade that complements your chosen pink polish for the tips.
-
Nail art accents: Once the base coats are dry, add a small design or embellishment on one or two accent nails. This could be a simple line, a dot, or even a small decal.
French Manicure Practice Makes Perfect!
Don’t be discouraged if your first attempt at a French manicure isn’t perfect. Like any skill, it takes practice to achieve clean lines and a flawless finish. Here are some encouraging tips:
-
Start with short or medium-length nails. These are easier to control when painting the tips.
-
Use thin coats of polish. Multiple thin coats are always better than one thick coat that may smudge.
-
Clean up mistakes as you go. Use a cotton swab dipped in nail polish remover to remove any polish that goes astray before it dries completely.
-
Have fun and experiment! The French manicure is a great base for creativity. With practice, you’ll be creating beautiful and unique French manicures in no time.
French manicures are a timeless way to add a touch of elegance and polish to your nails. By following these steps and practicing a bit, you can achieve salon-quality results from the comfort of your own home. Enjoy creating beautiful French manicures!
Mastering the French Manicure: Tips and Tricks
The French manicure is a beloved nail art design for its clean and sophisticated look. Here are some additional tips and tricks to elevate your at-home French manicure experience:
-
Lighting is key. Choose a well-lit area to ensure you can see exactly what you’re doing while painting your nails. Natural light is ideal, but bright, diffused artificial light works too.
-
Steady your hand. Try resting your painting hand on a stable surface like a table to minimize shaky lines. Take your time and focus on applying the polish smoothly.
-
Clean up as you go. A cotton swab dipped in nail polish remover is your best friend for removing any polish mistakes before they dry.
-
Practice with white polish on its own. Before tackling the full manicure, practice painting clean white lines on a spare nail or a fake nail. This helps you get comfortable with the white polish and perfect your technique.
-
Don’t stress about perfect symmetry. The beauty of a French manicure lies in its natural look. Even slightly uneven white tips can still look elegant.
Perfecting and Finishing Touches
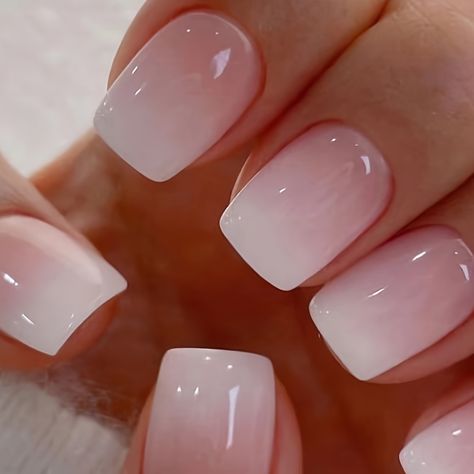
Applying Pink or Nude Polish
After the tips are dry, apply a sheer pink or nude polish over the entire nail. This step enhances the natural look of the French manicure and smoothens any imperfections. Apply two coats if necessary, allowing time for drying in between.
Sealing with a Top Coat
Finish off your French manicure with a clear top coat. This seals in your polish, preventing chips and giving your nails a glossy finish. Be sure to wrap the tip of the nail with the top coat to secure the white tip polish, which helps it last longer.
Aftercare and Maintenance
Caring for Your French Manicure
To maintain your DIY French manicure, keep your hands and nails moisturized. Avoid using them as tools to prevent chipping, and consider wearing gloves when doing household work. Touch up the top coat every few days to keep it looking fresh.
Conclusion: Embracing the Timeless Elegance of DIY French Manicures
A DIY French manicure allows you to achieve a timeless look in the comfort of your own home. With practice and patience, you can perfect this chic, versatile style, making your nails look professionally done at a fraction of the cost. Enjoy the satisfaction and elegance that comes with mastering the French manicure yourself.