Introduction to Gel Nail Polish
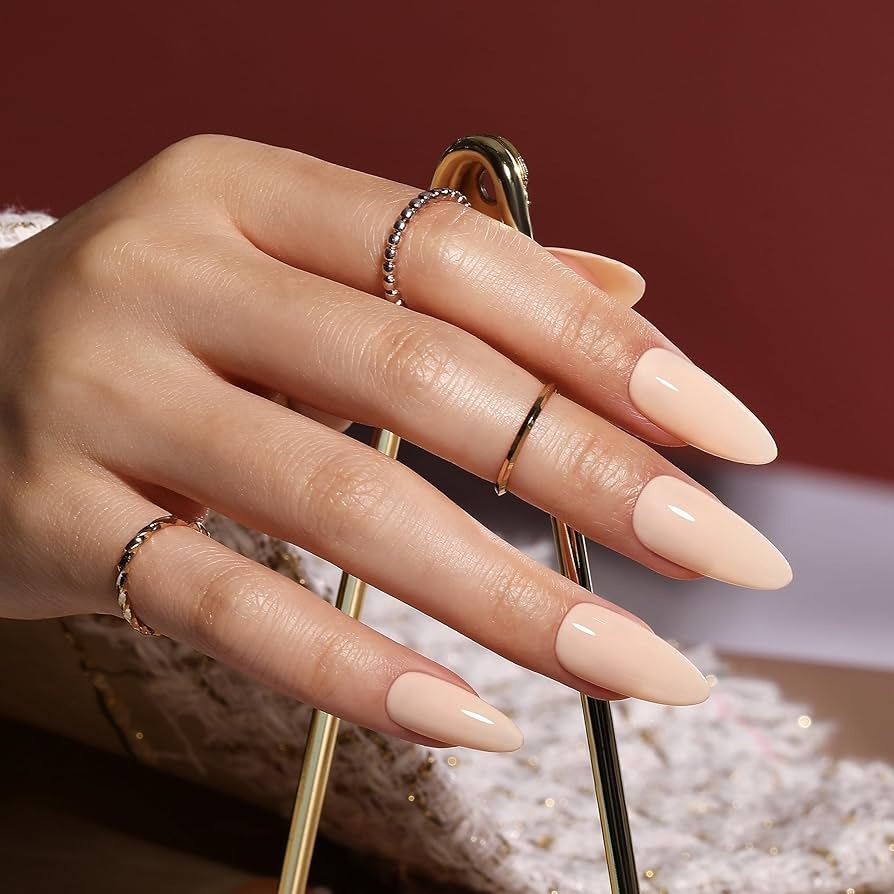
Gel nail polish has become a popular choice for its long-lasting shine and durability. Unlike traditional nail polish, it requires a specific application process, including curing under a UV or LED lamp. Gel polish offers a wide range of vibrant colors and finishes, making it a favorite for both do-it-yourself enthusiasts and professional nail technicians.
Before you embark on the gel nail polish journey, understanding its unique properties is crucial. This type of polish contains polymers that harden under UV light, creating a glossy finish that can resist chipping for weeks. Perfect for those who want their manicure to withstand daily tasks without frequent touch-ups.
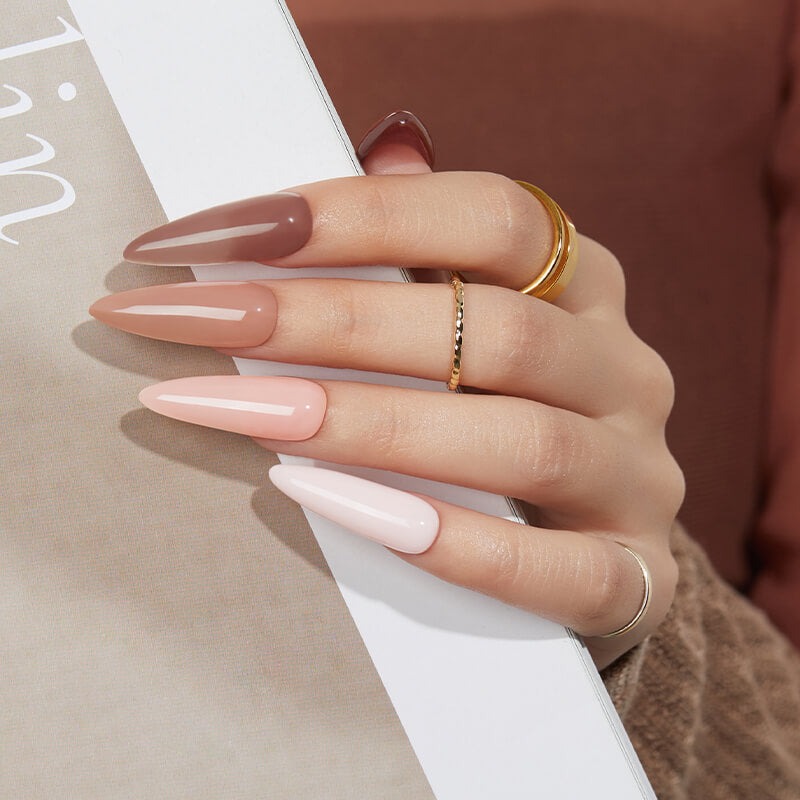
Additionally, gel nail polish is known for its versatility. Whether you prefer a glossy, matte, or glittery finish, there is a gel polish to match your style. But, to maximize the benefits of gel polish, following the right techniques and avoiding common pitfalls is essential. In the following sections, we’ll delve into how to prepare your nails for gel application, the step-by-step process of applying it, and tips to maintain its luster. We’ll also discuss how to safely remove gel polish and reveal the top brands recommended for achieving that sought-after long-lasting wear.
Pre-application Tips for Gel Nails
Before you dive into applying gel nail polish, prepping your nails is key. Proper preparation not only ensures the polish adheres well but also extends the life of your manicure. Here are some tips to get your nails ready for gel application:
- Clean Your Nails Thoroughly: Start with clean, dry nails. Remove any old polish completely and wash your hands. Any oils or residue may affect how the gel polish adheres.
- Buff Your Nails: Lightly buff the surface of your nails. This creates a slightly rough texture, helping the gel polish to cling better.
- Push Back Cuticles: Gently push back your cuticles. This step prevents the gel from lifting at the base of the nail.
- Apply Nail Primer: Use a nail primer if you have one. Primer removes moisture and oils, providing a clean base for the polish.
- Avoid Touching: Once your nails are prepped, try not to touch them or let them touch anything. This keeps them free of oils and lint.
Taking these steps seriously will lay the foundation for a durable, long-lasting gel nail polish application. Remember, great results start with great preparation.
Step-by-Step Guide to Applying Gel Nail Polish
After prepping your nails, it’s time to apply the gel nail polish. Here’s how to do it right:
- Apply Base Coat: Start with a thin base coat. Cure it under a UV or LED lamp as directed.
- Apply Gel Polish: Next, apply a thin layer of your chosen gel nail polish color. Avoid the skin and cuticles.
- Cure the Polish: Place your nails under the lamp to cure. Follow the time specified by the polish brand.
- Add More Coats: If you want more color depth, apply additional coats. Cure each coat as before.
- Apply Top Coat: Finish with a top coat. It gives shine and protects the color. Cure it under the lamp.
- Clean the Nails: Some top coats leave a sticky residue. Wipe your nails with a cleanser if needed.
- Moisturize: Once everything is dry, apply cuticle oil. It keeps your skin soft around the nails.
Now your gel nail polish should be flawless and ready to show off. Repeat these steps to ensure each layer bonds correctly, and you’ll enjoy a shining, long-lasting manicure. Remember to cure each layer properly, as this is crucial for durability.
How to Cure Gel Nails for Maximum Durability
Curing gel nails properly is essential for achieving the best durability. Here’s what you need to know:
- Use the Right Lamp: Select a UV or LED lamp recommended by the gel polish brand. Each lamp has a different wattage and curing time.
- Follow Specific Times: Cure your base coat, color layers, and top coat for the exact time the polish requires. Under-curing may lead to peeling, while over-curing can cause brittleness.
- Apply Thin Layers: Thick layers may not cure well. Use thin, even coats to ensure that each layer cures completely.
- Protect Your Skin: Apply sunscreen or use protective gloves. UV exposure during the curing process can be harmful.
- Check for Dryness: After curing, make sure the polish is completely dry and hard. If it’s tacky, it may need more time under the lamp.
Curing gel nails right makes your manicure last longer and resist chipping. Follow the lamp manufacturer’s instructions and the gel polish brand’s guidelines for the best results. Keep these points in mind for maximum durability every time you apply your gel nail polish.
Maintenance: Keeping Your Gel Nails Shiny
To keep your gel nail polish gleaming, regular maintenance is a must. Here are some easy-to-follow tips:
- Wear Gloves for Protection: When doing household chores, wearing gloves can protect your gel nails from harsh chemicals and prevent chipping.
- Stay Hydrated: Drink plenty of water. Hydration helps your nails remain strong and prevents them from getting brittle.
- Apply Cuticle Oil: Use cuticle oil daily. It keeps your nail beds and cuticles healthy, which in turn, supports the shine of your gel polish.
- Beware of Heat: Avoid exposing your gel nails to high heat too soon after application. Heat can cause the polish to lift and lose its luster.
- Use Non-acetone Cleaners: If you need to clean your nails, opt for non-acetone nail polish removers. These are less likely to damage the gel coat.
- Reapply Top Coat: Every few days, put on a fresh top coat. This will renew the gloss on your gel nails.
Following these tips should help your gel nail polish maintain its shine and extend the time between salon visits or DIY applications.
Common Mistakes to Avoid with Gel Nail Polish

When applying gel nail polish, small errors can lead to big problems. To keep your manicure looking perfect, steer clear of these common mistakes:
- Skipping Nail Prep: Always clean, buff, and prime your nails. Ignoring these steps can cause lifts and chips.
- Applying Thick Layers: Resist the urge to use thick polish layers. They won’t cure well and can peel off.
- Neglecting Cuticle Care: Don’t get polish on your cuticles. This leads to lifting and a messy look.
- Rushing the Curing Process: Give each coat the time it needs to cure. Patience ensures a hard, durable finish.
- Using the Wrong Lamp: Stick with the lamp your polish brand recommends. Different lamps have unique curing times.
- Forgetting the Top Coat: Always finish with a top coat. It seals in color and adds shine.
- Touching Nails Post-Prep: Keep your prepped nails free from touch. Oils from your skin can interfere with polish adherence.
- Overlooking Nail Health: Keep your nails hydrated and healthy. Weak nails can’t support gel polish well.
By avoiding these mistakes, your gel nail polish application will likely last longer and look more professional. Remember that gel nail polish requires a methodical approach for the best results.
Tips for Removing Gel Nail Polish Safely
Removing gel nail polish requires care to maintain nail health. Here are safe tips to follow:
- Soak Cotton Balls in Acetone: Use pure acetone for effectiveness. Soak cotton balls in it.
- Wrap Nails with Foil: Place the soaked cotton on your nail. Wrap the nail with foil to hold it.
- Let It Sit: Wait for about 10 to 15 minutes. The time allows the gel polish to soften.
- Gently Scrape off the Gel: Use a nail stick or pusher. Gently scrape the gel off your nails.
- Don’t Rush: Avoid using force. If the gel doesn’t come off, rewrap it and wait a bit longer.
- Moisturize Afterward: Gel removal can dry out nails. Apply cuticle oil and moisturizer after.
These tips will help you remove gel nail polish without harming your nails. Remember to go slow and be gentle.
The Best Gel Nail Polish Brands for Long-Lasting Wear
Choosing the right gel nail polish brand is vital for long-lasting results. Quality brands offer polishes that are rich in color and provide superior durability. Here are some top picks:
- OPI GelColor: Known for a wide variety of colors and easy application.
- CND Shellac: Combines the ease of polish with the permanence of gels.
- Gelish: Offers a long-lasting formula and a range of vibrant shades.
- Essie Gel Couture: Provides luxurious wear and an elegant gel-like shine.
- Sally Hansen Miracle Gel: No lamp needed and lasts up to two weeks.
- Le Mini Macaron: Perfect for at-home use with a one-step application process.
These brands are widely recognized for their quality and endurance. When choosing a gel nail polish, consider the brand’s reputation, the range of colors offered, and customer reviews. A good quality gel nail polish can make all the difference in how long your manicure lasts without chipping or peeling. Remember to follow all the application steps discussed earlier for the best results. Happy polishing!