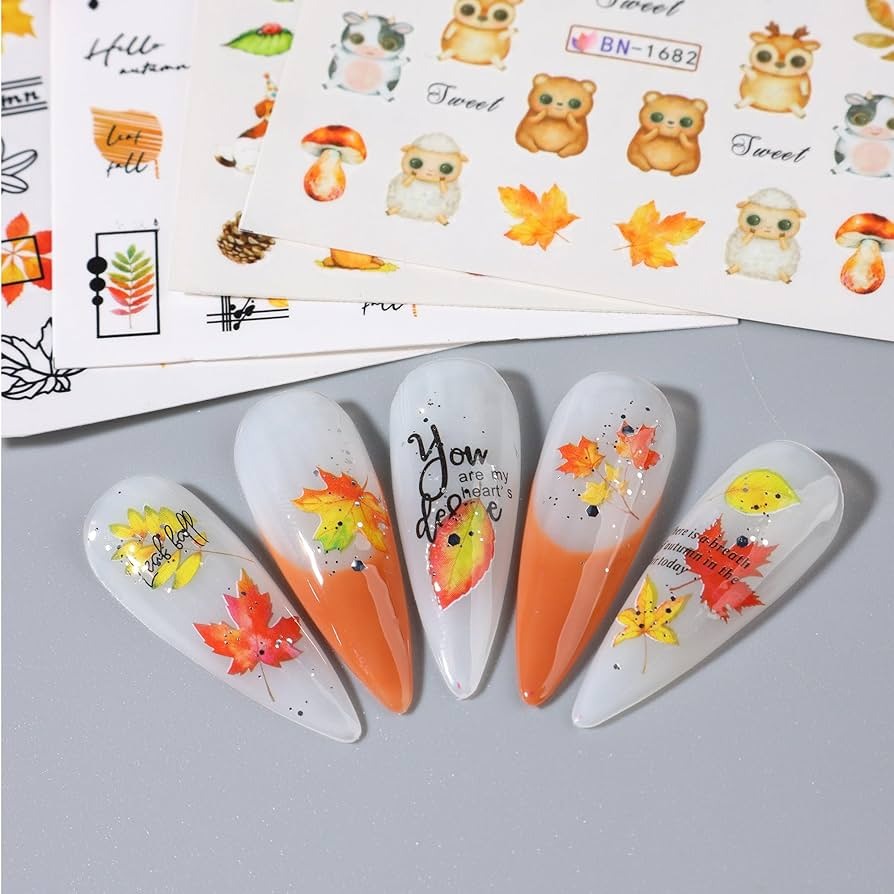
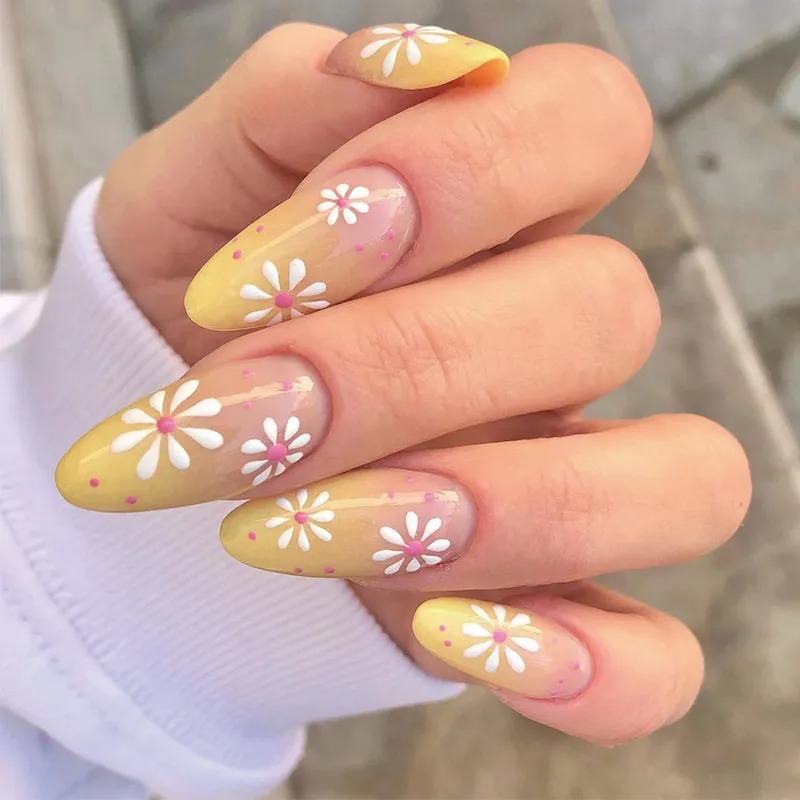
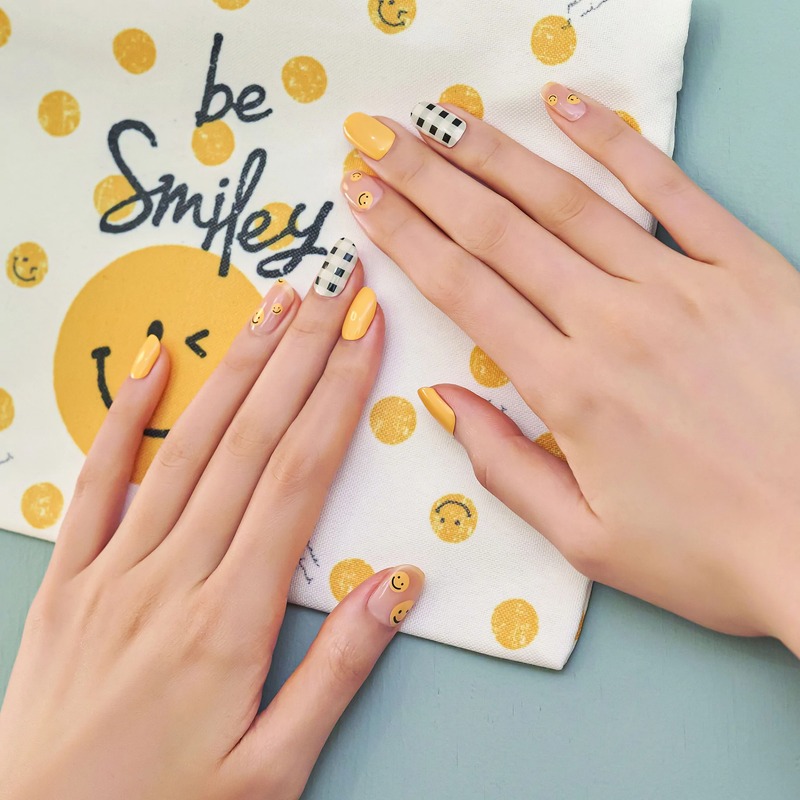
Achieving stunning and salon-quality nails at home has never been easier, thanks to nail art stickers. They offer a fantastic way to express your creativity and style without needing professional skills or tools. In this guide, we delve into how to apply nail art stickers seamlessly. Discover tips and techniques that will elevate your nail game to the next level.
Introduction to Nail Art Stickers
Nail art stickers are simple ways to enhance your manicure. They come in many designs, like flowers, letters, or fun shapes. These stickers can turn a basic nail job into a professional-looking one. Nail art stickers are great for adding flair without needing hand-painting skills. Before using them, knowing the proper application method is key. This will help the stickers last longer and look better on your nails. We’ll guide you through the steps of applying nail art stickers.
In the following sections, we’ll dive into preparing your nails, selecting stickers, and the application process. We’ll discuss the importance of a basecoat and how to finish with a topcoat for durability. By the end, you’ll be ready to apply nail art stickers like a pro. So, let’s get your nails ready for a stunning transformation with nail art stickers.
Preparing Your Nails for Sticker Application

Before you start applying nail art stickers, it’s vital to prepare your nails properly. This preparation ensures the stickers adhere well and last longer. Here’s how you can prep your nails efficiently.
Cleaning and Drying Your Nails
Start by cleaning your nails to remove any oils or old polish. Use a non-acetone nail polish remover for effective cleaning. Make sure your nails are completely dry before proceeding. Any moisture can prevent the stickers from sticking properly.
Applying a Basecoat
Apply a clear basecoat to your nails. This step gives your nails a smooth canvas, which helps the stickers stick better. It also protects your nails from potential damage. Let the basecoat dry completely before you move on to applying nail art stickers. This will ensure that the stickers attach securely and last longer.
Choosing the Right Nail Stickers for Your Design
Choosing the right nail stickers is crucial for an appealing look. Consider the design’s purpose before selecting. Think about whether the stickers are for everyday wear or a special event. This will guide your choice for a suitable nail sticker design.
Considering Seasons and Occasions
Seasons and special occasions often inspire nail art choices. For spring, stickers with flowers or pastel colors fit well. For holidays, themed designs like snowflakes or pumpkins are popular. Remember these themes when you choose your nail stickers.
Ensuring Stickers Fit Your Nail Size
Before applying, make sure the stickers fit your nails. Stickers too big will overlap and those too small will look out of place. Measure your nails and compare to the sticker size for a perfect fit. Trim the sticker edges if needed for a neat look.
The Application Process of Nail Stickers
Using Tweezers for Precision
For precise placement, use clean tweezers instead of your fingers. This prevents reducing the sticker’s stickiness.
Gently Placing and Smoothing Stickers
Position the sticker with tweezers, then press gently. Use a silicone tool to smooth out any bubbles.
Trimming the Edges for a Perfect Fit
Ensure the sticker aligns perfectly with your nail edges. Trim any excess to avoid snags.
Finishing Touches for Long-lasting Wear
To ensure your nail stickers stay put, finishing touches are key.
Applying a Topcoat to Seal the Design
After stickers are on, apply a clear topcoat. This seals the design and adds shine. Allow the topcoat to dry fully for best results. Two layers might be needed for extra protection.
Tips to Prevent Lifting and Peeling
To keep stickers from peeling, avoid soaking nails in water for too long. Also, when doing tasks like cleaning, wear gloves. Be gentle with your nails to avoid lifting edges of stickers. If edges do lift, apply a small amount of topcoat and press down.
Maintaining and Caring for Your Nail Art Stickers

- Avoiding Harsh Chemicals: After applying nail art stickers, limit exposure to water and harsh chemicals as much as possible. Wear gloves while doing household chores to prevent the stickers from loosening or peeling prematurely.
- Regular Touch-ups: Regularly check your nail art for any signs of lifting or peeling. If noticed, apply a small amount of clear nail polish to the affected areas to reseal the sticker and prolong its lifespan.
- Moisturizing: Keep your hands and cuticles well-moisturized to maintain healthy-looking nails and skin. Use hand creams and cuticle oils daily to keep dryness at bay, which can affect the longevity of both your nails and the stickers.
- Safe Removal: When it’s time to change your nail design, remove the stickers safely without damaging your nail surface. Soak a cotton ball in nail polish remover, apply it over the nail, and allow the adhesive to dissolve before gently peeling off the sticker.
Common Nail Art Sticker Questions Answered
When using nail art stickers, several questions often come up. Below are some of the most common ones, answered to help you maintain and enjoy your stickers for as long as possible.
Longevity and Maintenance of Nail Stickers
Many users ask, “How long do nail stickers last?” With correct application, nail art stickers can cling on for about two to three weeks. However, their lifespan may vary depending on daily activities. To extend their durability, avoid long soaks in water or contact with harsh chemicals. Also, gentle handling of your nails helps prevent the stickers from peeling off.
Tips for maintaining nail stickers:
- Avoid scraping your nails against rough surfaces.
- Wear gloves while doing household chores.
- Reapply a topcoat every few days to enhance the sticker’s grip.
Removal Techniques for Nail Stickers
When ready to switch up your design, removing nail stickers is straightforward. You can lift them using a cuticle stick or tweezers after soaking in nail polish remover. For best results, use an acetone-based remover and give your nails a gentle rub. This loosens the stickers without harming your natural nails.
Steps for removal:
- Dab a cotton ball with nail polish remover.
- Press it onto the nail sticker for a few seconds.
- Gently peel the sticker from the nail edge.
- Clean any residue with additional remover, if necessary.
By following these practices, you can enjoy beautiful nail art stickers and remove them with ease when needed.
Conclusion: Achieving Flawless Nail Art at Home

Mastering nail art stickers at home is within reach. Let’s recap the steps for applying them flawlessly. First, ensure your nails are clean, dry, and smooth with a basecoat. Then, select stickers that fit your nail size and style. Use tweezers for accurate placement. Gently press and smooth them out for a perfect fit. Trim any excess for clean edges. Finally, seal everything with a topcoat for lasting wear.
Follow these tips, and you’ll have professional-looking nails. With nail art stickers, you can easily change up your look. They last up to three weeks and are simple to remove. Taking good care of them will make your manicure stand out. If they start to lift, press them down with more topcoat. Be gentle, and you’ll keep them looking great longer.
To remove, soak in remover and peel away with a cuticle stick. This keeps your natural nails safe. Nail stickers are a fun, easy way to express your style. With practice, you’ll get even better results. So, grab your nail art stickers and let your creativity shine right at home!