Gel manicures have gained immense popularity for their long-lasting, chip-resistant finish and high-gloss shine. While salon visits offer professional results, achieving a flawless gel manicure at home is entirely achievable with the right tools, techniques, and a bit of practice. Let’s delve into the step-by-step process of applying nail polish, equipping you with the knowledge to create stunning and durable manicures that will last for weeks.
Essential Tools and Supplies: Gathering Your Manicure Kit
Before you begin your gel manicure journey, gather the necessary tools and supplies to ensure a smooth and successful experience.
-
UV or LED Lamp: A UV or LED lamp is crucial for curing (hardening) the gel polish. Choose a lamp that’s compatible with your chosen gel polish brand and offers adequate wattage for efficient curing.
-
Gel Base Coat: A gel base coat creates a smooth and adhesive surface for the gel polish to adhere to, preventing lifting and ensuring longevity.
-
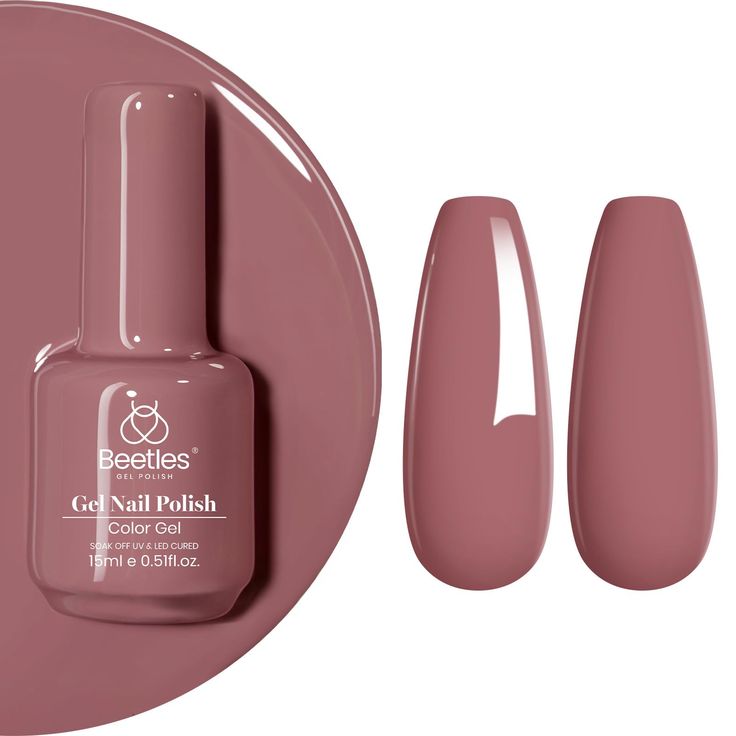
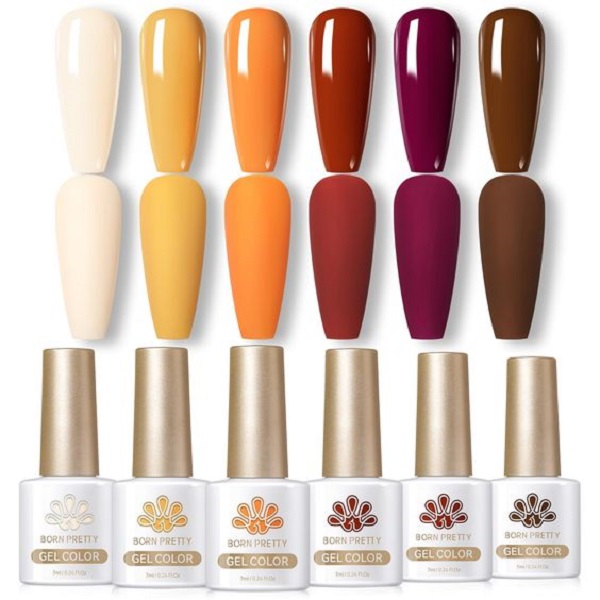
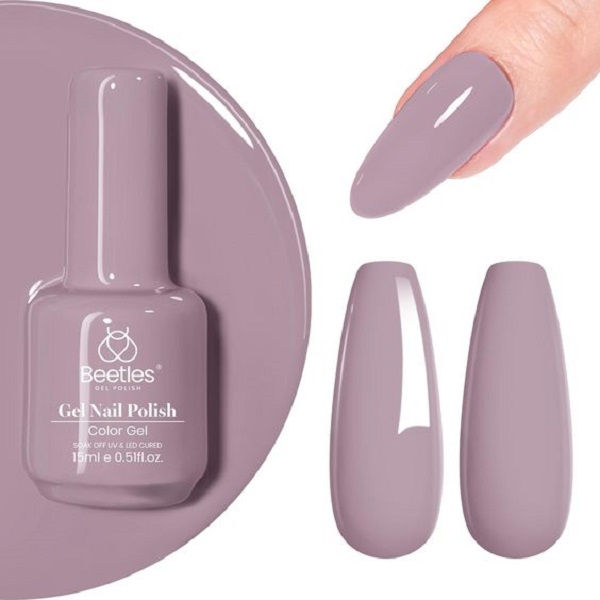
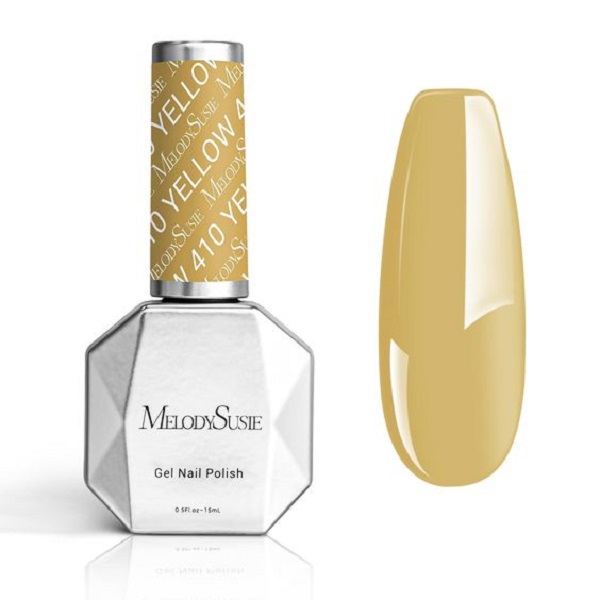
Gel Polish Colors: Select your desired gel polish colors, ensuring they’re compatible with your UV or LED lamp.
-
Gel Top Coat: A gel top coat seals in the color, adds shine, and protects the manicure from chipping and fading.
-
Nail Prep Essentials:
- Nail clipper and file
- Cuticle pusher or orange stick
- Nail buffer
- Lint-free wipes
- Nail dehydrator or rubbing alcohol
- Cuticle oil or hand cream
Prepping Your Nails: The Foundation of a Lasting Manicure
Proper nail preparation is essential for achieving a smooth and long-lasting gel manicure.
-
Shape and Clean: Start by shaping your nails to your desired length and shape using a nail file. Then, clean your nails with a lint-free wipe and some nail polish remover or rubbing alcohol to remove any oils or residue that might interfere with adhesion.
-
Push Back Cuticles: Gently push back your cuticles with a cuticle pusher or an orange stick. This creates a clean and even surface for the gel polish to adhere to and prevents it from lifting at the edges.
-
Buff the Surface: Lightly buff the nail surface with a buffer block to remove any shine and create a slightly rough texture for better adhesion. Avoid over-buffing, as this can thin and weaken the nails.
-
Dehydrate: Use a nail dehydrator or rubbing alcohol to remove any remaining moisture or oils from the nail surface. This further enhances adhesion and prevents lifting or peeling.
Applying the Gel Polish: Thin Coats and Curing
Gel polish application requires a slightly different approach than traditional nail polish.
-
Base Coat: Apply a thin, even coat of gel base coat to all nails, ensuring you “cap” the edges by sealing the free edge with a thin layer of the base coat. Cure the base coat under the lamp for the recommended time.
-
Color Coats: Apply a thin coat of your chosen gel polish color to each nail, again capping the edges. Cure each coat under the lamp for the recommended time. Repeat with a second coat for a more opaque and even color.
-
Top Coat: Finish with a gel top coat, capping the edges to seal in the color and add shine. Cure the top coat under the lamp for the recommended time.
-
Remove Tacky Layer (If Applicable): Some gel top coats leave a tacky layer after curing. Wipe it off with a lint-free wipe and some rubbing alcohol or a cleanser specifically designed for gel polish.
Troubleshooting: Tackling Common Gel Polish Application Challenges
Even with careful application, you might encounter a few hiccups along the way. Let’s explore some common challenges and how to overcome them.
-
Bubbles: Bubbles in your gel polish can be frustrating and disrupt the smooth finish.
-
Thin Coats: The key to preventing bubbles is to apply thin, even coats of polish. Avoid overloading the brush and ensure the polish is spread smoothly across the nail.
-
Roll, Don’t Shake: Instead of shaking the gel polish bottle, gently roll it between your palms to mix the formula without creating air bubbles.
-
Cap the Edges: “Capping” the free edge of your nails by sealing them with a thin layer of each coat, including base and top coat, helps prevent chipping and shrinkage, which can lead to bubbles.
-
-
Wrinkles and Shrinkage: Gel polish can sometimes wrinkle or shrink during curing, especially if applied too thickly or if the layers aren’t cured properly.
- Thin Coats and Curing: Again, apply thin coats and ensure each layer is cured thoroughly according to the manufacturer’s instructions.
- Avoid Over-Curing: While under-curing can lead to wrinkles, over-curing can also cause shrinkage and brittleness. Stick to the recommended curing times.
-
Lifting and Peeling: Premature lifting or peeling can be caused by improper nail preparation, oily nail beds, or incompatible products.
- Thorough Prep: Ensure your nails are clean, dry, and free of oils before applying the base coat. Use a nail dehydrator or rubbing alcohol to remove any residual moisture.
- Capping the Edges: As mentioned earlier, capping the edges of your nails with each layer helps prevent lifting and peeling.
- Compatible Products: Stick to using base coat, color, and top coat from the same brand or line to ensure compatibility and optimal adhesion.
Gel Polish Removal: A Gentle Process
While gel polish offers long-lasting wear, its removal requires a specific process to avoid damaging your natural nails.
Acetone Soak
The most common method for gel polish removal involves soaking your nails in acetone.
Buff the Surface: Gently buff the top layer of the gel polish with a nail file to break the seal and allow the acetone to penetrate more effectively.
Soak Cotton in Acetone: Saturate cotton balls or pads with acetone.
Wrap Your Fingertips: Place the acetone-soaked cotton on each nail and wrap each fingertip tightly with aluminum foil. This creates a warm environment that helps the acetone work faster.
Wait and Remove: Let your nails soak for 10-15 minutes. The exact time may vary depending on the thickness of the gel layers and the brand of polish used. Gently remove the foil and cotton. The gel polish should be softened and can be gently scraped off with a cuticle pusher or an orange stick.
Alternative Removal Methods
If you prefer a gentler or more convenient approach, consider alternatives like:
Shellac Removal Wraps: These pre-soaked wraps eliminate the need for foil and offer a mess-free removal experience.
Soak-Off Gel Remover Clips: These plastic clips hold acetone-soaked cotton pads securely in place, offering a hands-free alternative to foil wraps.
Professional Removal: If you’re unsure about removing gel polish yourself or have concerns about potential nail damage, seek professional assistance from a nail technician.
Removal Tips:
- Patience is Key: Avoid peeling or forcefully removing polish, as this can damage your natural nails.
- Moisturize After Removal: Both acetone and the gel removal process can be drying to your nails and cuticles. Apply cuticle oil or a moisturizing hand cream after removal to rehydrate.
Conclusion
Applying gel nail polish at home might seem intimidating at first, but with the right tools, techniques, and a bit of practice, you can achieve salon-quality results. Remember to prioritize proper nail preparation, apply thin coats, and cure each layer thoroughly for a long-lasting and flawless manicure.
Embrace the world of gel polish and enjoy the benefits of a chip-resistant, high-shine manicure that can last for weeks. With a little effort and creativity, you can create stunning nail art designs and express your personal style with confidence.