Recognizing the Risks of Improper Gel Nail Polish Removal
Removing gel nail polish incorrectly can cause considerable damage to your nails. The urge to simply peel it off when it starts to lift or when you desire a change is strong, and we’ve all been there. However, awareness of the potential harm this can cause is crucial in resisting that urge and taking the necessary steps to remove gel polish safely.
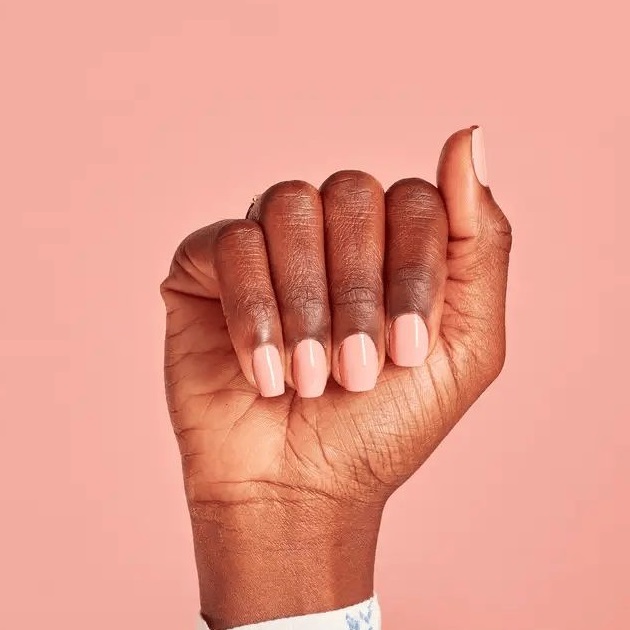
The Impact of Peeling Off Gel Nail Polish on Nail Health
Peeling off gel nail polish isn’t just a bad habit—it can have serious consequences for your nail health. When you peel the polish away, you are also likely to peel off the top layers of your nail’s surface. This results in thinner nails which are prone to splitting, peeling, and breaking. Moreover, over time this practice can lead to severe dehydration and brittleness of your nails. Thus, although peeling might provide an immediate solution, the trade-off is the long-term health and integrity of your nails.
Professional Versus At-Home Gel Polish Removal
When discussing gel polish removal, there are two main routes: professional removal at a salon or an at-home procedure. Professional removal is always the recommended method, as technicians are equipped with the proper tools and expertise to minimize harm to your nails. They use techniques that ensure the gel is removed effectively without stripping away the nail’s protective layers. At-home removal, while convenient, requires the right tools, patience, and knowledge to replicate this efficacy safely. So, if you choose the DIY route, it’s essential to educate yourself on safe practices and avoid shortcuts that can lead to nail damage.
Essential Steps for Safe Gel Nail Polish Removal
Properly removing gel nail polish is key to maintaining healthy and strong nails. To ensure a safe and effective removal process, follow these essential steps which will guide you through from gathering the necessary equipment to the final stages of your soak-off procedure.
Preparing the Necessary Tools and Supplies
Start by assembling all the required tools and supplies for the gel polish removal process. You’ll need:
- Acetone: Make sure it’s 100% pure for the best results.
- Nail file: A coarse file to buff off the seal of the gel topcoat.
- Cotton balls or pads: To apply acetone to the nails.
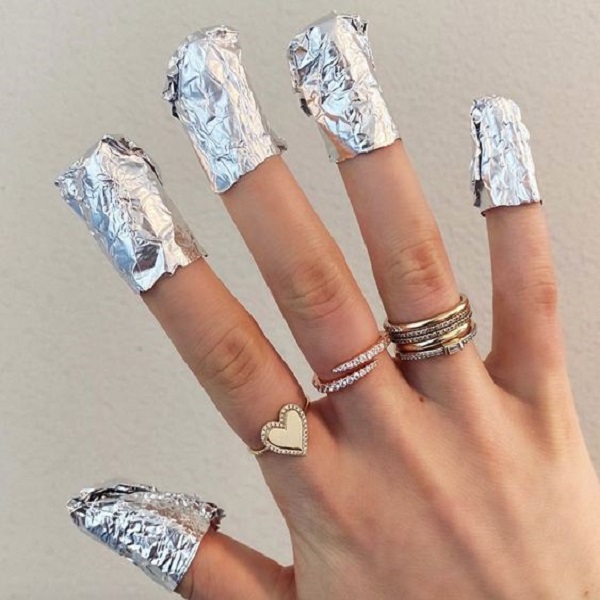
- Aluminum foil: To securely wrap around fingers and hold the cotton in place.
- Cuticle oil or petroleum jelly: To protect the skin around your nails from drying out.
- Cuticle pusher or orange stick: To gently remove the loosened gel polish.
Ensure you have a well-ventilated area to work in and protect your surfaces from spills as acetone can damage furniture and fabrics.
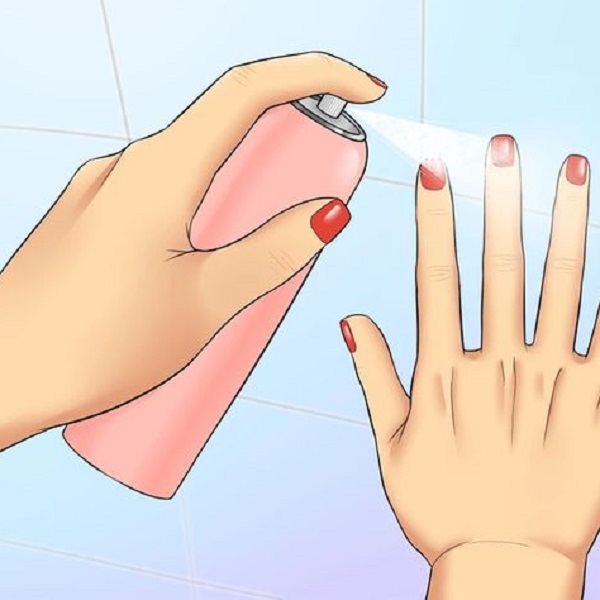
Protecting Your Skin and Cuticles During Removal
Apply a generous amount of cuticle oil or petroleum jelly around the skin and cuticles before beginning the soak-off process. This will act as a barrier, preventing the acetone from excessively drying out the nail beds and surrounding skin.
The Soak-Off Process: A Step-by-Step Guide
Once you have protected your skin and gathered all your tools, follow these steps:
- Buff the surface: Use a nail file to gently buff and break the seal on the topcoat of your gel polish.
- Prepare for soaking: Soak cotton balls in acetone and firmly place them over the gel-covered nails.
- Wrap your fingertips: Use aluminum foil to secure the cotton balls in place for 10-15 minutes. Some gel formulations may require a longer soaking time.
- Remove and assess: Carefully unwrap the foil and cotton. Use the cuticle pusher to gently scrape off the polish. If the gel doesn’t come off easily, re-soak as necessary.
- Wash and hydrate: After the gel has been fully removed, wash your hands thoroughly and apply cuticle oil to rehydrate your nails.
Following this methodical approach will ensure a safe and effective removal of your gel polish. By taking the time to remove gel polish properly, you can avoid inflicting damage on your nail beds and enjoy healthy, beautiful nails post-removal.
Aftercare and Nail Health Post-Removal
After successfully removing your gel nail polish, it’s critical to give your nails some TLC to restore moisture and prevent further damage. The steps you take post-removal are just as important as the removal process itself.
Moisturizing and Hydrating Your Nails After Gel Removal
It’s not uncommon for nails to feel brittle and dry after a gel manicure, especially if acetone was used in the removal process. To combat this, hydrating your nails is key. Here’s how you can do it:
- Apply Cuticle Oil: Immediately after removal, apply a nourishing cuticle oil to the entire nail area. This helps to replenish lost moisture and promotes healthier nail growth.
- Use a Rich Hand Cream: Hand creams with ingredients like shea butter, hyaluronic acid, or ceramides work well to restore moisture not only to your nails but also to the skin on your hands.
- Daily Hydration: Make it a daily habit to use cuticle oil and hand cream to maintain nail flexibility and prevent chapping and splitting.
These simple steps can make a noticeable difference in the health and appearance of your nails and cuticles after gel removal.
Alternatives to Gel Nail Polish for Healthier Nails
While gel polish offers a durable and long-lasting finish, frequent use can be tough on your nails. If you’re looking for alternatives, consider these options:
- Regular Nail Polish: Advances in nail polish technology mean that many regular polishes now offer long-lasting wear without the need for curing under a lamp.
- Dip Powder Systems: These can provide a similar look to gel but may be less damaging due to the absence of UV curing.
- Nail Stickers and Wraps: These offer a quick, easy, and non-damaging way to sport beautiful nail art without the removal process associated with gels.
When to Take a Break from Gel Manicures
Listening to your nails is vital. If you notice any of the following signs, it might be time to give your nails a rest from gel manicures:
- Noticeable Thinness: If your nails have become thin or bend more easily, they may need time to strengthen.
- Persistent Dryness: Overuse of gel and acetone can lead to prolonged dryness, signaling a need for a hydration-focused break.
- Recurring Breakage or Peeling: Experiencing frequent nail breakage or peeling indicates weakened nail health.
Taking occasional breaks from gel manicures allows your nails to recover and regain their natural strength. During these intervals, treat your nails gently, keep them hydrated, and most importantly, let them breathe.
Dealing with Stubborn Gel Polish: Tips and Tricks
Sometimes, gel polish can be extra stubborn. Here are some additional tips to help you remove it effectively:
- Warm Acetone: Slightly warming the acetone can help speed up the removal process. Simply place the bottle in a bowl of warm water for a few minutes. Be careful not to overheat it, as acetone is flammable.
- Reapply Acetone: If the cotton balls dry out before the gel polish is fully softened, reapply acetone to keep them saturated.
- Use a Cuticle Pusher or Wooden Stick: If you’re struggling to scrape off the softened gel, try using a metal cuticle pusher or a wooden stick to gently lift and remove it.
- Don’t Force It: Avoid picking or peeling the gel polish with your fingers or fingernails. This can damage your natural nails.
- Professional Help: If you’re having trouble removing the gel polish yourself, or if your nails are severely damaged, seek help from a professional nail technician.
Preventing Nail Damage After Gel Polish Removal
Removing gel polish can be drying and potentially damaging to your nails. Here are some ways to protect and nourish your nails:
- Avoid Harsh Chemicals: Steer clear of harsh soaps, detergents, and hand sanitizers for a few days after removal.
- Moisturize Regularly: Apply a cuticle oil or cream several times a day to keep your nails and cuticles hydrated.
- Wear Gloves: When doing household chores or gardening, wear gloves to protect your nails from further damage.
- Take a Break: Let your nails breathe for a few days before applying new polish. Consider using a strengthening base coat to protect your nails.
- Eat a Healthy Diet: A diet rich in vitamins and minerals, particularly biotin and vitamin E, can support nail health.
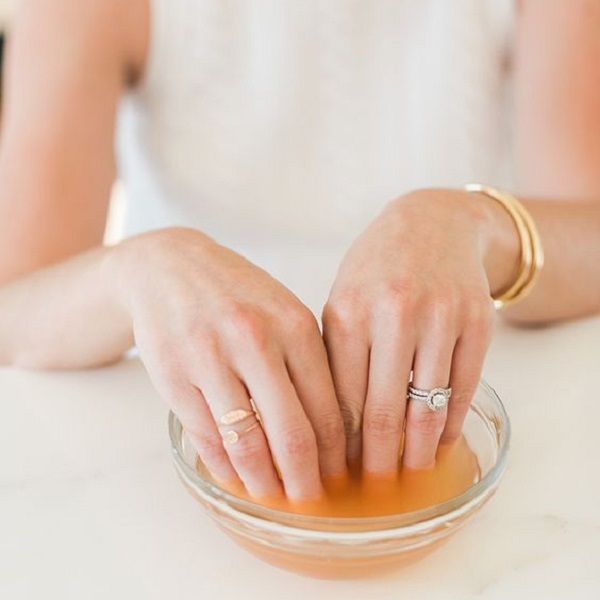
Natural Alternatives for Gel Polish Removal
If you prefer a more natural approach, there are a few alternatives to acetone:
- Non-Acetone Remover: While not as effective as acetone, non-acetone remover can be used to remove gel polish. It might require more soaking time and elbow grease.
- Vinegar and Lemon Juice: A mixture of equal parts vinegar and lemon juice can help soften gel polish. However, it’s not as strong as acetone and might not be suitable for all gel types.