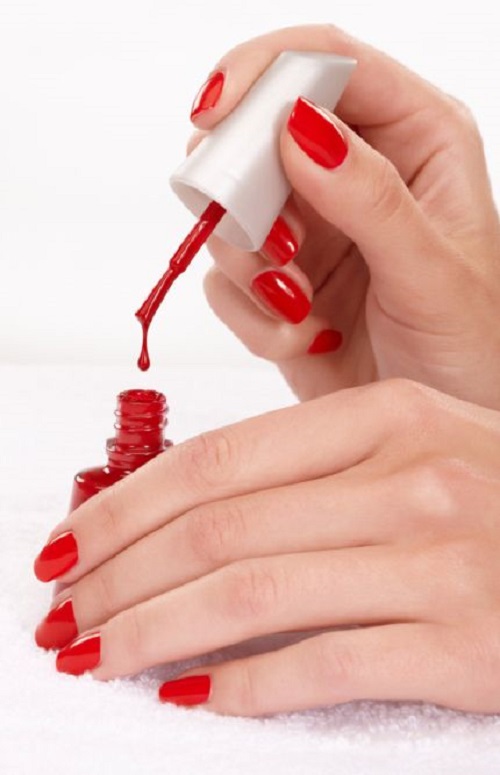
Ever wished you could concoct the perfect nail polish shade that doesn’t exist yet? Or maybe you crave a non-toxic alternative to commercial lacquers? Well, get ready to unleash your inner chemist because making your own nail polish is surprisingly achievable and incredibly fun! This comprehensive guide will lead you through the process, from gathering supplies to experimenting with unique colors and finishes.
Essential Ingredients: Building Blocks of Your Polish
First things first, let’s gather the necessary ingredients for your DIY nail polish adventure.
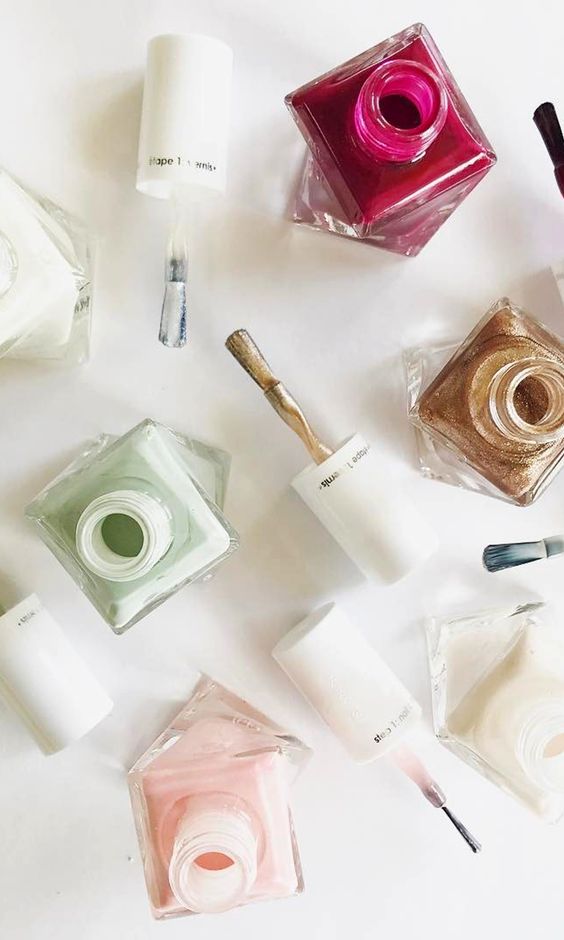
Clear Nail Polish Base
This is the foundation of your creation. You can purchase a clear base online or at most beauty supply stores. Look for one that’s labeled as “suspension base” for optimal pigment suspension.
Pigments
This is where the magic happens! Pigments give your polish its color. You can use cosmetic-grade pigments, mica powder, eyeshadow, or even spices like turmeric for a warm, earthy tone.
Mixing Medium
To ensure smooth application and even color distribution, a mixing medium is crucial. Isopropyl alcohol works well for this purpose.
Additional Supplies
Other essentials include small mixing containers, droppers or syringes for precise measurements, nail polish bottles for storage, and a funnel to avoid spills.
Mixing Your Masterpiece: The Art of Polish Creation
Now that you have your ingredients ready, let’s dive into the exciting process of mixing your custom nail polish.
Start Small
Begin by adding a small amount of pigment to your mixing container. Gradually add the clear nail polish base while stirring continuously.
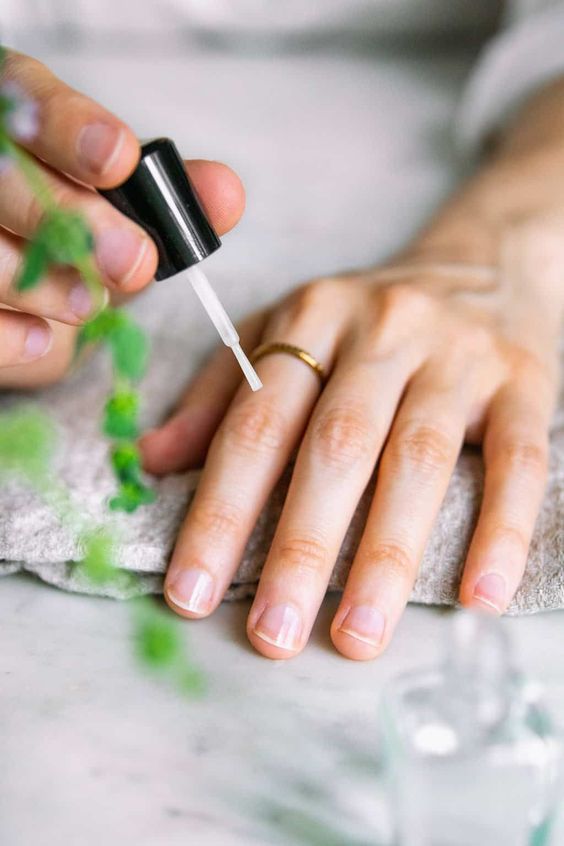
Test and Adjust
Apply a thin coat of your mixture to a nail wheel or piece of paper to test the color. Remember, the color will appear lighter on your nails than in the container. Adjust the pigment amount until you achieve your desired shade.
Smooth it Out
If your mixture appears lumpy or grainy, add a few drops of isopropyl alcohol and stir well to smooth out the consistency.
Beyond Basics: Unleash Your Creativity
Once you’ve mastered the basics, you can start experimenting with different pigments, textures, and finishes.
Shimmer and Shine
Add a touch of sparkle to your polish with mica powder or glitter. For a subtle shimmer, use fine glitter. For a bolder look, try chunky glitter or holographic flakes.
Matte Magic
Transform any polish into a chic matte finish by adding a matte top coat. You can even mix a small amount of cornstarch into your polish for a DIY matte effect.
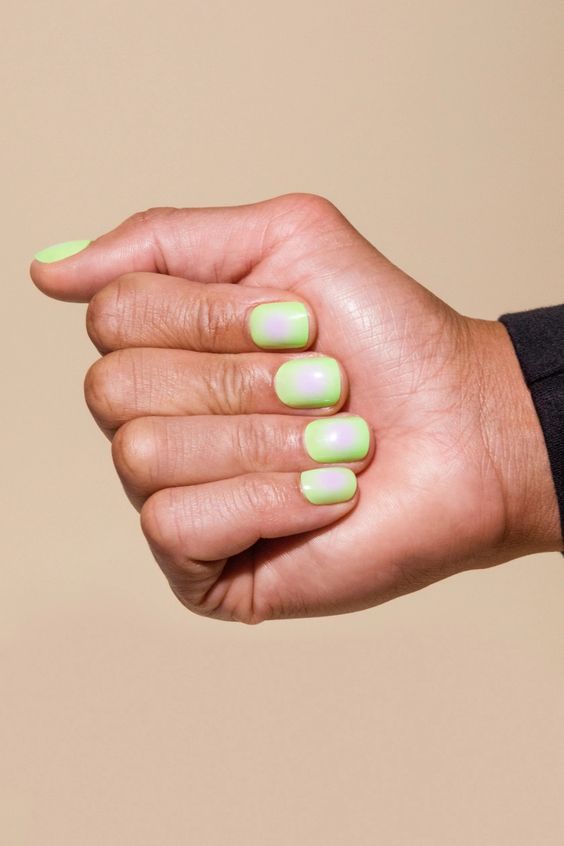
Themed Creations
Create themed nail polishes for special occasions or holidays. Use red and green pigments for Christmas, pastels for Easter, or neon shades for a summer party.
Safety First: Handle with Care
While making nail polish is a fun and creative activity, it’s important to prioritize safety.
Ventilation
Work in a well-ventilated area to avoid inhaling fumes from the isopropyl alcohol or other chemicals.
Gloves and Eye Protection
Wear gloves to protect your skin from staining and eye protection to avoid any accidental splashes.
Storage
Store your homemade nail polish in tightly sealed bottles away from direct sunlight and heat. Properly stored polish can last for several months.
Troubleshooting Tips: Common Challenges and Solutions
Thickening Polish
If your polish becomes too thick over time, you can add a few drops of nail polish thinner to restore its consistency.
Separation
If the pigment and base separate, roll the bottle gently between your palms to remix them. Avoid shaking, as this can create air bubbles.
Tackling Bubbles
If you notice air bubbles in your polish, let the bottle sit undisturbed for a few hours to allow the bubbles to rise and dissipate naturally.
Caring for Your Homemade Nail Polish
Storage Matters
Store your homemade nail polish in a cool, dark place away from direct sunlight and heat. This will help prevent the color from fading and the formula from thickening prematurely.
Shake Before Use
Always give your polish a good shake before each use to ensure the pigment and base are well-mixed.
Proper Disposal
When your homemade nail polish reaches the end of its lifespan, dispose of it responsibly. Avoid pouring it down the drain, as it can contaminate water sources. Instead, contact your local waste disposal facility for proper disposal guidelines.
Experimenting with Natural Ingredients
For a truly natural and non-toxic approach, consider experimenting with natural ingredients to create your nail polish.
Beetroot Powder
Beetroot powder can be used to create stunning shades of pink and red. Simply mix it with a clear base and a bit of isopropyl alcohol to create a vibrant hue.
Turmeric
Turmeric offers a warm, golden hue that’s perfect for creating earthy, natural-looking polishes. Combine it with a clear base and a few drops of isopropyl alcohol for a smooth finish.
Cocoa Powder
Cocoa powder can create rich, chocolatey brown shades that are perfect for fall or winter manicures. Mix it with a clear base and a bit of isopropyl alcohol to achieve a smooth, opaque color.
Nail Polish as a Form of Self-Expression
Creating your own nail polish is more than just a fun DIY project; it’s an opportunity to express your creativity and individuality.
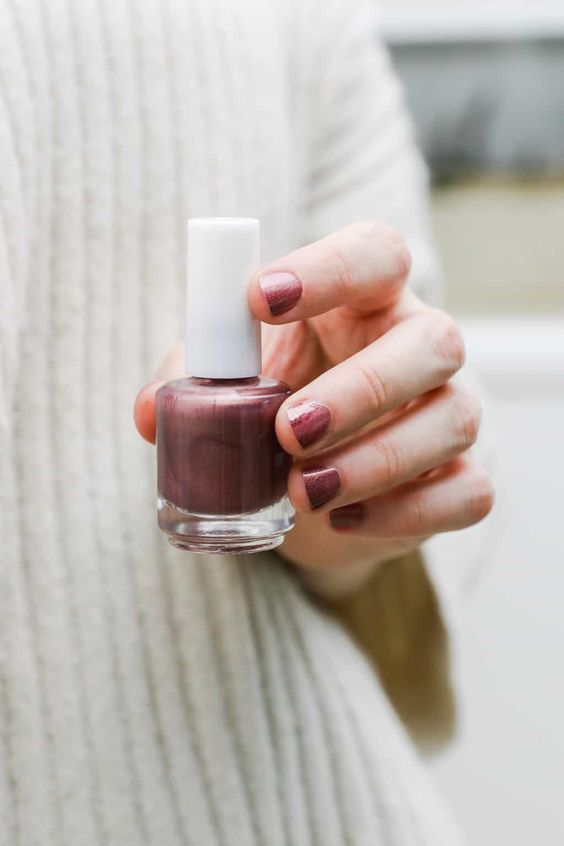
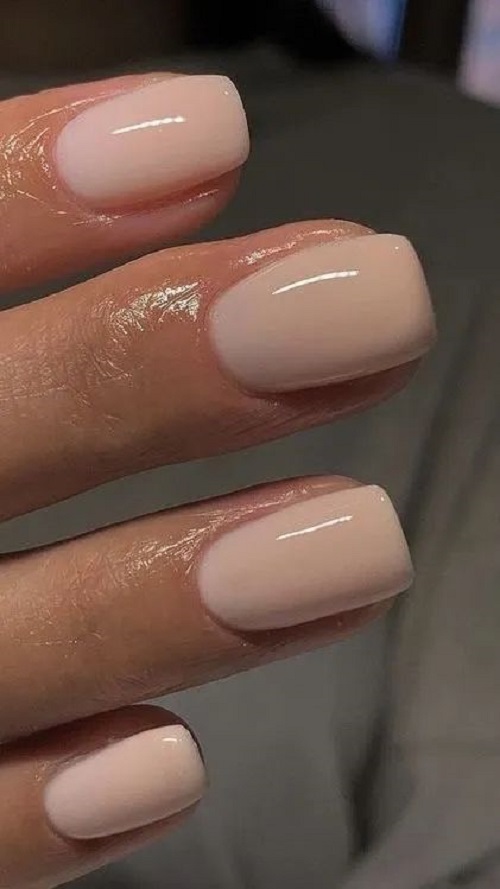
Personalized Colors
With endless color possibilities, you can create shades that perfectly match your outfits, mood, or even your favorite flower.
Unique Finishes
From glossy to matte, shimmery to textured, you can customize your polish finish to suit your preferences.
Sharing the Joy
Share your homemade creations with friends and family, or even consider selling them online to fellow nail polish enthusiasts.
Conclusion: The Art of Homemade Nail Polish
Making your own nail polish is a rewarding and creative endeavor. Not only does it allow you to customize colors and finishes, but it also gives you control over the ingredients you use. By following this guide and experimenting with different pigments and textures, you can unlock a world of endless possibilities for your fingertips. So, grab your supplies, unleash your imagination, and start creating nail polish masterpieces that are uniquely yours. With a little practice and experimentation, you can create a wide array of unique and personalized nail polishes to express your creativity and style.