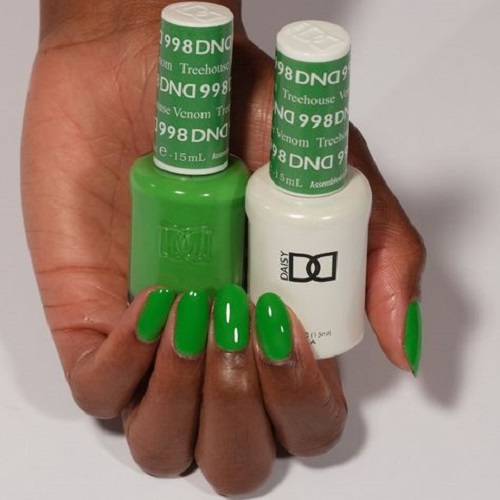
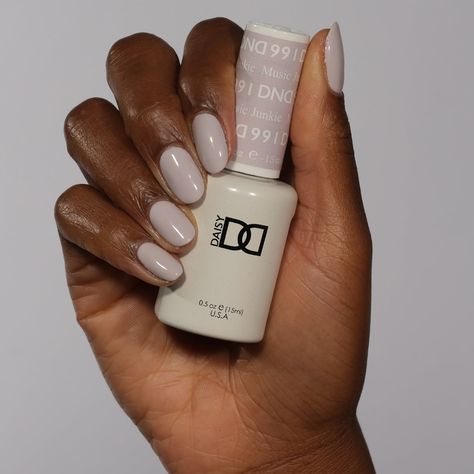
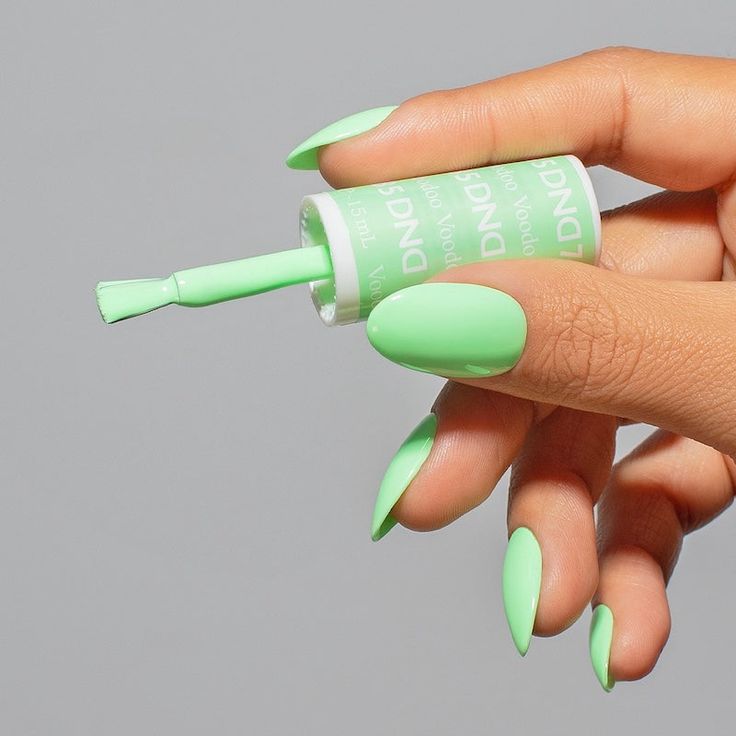
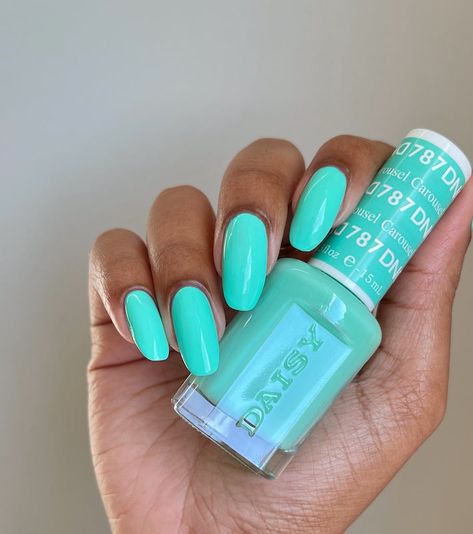
How to cure gel nail polish? Gel nail polish is a popular choice for those who want long-lasting, chip-resistant manicures. Unlike traditional polish, gel polish cures under a special light to harden the polish. This article will guide you through the curing process, ensuring your gel manicure looks its best.
Understanding the Cure
Before diving into the how-to, it’s helpful to understand what curing means for gel polish. Traditional nail polish dries by solvent evaporation. In contrast, gel polish contains monomers, which are molecules that link together to form a hard polymer network. A UV or LED lamp emits light that triggers this linking process, curing the polish into a hard, glossy finish.
Equipping Yourself for Curing
To cure your gel polish, you’ll need a few key tools:
Gel nail polish:
Choose a high-quality brand that offers vibrant colors and a smooth application.
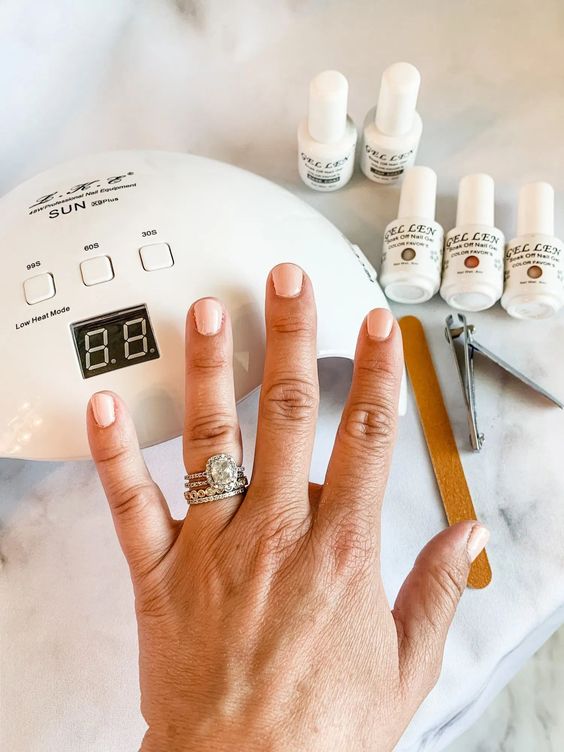
UV or LED lamp:
Both lamp types cure gel polish, but LED lamps are generally faster and more energy-efficient. Consider the wattage of the lamp; higher wattage lamps cure polish faster.
Base coat and top coat:
These are essential for a chip-resistant manicure. Base coat promotes adhesion, while top coat seals the polish and adds shine.
Nail prep kit (optional):
This may include a nail file, buffer, and cuticle pusher to prep your nails for a smooth application.
Curing Your Gel Manicure Step-by-Step
Now that you have your tools, let’s get started! Here’s a step-by-step guide to curing gel polish:
-
Prep your nails: Gently push back cuticles (or have them professionally done) and buff your nails to create a smooth surface. Wipe nails with alcohol to remove any oils.
-
Apply a thin layer of base coat. Even coverage is key! Cure the base coat under your lamp according to the manufacturer’s instructions, which are typically printed on the lamp or included in the manual. 30 seconds is a common curing time for base coats.
-
Apply a thin layer of your chosen gel polish color. Again, even coverage is important. Avoid touching your skin with the wet polish. Cure the polish under the lamp according to the manufacturer’s instructions, which are usually between 30-60 seconds.
-
Repeat step 3 for additional coats of color, if desired. More coats will create a more opaque and vibrant finish. Cure each coat individually.
-
Apply a thin layer of top coat. This protects your manicure and adds shine. Cure the top coat under the lamp according to the manufacturer’s instructions, typically 30 seconds.
-
Wipe nails with rubbing alcohol to remove any tacky residue.
Troubleshooting Common Curing Issues
Even with proper technique, occasional curing issues can arise. Here are some solutions:
-
Polish not fully cured: This can lead to smudging or peeling. Ensure your lamp is functioning correctly and cure each coat for the recommended time. Consider increasing the curing time slightly if you suspect under-curing.
-
Wrinkling: This can happen if the polish is applied too thickly. Apply thinner coats and cure each coat individually.
-
Bubbling: Trapped air can cause bubbles. Apply thinner coats and gently press down on your nails after each coat to release any air bubbles before curing.
Safety Precautions When Curing Gel Polish
While generally safe for home use, there are a few safety precautions to consider:
-
Limit UV exposure: Avoid overexposure to UV light from your lamp. Use short curing times as recommended and avoid using the lamp for extended periods beyond curing your nails.
-
Skin protection: If you’re concerned about UV exposure, apply sunscreen to your hands before using the lamp.
-
Proper ventilation: Some gel polish removers have strong odors. Ensure proper ventilation when using removers.
Show Off Your Shine!
With proper curing techniques, you can achieve a salon-quality gel manicure at home. Enjoy your long-lasting, chip-resistant nails!
Remember to follow the specific instructions that come with your gel polish and lamp for optimal results.
Beyond the Cure: Maintaining Your Gel Manicure
Following proper curing techniques is essential for a beautiful gel manicure, but there’s more to the story! Here are some aftercare tips to extend the life of your gel nails:
-
Skip the water for a while: Avoid soaking your nails for extended periods shortly after getting your manicure. This can soften the gel and increase the risk of chipping.
-
Wear gloves for chores: Protect your nails from harsh chemicals and cleaning products by wearing gloves when doing dishes or cleaning.
-
Moisturize your hands: Regularly applying hand lotion can prevent dryness and hangnails, keeping your hands healthy and your manicure looking polished.
-
Be gentle with your nails: Avoid using your nails as tools. Picking, prying, or scraping can damage the gel polish.
-
Removal matters: Don’t peel off your gel polish! This can damage your natural nails. Use a gentle acetone-based remover following the product instructions.
Exploring Different Curing Lamps
As mentioned earlier, both UV and LED lamps cure gel polish. Here’s a closer look at each type:
-
UV lamps: These were the original curing lamps and are still widely available. They cure polish effectively but emit UVA rays, which can contribute to skin aging.
-
LED lamps: LED lamps are becoming increasingly popular due to their faster curing times and lower energy consumption. They also emit minimal heat and are considered safer for skin exposure.
When choosing a lamp, consider your budget, desired curing speed, and any skin sensitivity concerns you might have.
Having Fun with Gel Polish!
Gel polish opens up a world of creative possibilities for your nails. Here are some ideas to inspire you:
-
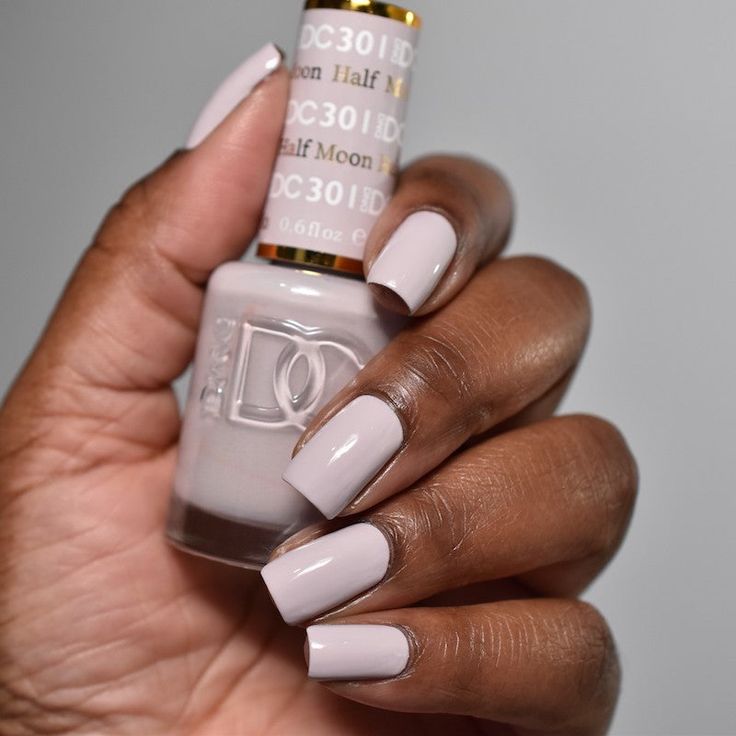
Classic French manicure: This timeless design is always in style and flatters any nail shape.
-
Bold and bright colors: Don’t be afraid to experiment with vibrant colors or playful patterns.
-
Seasonal nail art: Celebrate the holidays or showcase your favorite colors with festive nail designs.
-
Glitter and sparkle: Add a touch of glam with glittery polishes or holographic accents.
With proper care and a little creativity, you can enjoy beautiful, long-lasting gel manicures at home!
Safety First: Responsible Gel Polish Use
While gel polish is a fun and convenient way to achieve beautiful nails, prioritizing safety is essential. Here are some additional safety reminders:
-
Follow all product instructions carefully. This includes proper application, curing times, and removal techniques.
-
Maintain good ventilation. Ensure proper air circulation in your workspace, especially when using removers that may have strong odors.
By following these tips and prioritizing safety, you can enjoy the benefits of gel polish while minimizing any potential risks.