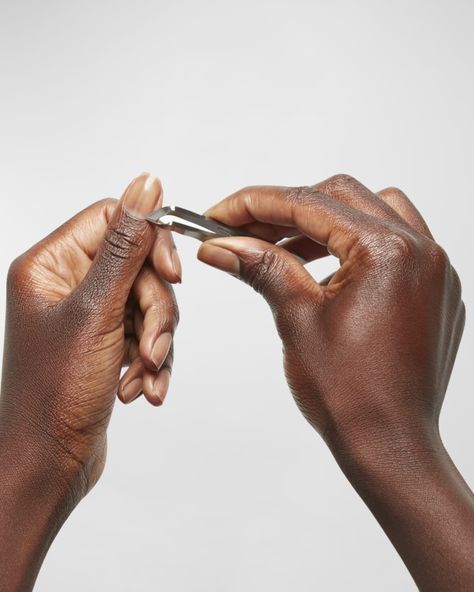
Nail clippers are essential tools for maintaining well-groomed nails, but they can sometimes malfunction or become dull over time. How to fix nail clippers?
In this comprehensive guide, we’ll explore various methods for fixing nail clippers and restoring them to their former glory.
Understanding Common Nail Clipper Issues
Before diving into the solutions, let’s first identify some common issues that may arise with nail clippers:
Dull Blades:
Over time, nail clipper blades can become dull due to regular use. This can result in difficulty cutting nails cleanly and smoothly.
Stiff Mechanism:
The mechanism of nail clippers may become stiff or difficult to operate, making it challenging to achieve precise nail trimming.
Rust or Corrosion:
Exposure to moisture or improper storage can cause nail clippers to rust or corrode, compromising their effectiveness and hygiene.
Fixing Dull Nail Clipper Blades
Sharpening the Blades: Use a nail file or fine-grit sandpaper to gently sharpen the blades of the nail clipper. Hold the file or sandpaper at a slight angle and stroke it along the edge of the blades several times until they feel sharper.
Replacing the Blades: If sharpening doesn’t improve the cutting performance, consider replacing the blades altogether. Many nail clipper models offer replacement blades that can be easily swapped out for new ones.
Now that we’ve addressed dull blade issues, let’s tackle stiff mechanisms.
Lubricating Stiff Nail Clipper Mechanisms
Apply Lubricant: Use a small amount of lubricating oil, such as sewing machine oil or mineral oil, to lubricate the hinge and pivot points of the nail clipper. Work the oil into the mechanism by opening and closing the clipper several times.
Clean and Remove Debris: Check for any debris or buildup around the hinge and pivot points of the nail clipper. Use a cotton swab or soft brush to gently clean away any dirt or residue that may be causing stiffness.
Next, we’ll address rust or corrosion issues.
Removing Rust or Corrosion from Nail Clippers
Vinegar Soak: Submerge the affected parts of the nail clipper in a solution of white vinegar and water for several hours. The acidic properties of vinegar can help dissolve rust and corrosion.
Baking Soda Paste: Create a paste using baking soda and water and apply it to the rusted areas of the nail clipper. Let it sit for a few hours before scrubbing with a toothbrush to remove the rust.
Maintaining properly functioning nail clippers is essential for achieving neat and tidy nails. By addressing common issues such as dull blades, stiff mechanisms, and rust or corrosion, you can prolong the lifespan of your nail clippers and ensure efficient nail grooming.
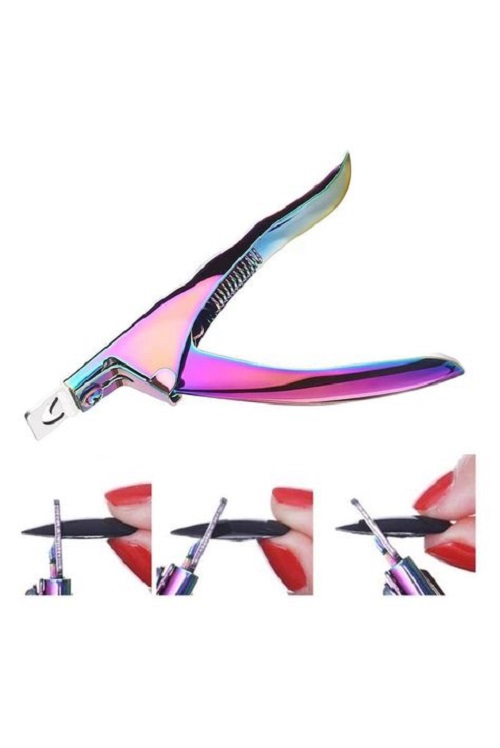
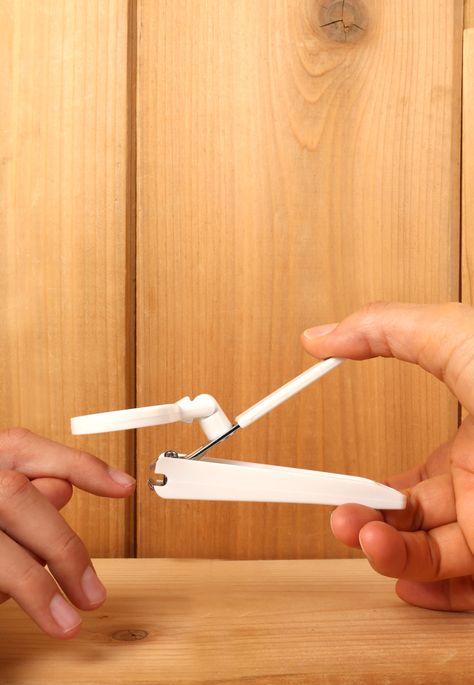
Nail Clipper Anatomy: Understanding the Parts
-
Blades: The two sharp edges that meet to cut nails.
-
Cutting head: The part of the clipper that houses the blades.
-
Fulcrum: The fixed point around which the lever pivots.
-
Lever: The handle you squeeze to close the blades.
-
Nail catcher (optional): A small compartment that collects nail clippings.
Knowing the parts of your nail clippers will help you diagnose and fix problems.
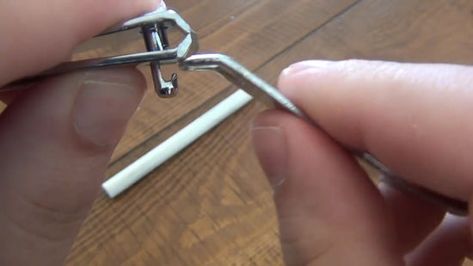
Sharpening Your Nail Clippers
-
Blunt blades are a common issue: Over time, nail clipper blades can become dull, making it difficult to clip nails cleanly.
-
Sharpening restores clean cuts: Sharpening can revitalize your clippers and extend their lifespan.
There are two main methods for sharpening nail clippers:
-
Using a sharpening stone: A sharpening stone is a small, abrasive block used to sharpen blades. Draw the clipper blades across the stone at a 20-degree angle several times.
-
Using a honing rod: A honing rod is a smooth steel rod used to realign a blade’s edge. Gently draw the clipper blade up and down the honing rod several times.
Be careful when sharpening. Incorrect technique can damage the blades.
Safety First!
-
Sharpening tools can be sharp: Always handle sharpening tools with care to avoid cuts.
-
Consider professional sharpening: If you’re uncomfortable sharpening yourself, consider taking your clippers to a professional sharpener.
Safety is paramount. If you’re not comfortable sharpening your clippers, don’t hesitate to seek professional help.
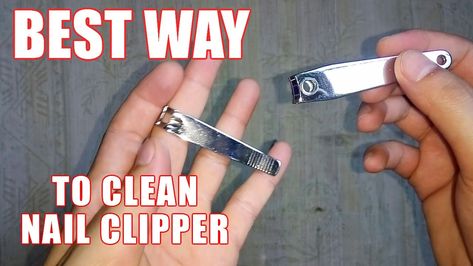
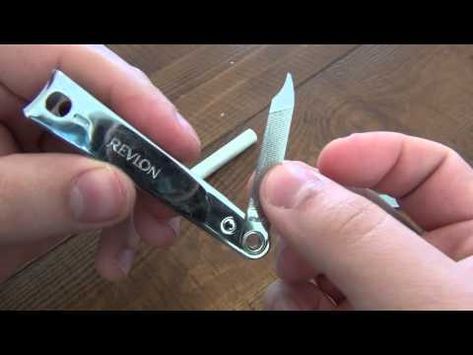
Cleaning Your Nail Clippers
-
Dirty clippers can be dull: Dirt, grime, and nail debris can build up on the blades and hinder their performance.
-
Regular cleaning is essential: Cleaning your clippers regularly can help them function smoothly and extend their lifespan.
Here’s how to clean your nail clippers:
-
Disassemble the clippers, if possible. Consult the manufacturer’s instructions for disassembly.
-
Wipe the blades and other components with a disinfectant wipe or rubbing alcohol.
-
Remove any visible dirt or debris with a cotton swab or soft brush.
-
Rinse the parts with clean water and dry them thoroughly before reassembling.
Regular cleaning keeps your clippers functioning optimally and helps prevent rust.
Troubleshooting Common Nail Clipper Problems
-
Loose clippers: If your clippers feel loose or wobbly, the culprit might be a loose screw or rivet. Tighten any screws with a screwdriver.
-
Stiff clippers: Stiff clippers can be caused by dried lubricant or dirt buildup. Try cleaning the clippers as described above. If the problem persists, consider applying a small drop of lubricating oil.
-
Uneven cuts: Uneven cuts can indicate misaligned blades. Unfortunately, realigning blades is a delicate process and not recommended for DIY fixes. In this case, consider replacing the clippers.
If you can’t fix the problem yourself, don’t hesitate to replace your nail clippers.
The Bottom Line
Nail clippers are a handy tool, but they can malfunction over time. Before throwing them away, consider trying a simple fix! How to fix nail clippers?
Sharpening, cleaning, and basic troubleshooting can often revive dull or malfunctioning clippers.
If you’re uncomfortable with DIY fixes or the problem persists, consider replacing your nail clippers.
Remember, sharp and clean nail clippers are essential for safe and healthy nail care!
Considering Replacement
-
Sometimes, it’s time to let go: If your clippers are severely damaged, rusted, or have loose parts that can’t be tightened, it might be best to replace them.
-
Safety first: Dull or damaged clippers can make it harder to clip nails cleanly, increasing the risk of snags or injuries.
-
New clippers offer better performance: Investing in a new, high-quality nail clipper can provide a more comfortable and efficient clipping experience.
Replacing your clippers might be necessary, but there are still ways to save money!