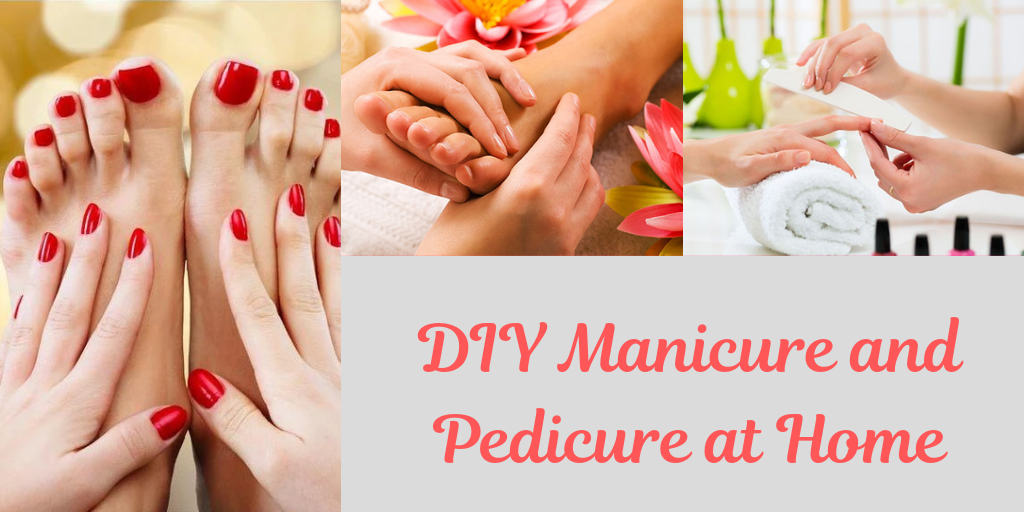
Salon-Worthy Nails on a Budget: Mastering the Art of Manicures at Home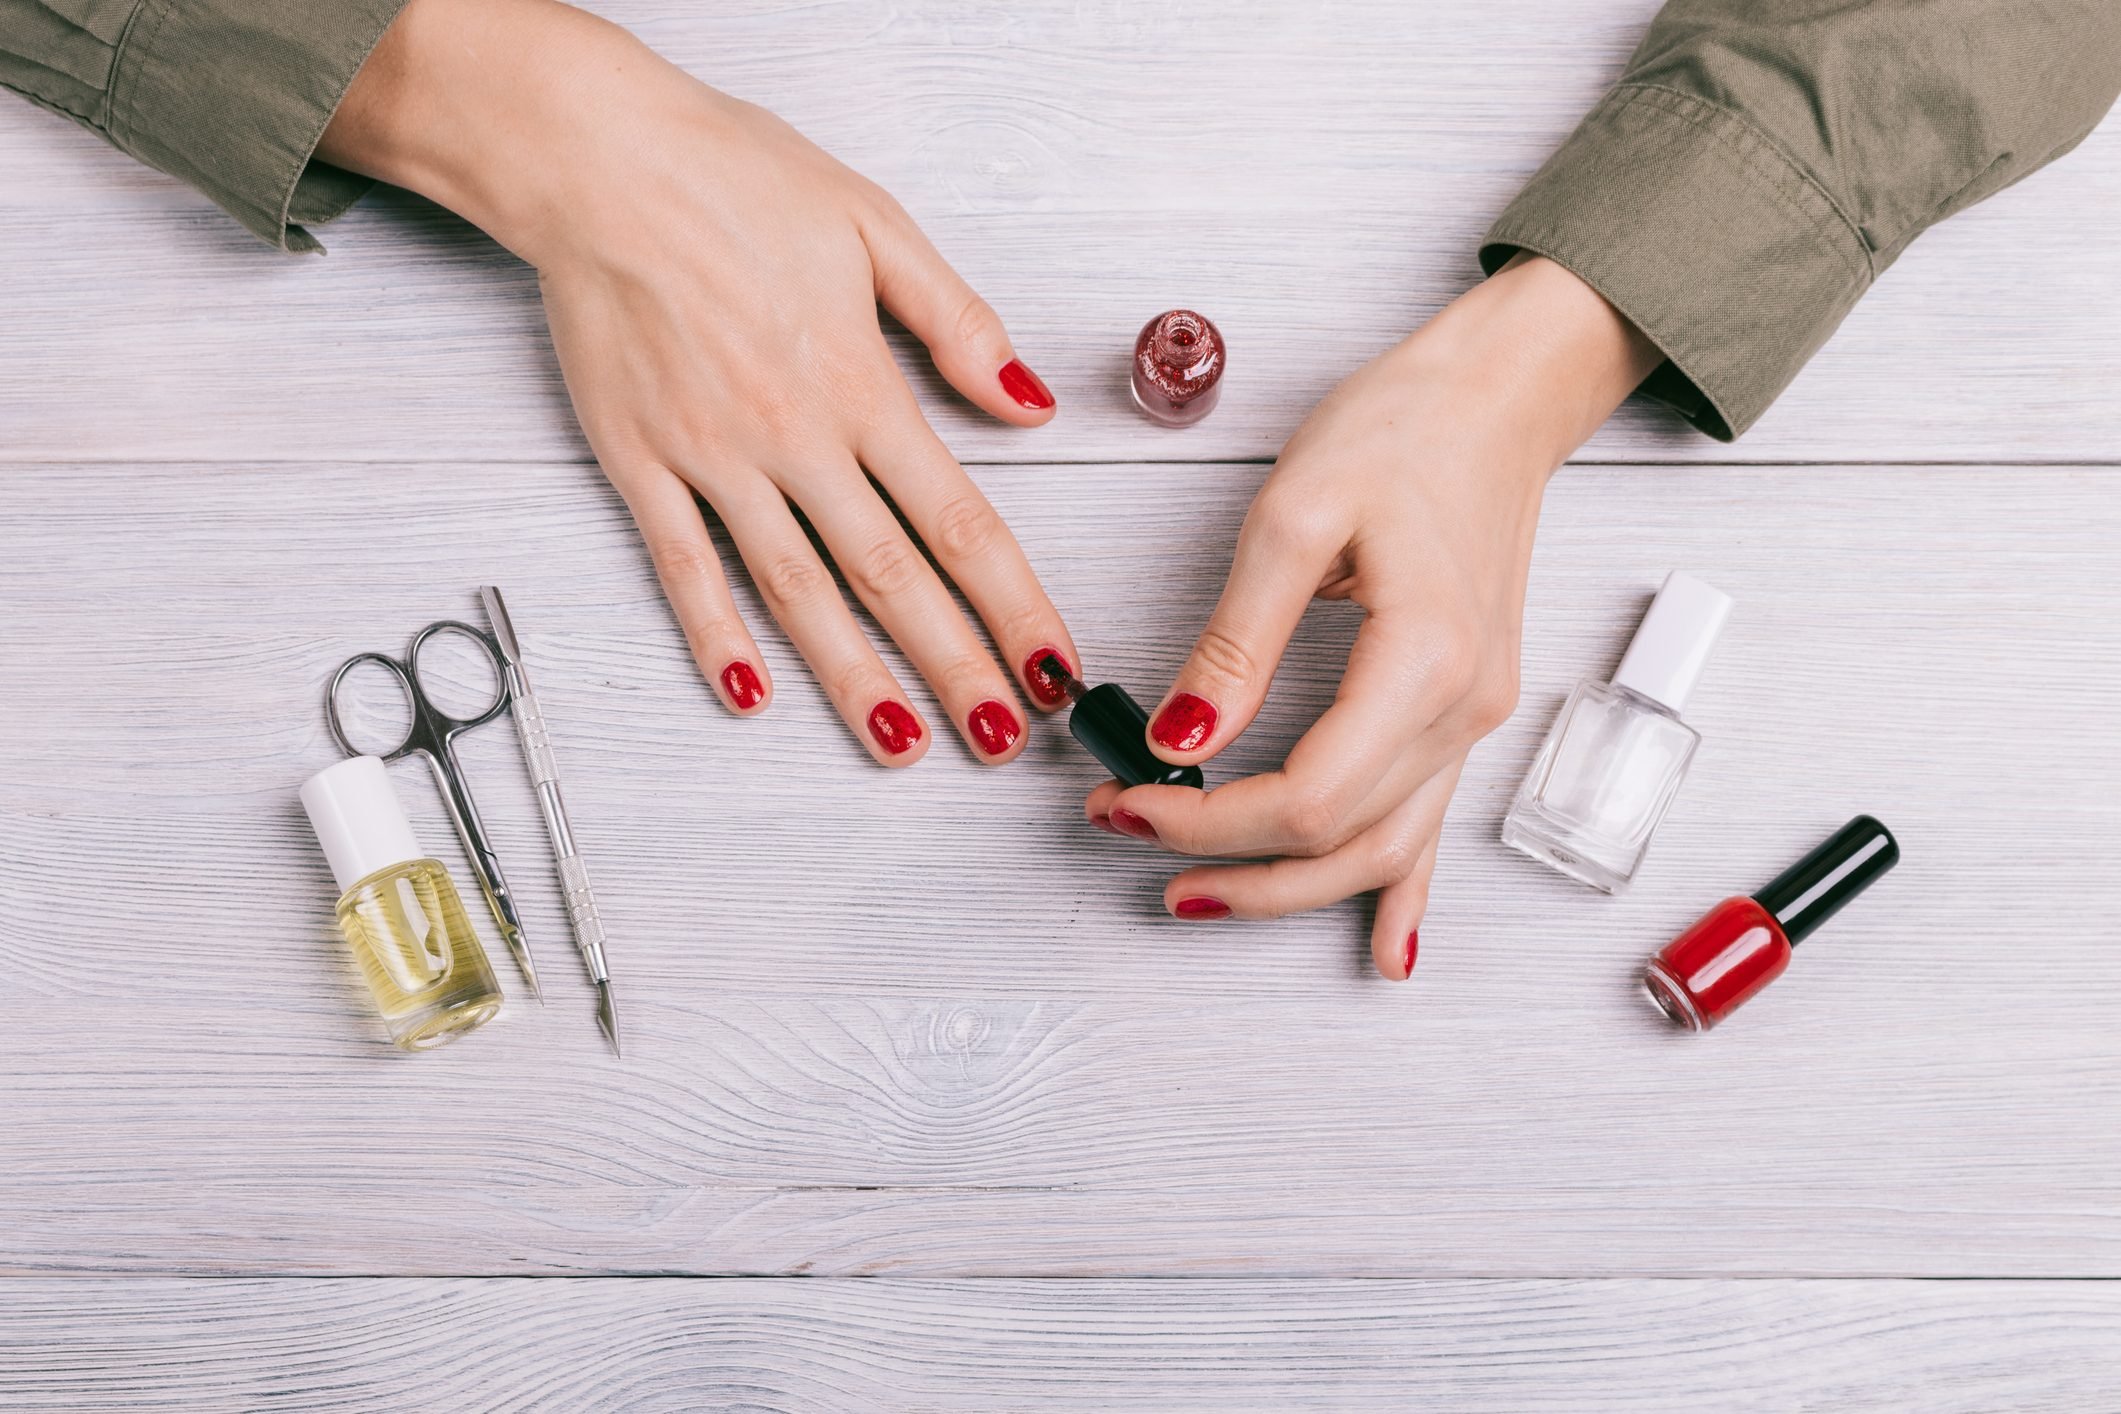
A fresh manicure can instantly elevate your mood and add a touch of polish (pun intended!) to your overall look. But the cost of regular salon visits can add up quickly. The good news? Creating beautiful manicures at home is entirely achievable! This guide empowers you to take control of your nail care routine, offering tips and tricks for achieving salon-quality results without breaking the bank.
Embracing the DIY Spirit: Essential Tools and Products
Before embarking on manicures at home journey, gather the necessary tools and products:
- Nail clippers and file: Maintain your desired nail length and shape with sharp clippers and a file with different grits (coarse for shaping, fine for smoothing).
- Buffer: Gently buff the nail surface to remove ridges and create a smooth base for polish application.
- Base coat: This protects your natural nails and promotes smoother polish application. Opt for a strengthening base coat for added protection.
- Nail polishes: Choose colors that complement your skin tone and personal style. Consider having a variety of shades for different occasions.
- Top coat: This seals the entire manicure and adds a glossy finish. Opt for a quick-drying top coat for added convenience.
- Nail polish remover: Remove any mistakes or previous polish with an acetone-free remover for gentler care.
- Cotton swabs: These are handy for cleaning up polish mistakes.
- Cuticle pusher (optional): This tool gently pushes back cuticles for a cleaner base (optional step).
- Cuticle oil: Regularly moisturize your cuticles to keep them healthy and prevent dryness.
Additional tips: Invest in high-quality nail polish remover to avoid harsh chemicals that can damage your nails. Consider using a dedicated hand cream or lotion alongside cuticle oil to maintain overall hand health.
Creating a Clean Canvas: Prepping Your Nails for Perfection
Proper preparation is key to a long-lasting and flawless manicure. Here’s a step-by-step guide to prepping your nails:
- Remove any existing polish: Use an acetone-free nail polish remover to gently remove any previous polish or product residue.
- Wash your hands: Thoroughly wash your hands with soap and water to remove dirt and oils. This ensures better polish adherence.
- Trim and shape your nails: Use sharp nail clippers to trim your nails to your desired length. File your nails into the desired shape using the appropriate grit on your nail file. Rounded or square tips are popular choices for manicures, but choose a shape that complements your hand shape and preference.
- Buff the nail surface (optional): Gently buff the surface of your nails with a nail buffer to remove ridges and create a smooth base for polish application. Avoid over-buffing, as this can thin your nails.
- Push back cuticles (optional): If you choose to push back your cuticles, use a cuticle pusher gently to do so. Be very gentle and avoid overdoing it, as damaging the cuticle area can lead to discomfort and infection.
- Apply cuticle oil: Apply a drop of cuticle oil to each cuticle and massage it gently. This helps moisturize and soften your cuticles, promoting a healthier overall look.
- Clean your nails with nail polish remover (optional): Wipe your nails with a cotton swab dipped in nail polish remover (preferably acetone-free) to remove any oils or residue that may affect polish adhesion.
Remember: Taking the time to properly prep your nails sets the stage for a long-lasting and professional-looking manicure.
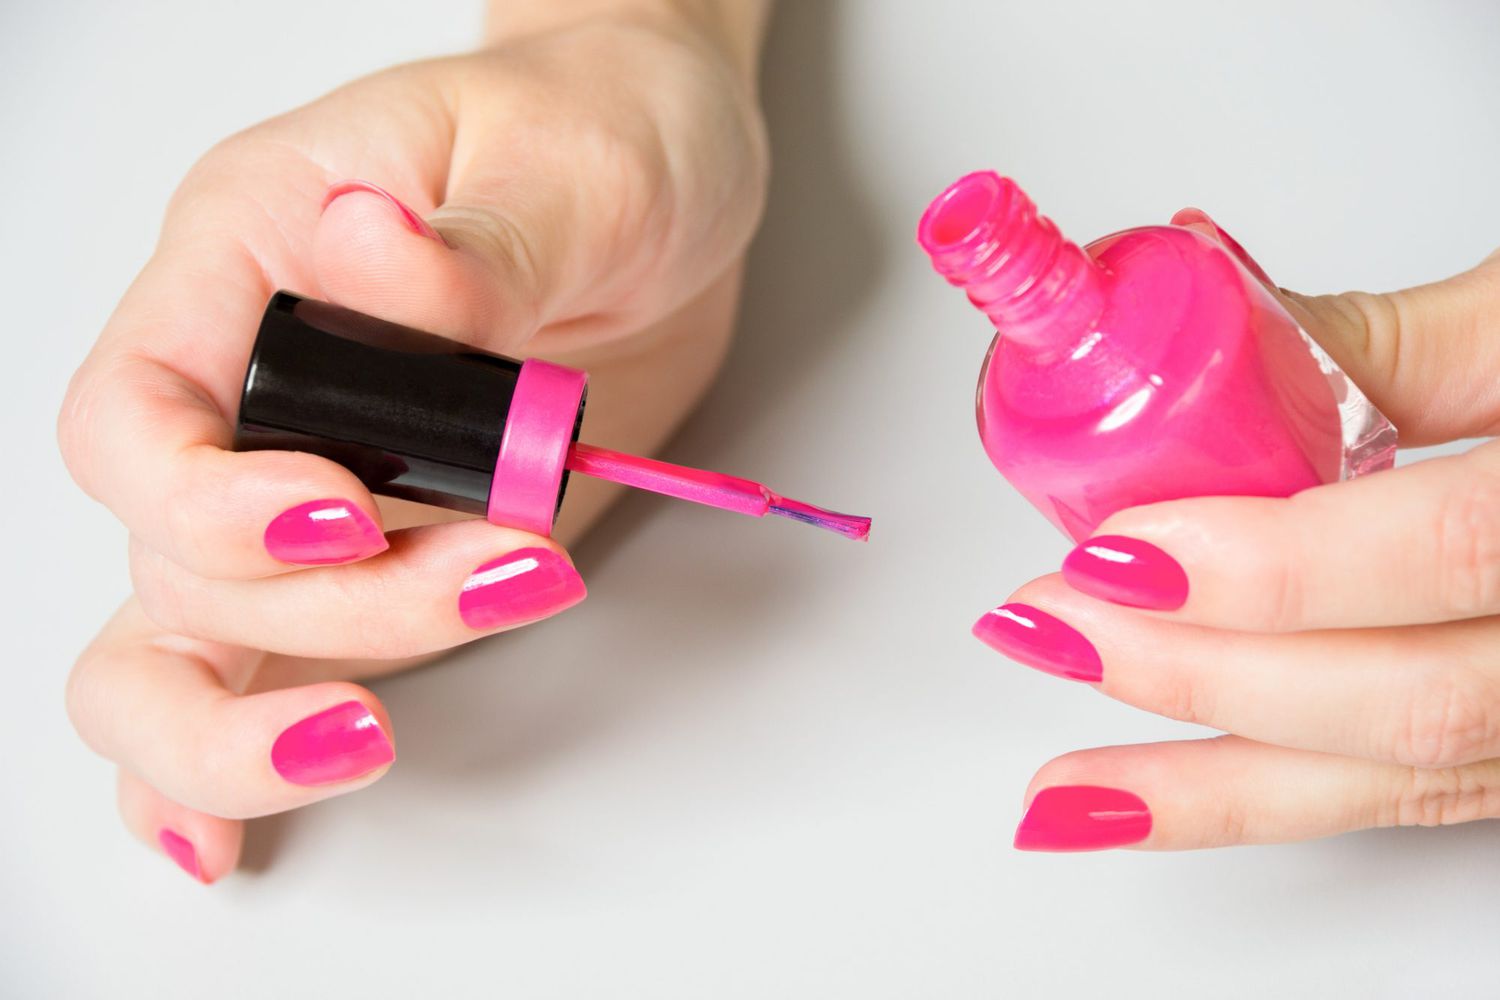
Polishing Your Skills: The Art of Applying Nail Polish
Now comes the fun part – applying the polish! Here are some key steps to ensure a smooth and flawless application:
- Apply a base coat: Paint a thin layer of base coat onto all your nails, ensuring even coverage from base to tip. Allow the base coat to dry completely before proceeding to the next steps.
- Choose your polish color: Select a nail polish color that complements your skin tone and desired look. Consider applying a second thin coat for full opacity, allowing each coat to dry completely in between.
- Start with the dominant hand: Most people find it easier to paint their non-dominant hand first to avoid smudging the polish on your dominant hand as you paint.
- Apply polish in thin coats: Multiple thin coats are better than one thick coat. This allows each layer to dry properly, preventing smudging and chipping.
- Focus on the center first: Apply a small drop of polish in the center of your nail. Then, using smooth strokes, glide the brush from the base of your nail to the tip. Repeat on both sides of the nail for even coverage
- Clean up any mistakes: Use a cotton swab dipped in nail polish remover (preferably acetone-free) to carefully clean up any polish that strayed outside the desired lines.
- Apply top coat: Once all your nails are painted and dry, apply a generous layer of top coat to seal the manicure and add a glossy finish. Allow the top coat to dry completely before enjoying your beautiful nails.
Additional tips:
- Use a steady hand and rest your elbow on a flat surface for better control while applying polish.
- Clean your brush after each use with nail polish remover (preferably acetone-free) to prevent the polish from drying and hardening on the bristles.
- Practice makes perfect! Don’t be discouraged if achieving perfectly even lines takes a few tries. With practice and patience, you’ll be applying polish like a pro.
Beyond the Basics: Maintaining Your Manicure and Healthy Nails
For a long-lasting manicure and healthy nails, remember these additional tips:
- Wear gloves: Protect your manicure from harsh chemicals and prolonged water exposure by wearing gloves while doing chores or activities like cleaning or washing dishes.
- Moisturize regularly: Regularly apply hand cream and cuticle oil to keep your hands and cuticles hydrated. This not only promotes healthy nail growth but also adds a touch of shine and keeps your hands looking their best.
- Take breaks: Give your nails a break from polish every few weeks to allow them to breathe and recover. Apply a strengthening treatment during this time to promote healthy nail growth.
- Choose healthy habits: Maintain a balanced diet rich in essential vitamins and minerals to support healthy nail growth from within. Avoid habits like nail biting, which can damage your nails and increase the risk of infection.
By following these tips and practicing regularly, you can achieve salon-quality manicures at home, saving time and money while learning a valuable skill. Remember, with a little practice and dedication, you can create beautiful and healthy nails that express your unique style and personality.