Mastering the Manicure: A Step-by-Step Guide to DIY French Tips
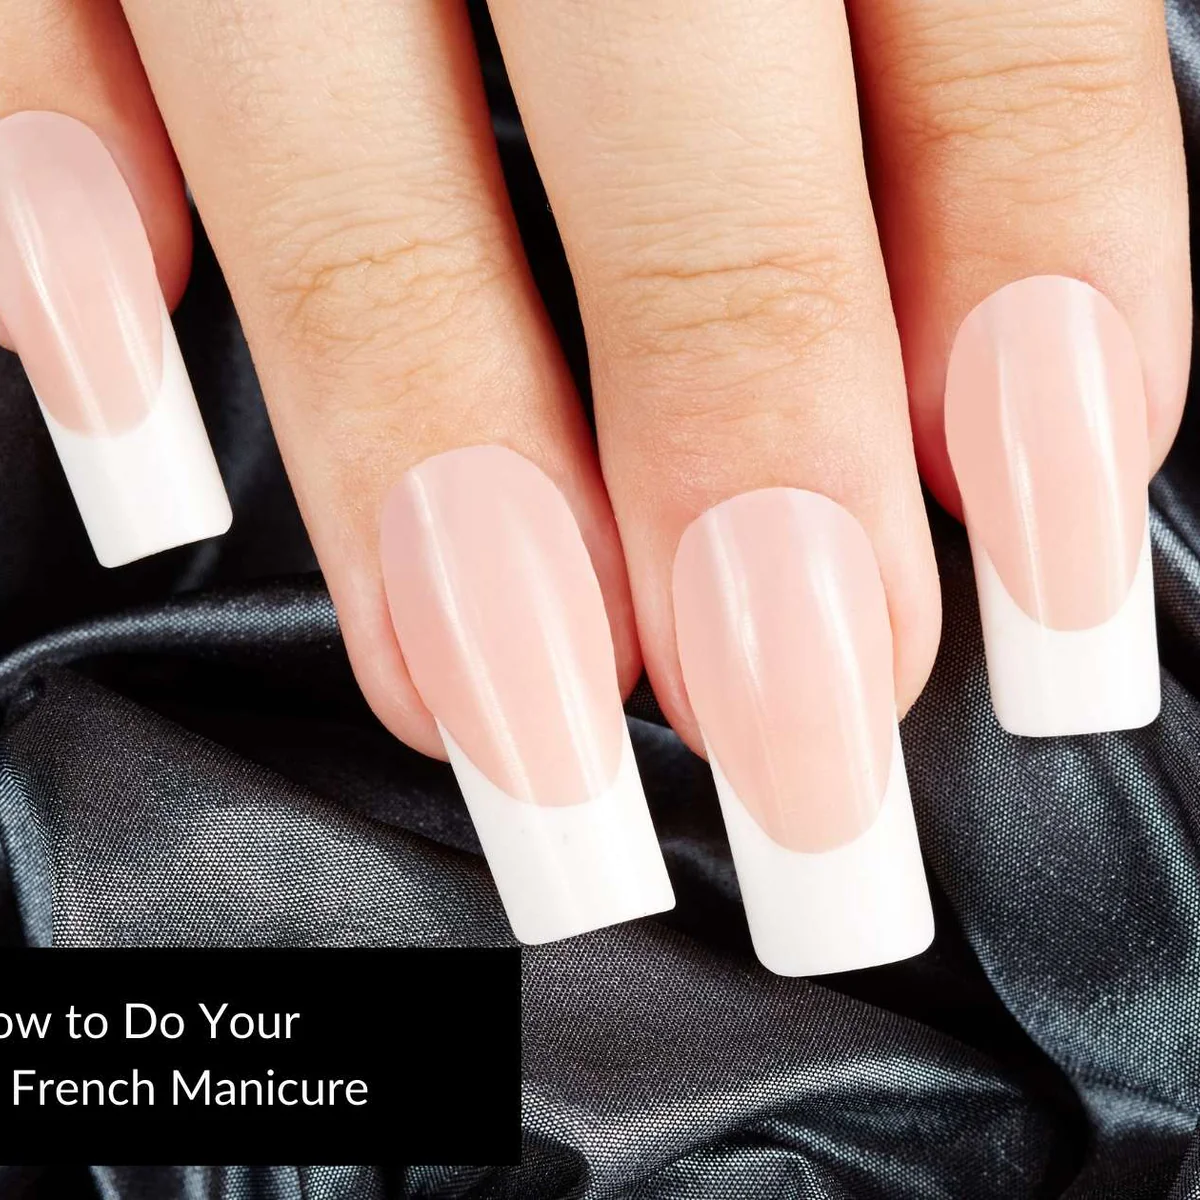
The French manicure, with its timeless elegance and versatility, has remained a popular choice for decades. Characterized by a clean and natural-looking base with crisp white tips, it complements various styles and occasions. While achieving salon-quality results at home may seem daunting, this guide empowers you to create your own perfect French manicure with ease.
Gathering Your Supplies: Essential Tools for DIY French Tips
Before embarking on your French manicure journey, ensure you have the necessary tools:
- Base coat: This protects your natural nails and promotes smoother polish application.
- White nail polish: Opt for a bright, opaque white specifically designed for French manicures.
- Nude or light pink nail polish: Choose a shade that complements your natural skin tone for the base color.
- Top coat: This seals the entire manicure and adds a glossy finish.
- Nail polish remover: Remove any mistakes or previous polish with an acetone-free remover for gentler care.
- Cotton swabs: These are handy for cleaning up polish mistakes.
- French manicure guides (optional): These self-adhesive stencils can help ensure a clean line for the white tips, especially for beginners.
Additional tips: Use high-quality nail polishes for better application, chip resistance, and a more professional-looking finish. Consider using a nail art brush for drawing the white tips if you’re comfortable with freehand application and don’t want to use stencils.
Prepping for Perfection: Setting the Stage for Flawless French Tips
Creating a flawless French manicure starts with proper preparation. Here’s a deeper dive into this crucial step:
- Remove any existing polish: Use an acetone-free nail polish remover to gently remove any previous nail polish or product residue. Acetone can be harsh and drying, so opting for an acetone-free alternative is gentler on your nails.
- Exfoliate and moisturize: Gently exfoliate your hands and cuticles with a sugar scrub or a dedicated hand scrub. This removes dead skin cells and allows for smoother polish application. Follow up with a hydrating hand cream or lotion, paying particular attention to your cuticles. Moisturized cuticles not only look healthier but also contribute to a more polished overall look.
- Push back your cuticles (optional): This step is optional but can help create a cleaner base and make your nails appear longer. Use a cuticle pusher gently to push back your cuticles. Be very gentle and avoid overdoing it, as damaging the cuticle area can lead to discomfort and infection.
- Trim and shape your nails: Use sharp nail clippers to trim your nails to your desired length. Opt for a nail file with different grits to shape your nails. Start with a coarser grit to achieve the desired shape, then use a finer grit to smooth out any rough edges. Remember, rounded or square tips work well with French manicures, but ultimately, choose a shape that complements your hand shape and personal preference.
- Buff the nail surface: Gently buff the surface of your nails using a nail buffer. This removes ridges and creates a smooth base for better polish adhesion. Avoid over-buffing, as this can thin your nails and make them more susceptible to breakage.
- Apply a base coat: Paint a thin layer of base coat onto all your nails, ensuring even coverage from base to tip. A good base coat strengthens your nails, prevents staining from colored polishes, and promotes smoother polish application. Allow the base coat to dry completely before proceeding to the next steps.
- Mastering the White Tips: Achieving Crisp Lines with Confidence
Here’s where the magic happens! Follow these steps for creating clean white tips:
Option 1: Using French Manicure Guides (Recommended for Beginners):
- Apply the guides: Carefully peel off a French manicure guide and place it curved at the tip of your nail, ensuring the white part aligns with your desired tip size. Press gently to secure it.
- Paint the white tip: Apply a thin layer of white polish to the exposed tip of your nail, following the curved edge of the guide. Be careful not to overload the brush, and avoid touching the cuticle or skin around your nail.
- Remove the guide carefully: While the white polish is still wet, gently lift and peel off the French manicure guide in a smooth, upward motion.
- Clean up any mistakes: Use a cotton swab dipped in nail polish remover to carefully remove any white polish that strayed outside the desired line.
Option 2: Freehand Application (For Experienced Users):
- Dip the nail art brush (or a thin brush) in white polish.
- Steady your hand: Rest your elbow on a flat surface for better control.
- Start at the outer corner of the tip: Draw a thin line of white polish along the edge of your nail, following the natural curve. Aim for a consistent width throughout the tip.
- Repeat on the other side of the tip: Connect the two lines to create a clean, curved white tip.
- Refine the line: Use a cotton swab dipped in nail polish remover to clean up any wobbly lines.
- Repeat steps 3-5 for all your nails.
Remember: Practice makes perfect! Don’t be discouraged if achieving perfectly even lines takes a few tries. With practice and a steady hand, you’ll master the freehand application technique.
Completing the Look: Sealing the Deal with Color and Shine
Once your white tips are dry, proceed with the following steps:
- Apply the nude or light pink polish: Paint two thin coats of your chosen color onto the entire nail, excluding the white tip. Allow each coat to dry completely before applying the next.
- Apply top coat: Finish your manicure with a generous layer of top coat for added shine, chip resistance, and a smooth, glossy finish. Let the top coat dry completely before admiring your handiwork!
Beyond the Basics: Tips and Tricks for Long-Lasting French Manicures
- Use thin coats: Applying several thin coats of polish is better than one thick coat. This allows each layer to dry properly, preventing smudging and chipping.
- Clean as you go: Use a cotton swab dipped in nail polish remover to immediately clean up any polish mistakes before they dry.
- Let it dry completely: Allow ample drying time between each coat of polish. Rushing the process can lead to smudging and a less than perfect finish.
- Moisturize your cuticles: Regularly apply cuticle oil to keep your cuticles hydrated and prevent them from becoming dry and cracked. This also adds a touch of shine and completes the overall look of your manicure.
- Avoid harsh chemicals: Wear gloves when doing chores or activities that involve harsh chemicals or prolonged water exposure. This helps protect your manicure from premature fading and chipping.
- Take breaks: Give your nails a break from polish every few weeks to allow them to breathe and recover. Apply a strengthening treatment during this time to promote healthy nail growth.
Conclusion
By following these tips and practicing regularly, you can achieve salon-quality French manicures at home, saving time and money while expressing your personal style with a touch of classic elegance. Remember, have fun with the process, embrace a little creativity, and enjoy the satisfaction of creating beautiful French tips yourself!