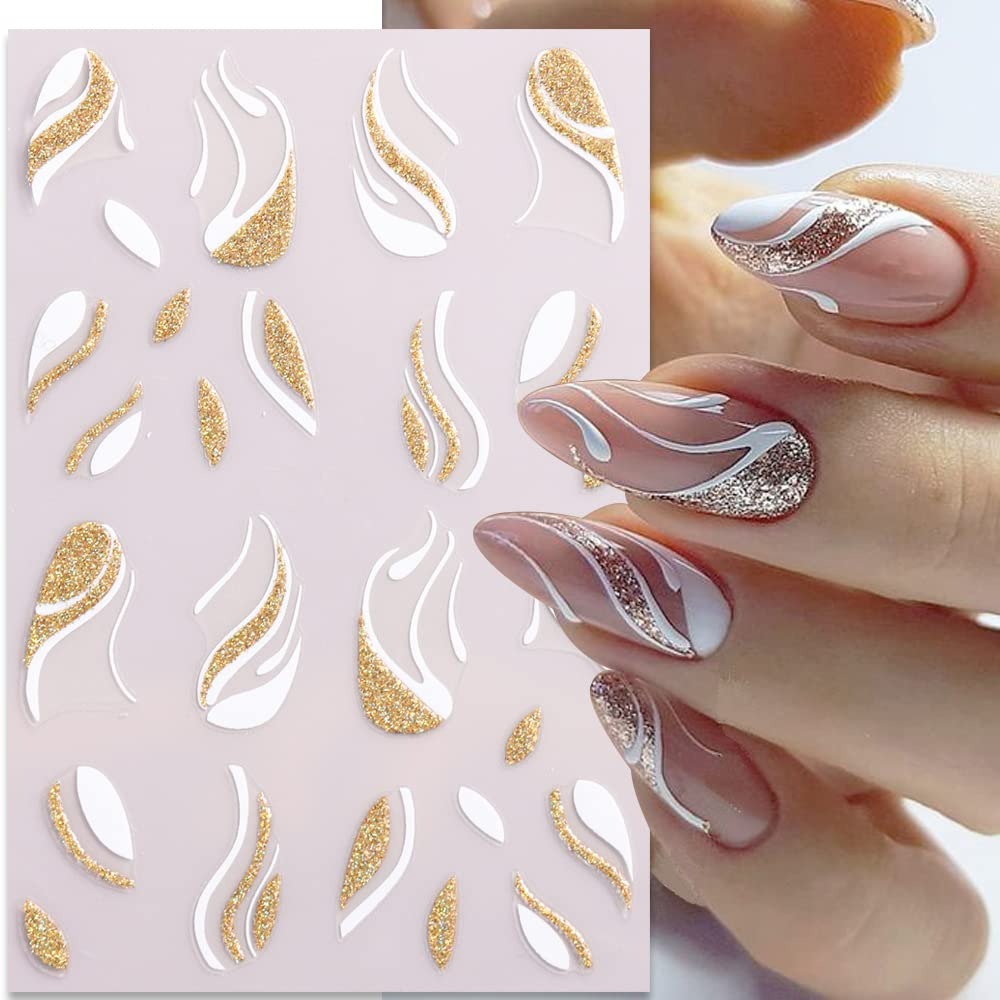
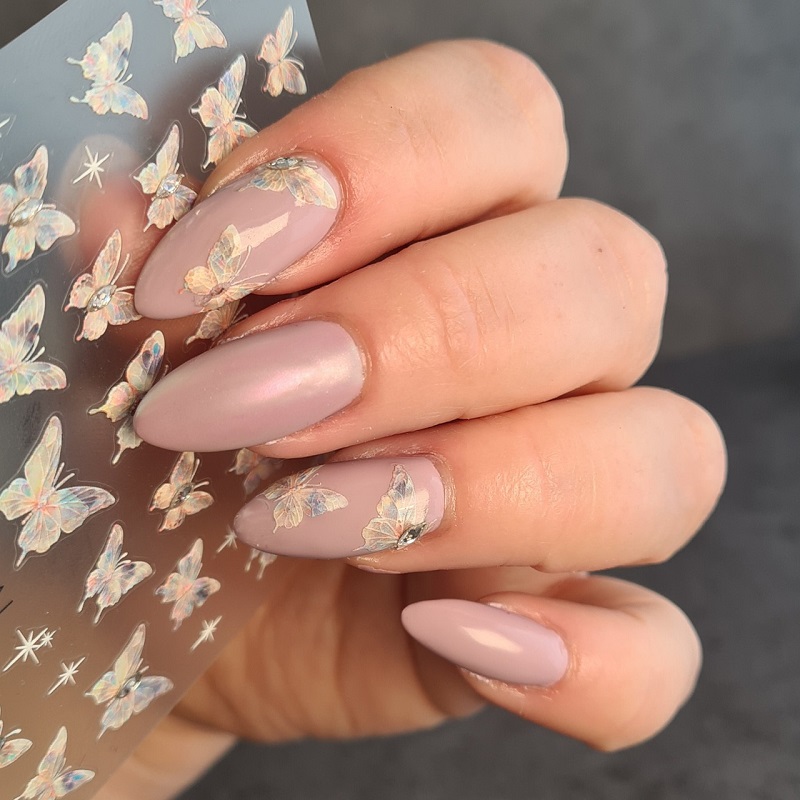
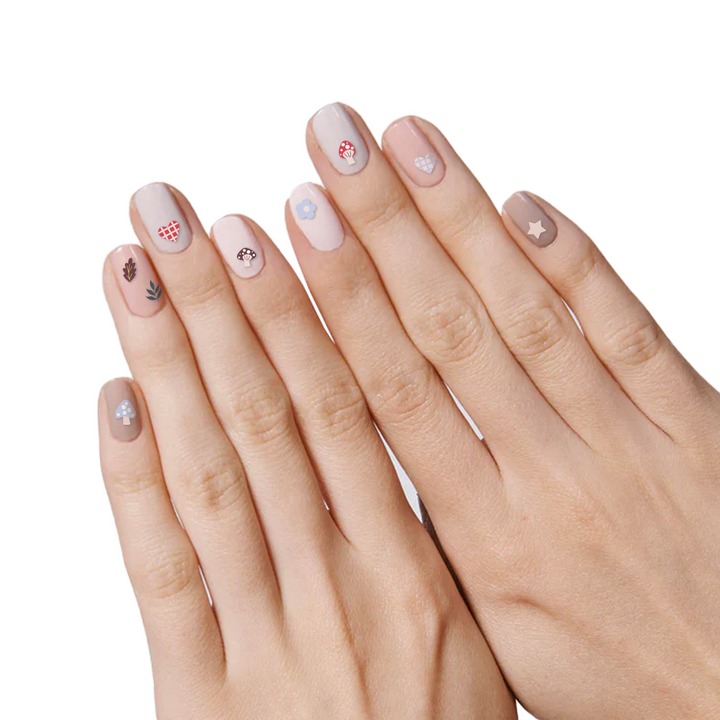
Nail art stickers have revolutionized the way we express our personality and creativity through our manicures. In this guide, we will delve into how to use nail art stickers effectively, ensuring you achieve stunning and professional-looking nails without the hassle of traditional nail painting techniques. Here are some essential points to consider when using nail art stickers.
Gathering Necessary Supplies
To begin with nail art stickers, collecting the right supplies is crucial.
Basic Materials Required
Start by assembling all the essential items:
- A trusty base coat to protect your nails.
- Sharp scissors for cutting stickers.
- Tweezers for precise handling.
- Nail polish remover for cleaning nails.
- A quick-drying top coat to seal your design.
Remember to choose a non-acetone remover to avoid nail damage.
Recommended Brands for Top Quality
Selecting high-quality brands can enhance your nail art experience.
For a durable base coat, consider the ‘7-in-1 Potion Base Coat’.
For a fast finish, the ‘Speed Dry Top Coat’ is a favorite among experts.
Moreover, brands like Maniology offer a vast selection of nail art stickers.
Whether you desire fluorescent ‘Glow in the Dark’ stickers or delicate ‘Winter Snowflakes’, they have you covered.
Ensure you have more supplies than you think you’ll need; it’s always better to be over-prepared.
Preparing Your Nails

Proper nail preparation is key for the best application of nail art stickers.
Importance of Clean and Dry Nails
Start with clean, dry nails to ensure stickers adhere well. Use a non-acetone remover to clean any polish residue and avoid moisture that could cause the stickers to slip off.
Application of Base Coat
Apply a high-quality base coat like ‘7-in-1 Potion Base Coat’ to create a smooth surface. This helps stickers stick better and protects your natural nails. Allow it to dry completely before proceeding.
Selecting Nail Art Stickers
Choosing the right nail art stickers can turn a plain manicure into a masterpiece.
Choosing the Right Design and Size
Start with sizing up your nails. Each sticker should fit your nail’s shape and surface. Pick designs that complement your nail size, avoiding ones that are too large or small. Align the stickers with your nail beds to check fit before applying.
To accommodate diverse tastes, Maniology offers an array of sticker designs. You can find everything from bold animal prints to subtle geometric patterns.
Trendy Options and Seasonal Designs
For those seeking the latest trends, consider stickers that reflect current fashion. Glow in the Dark stickers are perfect for nights out, while Winter Snowflakes suit the holiday season.
Seasonal stickers are a fun way to express your style. Spring might call for pastel florals, and summer, vibrant tropical prints. The great thing about nail art stickers is you can change them with your mood or the occasion.
Brands like Maniology are aware of these trends and regularly update their collections. They make it easy to stay fashionable with your nail art all year round.
When selecting, remember the key is to choose what makes you feel confident and stylish. Your perfect pick should not only look good, but also resonate with your personal style.
Applying Nail Art Stickers
Positioning and Securing on Nails
When you’re ready, place the nail sticker on your nail. Start from the base and move upwards. Hold the sticker with tweezers for better accuracy. Press it firmly so it sticks well. Avoid touching the sticky side with fingers, as this lessens the stickiness. Make sure it’s straight and in the right spot before pressing down.
Smoothing and Trimming for Perfect Fit
Once positioned, smooth out the sticker to remove air bubbles. Use a silicone tool or gently tap with your fingers. If the sticker is too big, trim the edges with precision. It should match your nail’s shape perfectly. Take care not to leave any overhanging parts, as they can catch and peel off.
Ensuring Long Lasting Application
To make sure your nail art stickers stay put, follow these steps.
Applying Top Coat for Sealing
After placing your stickers, lock them in with a top coat. Choose a fast-drying top coat to avoid smudges. Apply it gently over the sticker, covering the entire nail. This seals the edges of the stickers. It also adds shine and protects the design.
Tips for Making Stickers Last Longer
Here are some extra tips to extend the life of your nail stickers:
- Keep nails dry and avoid long soaks in water.
- Wear gloves when cleaning or using harsh chemicals.
- Touch up the top coat every few days to prevent chipping.
- Avoid peeling or picking at the edges of the stickers.
By applying a top coat and following these tips, your nail art stickers can last for weeks. Make sure you use non-acetone remover for touch-ups, as it’s gentler on the stickers and your nails.
Addressing Common Concerns

Ensuring the correctness of the process for nail art stickers is essential, but equally important is knowing how to tackle common concerns related to their use.
Safe Removal of Nail Stickers
Removing nail stickers should be done gently to avoid nail damage. Use a nail polish remover that suits your skin and nails. It’s best to choose a non-acetone nail polish remover for this process.
Here’s a safe way to remove them:
- Gently rub the edges of the sticker with your nail polish remover.
- Wait for the adhesive to dissolve before peeling the sticker off.
- If the sticker is stubborn, apply more remover and wait a couple of minutes.
- Use a wooden cuticle stick to lift the sticker if needed.
With this approach, the nail art stickers should come off without harming your natural nails.
Preventing Damage to Natural Nails
To keep your natural nails healthy under nail art stickers, follow these tips:
- Always start with a base coat to protect the nail surface.
- Do not forcefully scrape stickers off your nails.
- If you change stickers often, give your nails a break in between.
- Moisturize your nails after removing the stickers.
These practices can help preserve the integrity of your natural nails while enjoying the beauty of nail art stickers.
Maintenance and Aftercare

After carefully applying your nail art stickers, maintenance is key to keeping them looking great.
Protecting Your Manicure
To protect your manicure, follow these simple tips:
- Apply a fresh top coat every few days to prevent chipping.
- Wear gloves when doing household chores, especially when using water and detergents.
- Refrain from using your nails as tools to avoid lifting the stickers.
Consistency in maintenance can significantly extend the life of your nail art.
What to Avoid for Longevity
Certain activities can shorten the lifespan of nail stickers. Keep these points in mind:
- Avoid soaking your nails in water for long periods.
- Stay away from harsh chemicals or solvents without protection.
- Prevent contact with oils or lotions that can weaken the adhesive.
By avoiding these actions and following the maintenance advice, your nail art stickers can retain their flawless look for longer.
Conclusion
In conclusion, learning how to use nail art stickers can be a fun and creative process that adds a unique flair to your nail game. By preparing your nails properly, choosing the right stickers, applying them with care, and maintaining them carefully, you can achieve stunning results that elevate your nail aesthetic. So, whether it’s for a special occasion or just to express yourself on a daily basis, nail art stickers offer a convenient and stylish solution for anyone looking to enhance their manicure!