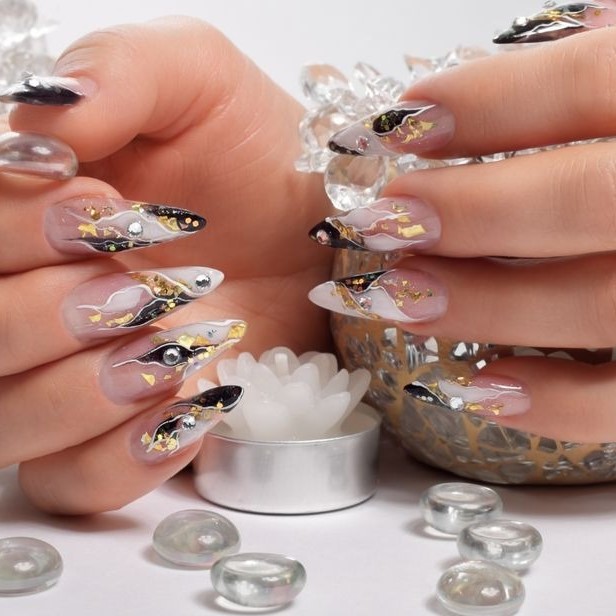
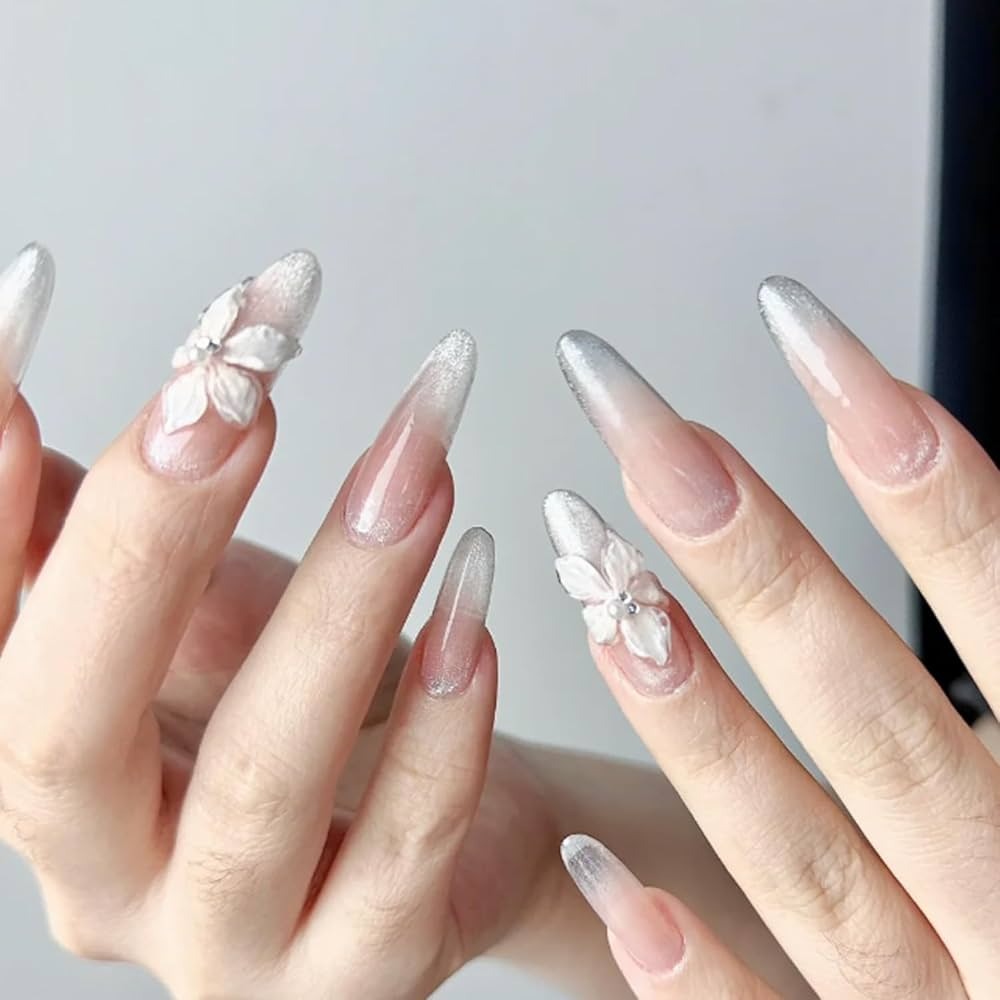
Creating stunning 3D nail art with gel requires a blend of creativity, precision, and the right techniques. This guide aims to walk you through the essential steps involved in mastering this art form, ensuring your nails become a true canvas of beauty. Below, we will explore the various aspects of how to do 3D nail art with gel, broken down into some informative sections.
Introduction to 3D Gel Nail Art
3D nail art is an innovative fashion trend that makes a bold style statement. This technique involves creating elevated designs on nails that are not only eye-catching but also tactile. Originating from dynamic nail art scenes in South Korea and Japan, 3D gel nail art has gained popularity worldwide, captivating beauty enthusiasts with its intricate and unique aesthetics.
The essence of 3D gel nail art lies in its ability to transform nails into miniature canvases of creativity. Artists use gels, stones, beads, and other materials to build designs that stand out from the nail’s surface, offering a visual and textural appeal that standard paint jobs can’t match. From simple raised patterns to elaborate scenes encapsulating various elements of nature and fantasy, the possibilities are limitless.
This art form is perfect for those who desire to make a fashion statement or celebrate special occasions with a touch of sophistication and glamour. Whether it’s a casual outing or a festive event, 3D gel nail art ensures your nails capture attention and spark conversations.
In the following sections, we will delve into the tools and materials required, how to prepare your nails, and step-by-step application processes to help you achieve stunning 3D gel nail art designs. Furthermore, tips on maintaining your 3D manicure and understanding its cost implications will also be covered.
Essential Tools and Materials for 3D Gel Nail Art

To embark on your 3D gel nail art journey, having the right tools and materials is crucial. Here’s a clear and concise guide to help you gather everything you need:
Gel Polishes
Select a variety of gel polishes. These serve as the base color and design medium for your art.
Sculpting Gel
This is thicker than regular gel polish and perfect for creating 3D effects. It helps form raised patterns and shapes.
3D Accessories
Include beads, stones, and charms. These add intricate details and texture to your designs.
Brushes and Dotting Tools
Fine-tip brushes are essential for detailed work. Dotting tools help in placing accessories precisely.
UV or LED Lamp
A lamp is necessary to cure the gel polish and sculpting gel. Make sure it suits the type of gel you are using.
Cleansing Products
Have alcohol wipes and a gentle cleanser ready. These are used to clean and prep the nail surface before application.
Top Coat
A quality top coat seals your design. It enhances durability, giving your nail art a glossy finish.
Gathering these materials will set you up for successful 3D gel nail art creations, combining style with creativity.
Preparing Your Nails for a 3D Gel Manicure
Before diving into the art of 3D gel nail art, proper preparation is crucial. Start with clean, healthy nails as a foundation. Follow these steps to ensure your nails are ready:
Clean Your Nails
Wash your hands with mild soap and pat dry. This step removes oils and dirt.
Nail Trimming and Shaping
Clip your nails to the desired length. File them to your preferred shape.
Buffing
Use a soft nail buffer to gently even out the nail surface. This helps the gel adhere better.
Cuticle Care
Push back your cuticles with a cuticle stick. Take care not to cut or injure them.
Dehydrate the Nail Plate
Wipe your nail beds with alcohol wipes to dehydrate and remove any remaining oils.
Apply a Base Coat
Choose a high-quality base coat and apply it. Cure it under a UV or LED lamp as directed.
Preparing your nails with these steps will help achieve a longer-lasting and more striking 3D gel manicure. Remember not to rush through these preparations as they are key to the endurance of your nail art.
Step-by-Step Process for Applying 3D Gel Nail Art
Achieving stunning 3D gel nail art requires precision and creativity. Follow this step-by-step guide to transform your nails into standout 3D designs:
Step 1: Apply Base Gel Polish
Start by applying a thin layer of your chosen gel polish as the base color. Cure it under a UV or LED lamp following the manufacturer’s instructions.
Step 2: Sculpting the Design
Use sculpting gel to create raised designs on your nails. Whether you’re aiming for simple geometric shapes or intricate floral patterns, the thick consistency of sculpting gel will hold the design in place. Use a fine-tip brush for detailed work and cure the design under the lamp.
Step 3: Adding 3D Accessories
Once the sculpted gel is cured, it’s time to enhance your design with 3D accessories like beads, stones, and charms. Apply a small amount of gel to secure these elements, and position them using dotting tools for precision. Cure again to ensure everything is firmly attached.
Step 4: Sealing the Design
To protect your 3D artwork, apply a top coat over the entire nail. This not only adds a glossy finish but also secures the accessories and sculpted designs. Cure one last time under the lamp.
Step 5: Cleaning and Finishing Touches
After curing, use alcohol wipes to remove any sticky residue left from the curing process. Now your 3D gel nails are ready to dazzle.
By following these steps, you can create personalized and durable 3D gel nail art. Experiment with different designs and accessories to express your unique style.
Tips for Designing Creative 3D Gel Nail Art

Designing creative 3D gel nail art involves more than just technique; it requires an eye for detail and a flair for creativity. Here are some essential tips to help you create truly unique and stunning 3D gel nail designs:
Draw Inspiration Broadly
Look everywhere for inspiration. Nature, art, fashion, and technology offer endless ideas. Translate a texture or shape that catches your eye into your nail art design.
Color Combination and Themes
Choose colors that complement each other. Consider the occasion or season to pick a theme. For instance, soft pastels for spring or vibrant reds and greens for Christmas.
Mix Textures
Don’t shy away from mixing textures. Combine matte and glossy finishes or incorporate metallics to enrich the design. Varied textures add depth and intrigue.
Play with Light
Incorporate elements like chrome or reflective beads that change appearance under different lighting. This adds a surprising and dynamic element to your nail art.
Use Quality 3D Accessories
Select high-quality beads, stones, and charms. They make a significant difference in both the look and durability of your design.
Keep Scale in Mind
When applying 3D elements, consider the nail’s size. Too large accessories can overwhelm small nails, while too small could get lost on larger nails.
Let Your Personality Shine
Don’t copy designs verbatim from the internet. Use them as a guide but infuse your personal style. This lets your nails tell your unique story.
Practice Makes Perfect
Perfect the application of gels and accessories. Try out different techniques on practice wheels before applying them to your or clients’ nails.
By following these tips, not only will you enhance your skill set, but you’ll also expand the creative boundaries of what you can achieve with 3D gel nail art. Remember, each nail is a small canvas – make it your masterpiece.
Maintaining Your 3D Gel Nail Art
To keep your 3D gel nail art looking fresh and intact, follow these maintenance tips:
Keep Nails Hydrated
Use cuticle oil daily to nourish your nails. It helps prevent chips and lifting.
Gentle Hand Care
Avoid harsh chemicals and rough activities. Wear gloves for household chores.
Regular Checkups
Inspect your nails often. Look for any lifting or damage to address early.
Avoid DIY Repairs
If you notice a problem, seek a professional. Home fixes can cause more harm.
Limit Hand Sanitizer Use
Choose soap and water over sanitizer when possible. It’s less drying to your gel art.
Moisturize Hands Regularly
Apply hand cream often to keep skin supple and protect your nail edges.
By following these steps, you can extend the longevity of your 3D gel nail art. Careful upkeep ensures lasting beauty and enjoyment.
Cost Considerations for 3D Gel Nail Art
Understanding the costs involved in 3D gel nail art is essential for budgeting your beauty expenses. The cost can vary widely depending on several factors including the complexity of the design, the reputation of the salon, and the location. Below are some key points to consider:
Salon Pricing
- Base Price: Most nail salons have a base price which often starts from $50 upwards for basic 3D gel nail art.
- Design Complexity: More intricate designs or additional accessories can increase the price. Some designs may cost upwards of $300 at high-end salons.
- Location Factor: Salons in larger cities or upscale areas tend to charge more compared to those in smaller towns or suburban areas.
DIY Considerations
- Initial Investment: If you choose to do your 3D nail art at home, initial costs include purchasing UV or LED lamps, gels, brushes, and decorative elements.
- Ongoing Costs: Continual purchase of gels, topcoats, and other consumables should be considered for maintaining the art.
Long-Term Cost Effectiveness
- Durability: Professionally done 3D gel nails can last up to three weeks, possibly reducing the frequency of salon visits.
- Care: Good maintenance can prolong the life of the manicure, hence saving money in the long run.
Before choosing a salon or DIY, consider all these factors to make an informed decision about how to manage your 3D nail art costs effectively.
Professional Removal of 3D Gel Nail Art

When it comes to removing 3D gel nail art, precision is key. Due to the complexity and the raised design elements involved, professional removal is often recommended. Not only does this help ensure the health of your natural nails, but it also prevents potential damage. Here’s what you need to know about the removal process:
- Seek Professional Assistance: Always go to a qualified nail technician. They have the tools and expertise to remove designs safely.
- E-file Usage: Technicians use an electric file (e-file) to gently sand down the gel. This step breaks the seal and makes removal easier.
- Pliers for Accessories: After breaking down the gel, pliers help remove stones or charms. This should be done with care to avoid nail injury.
- Gentle Gel Removal: The remaining gel is carefully removed, usually with acetone. This step requires patience to protect the nail bed.
- Post-Removal Care: After removal, a technician will usually provide nail care. This may include shaping, buffing, and hydrating the nail with oils.
Attempting to remove 3D gel nail art at home can lead to issues such as nail weakening or splitting. A thorough process by professionals will ensure your nails are clean and ready for your next nail art adventure. When it comes to 3D gel nail art, protecting the integrity of your natural nails should be a top priority, hence professional removal is an investment in the health of your nails.