Nail art has gained immense popularity over the years, and mastering the art of using nail art brushes is essential for any aspiring nail artist. Understanding how to use nail art brushes effectively can elevate your nail designs from simple to stunning. In this guide, we’ll explore various techniques, types of brushes, and tips to help you unleash your creativity.
Introduction to Nail Art Brushes
Creating your own nail art can be exciting and fun. Nail art brushes are crucial for this. They let you design with precision and offer a variety of styles.
The Essential Tools for DIY Nail Art
For DIY nail art, you need the right tools. Good nail brushes give you control and detail. They are key for DIY designs. You can use them for applying gel polishes, creating French manicures, and more. Each brush has its own role. Learning how to use them boosts your nail art skills.
Types of Nail Art Brushes
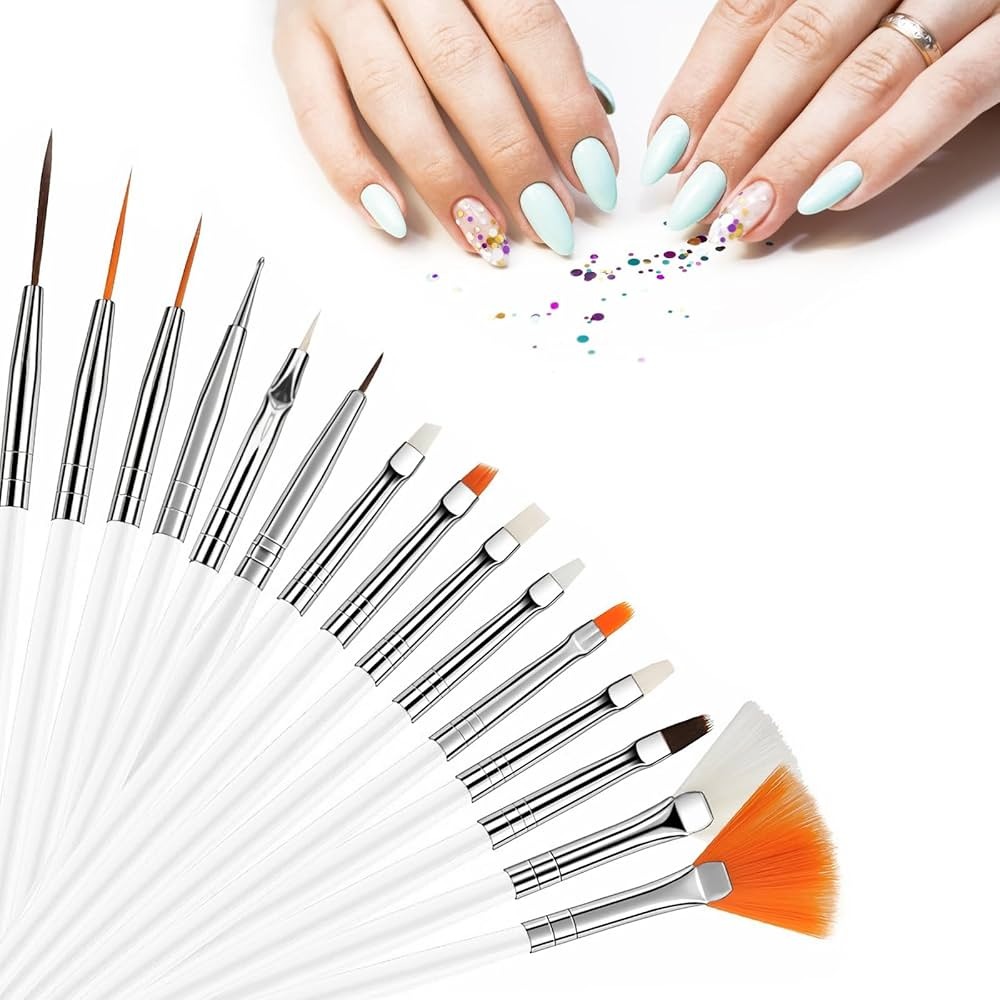
Nail art requires special brushes. These brushes come in various shapes and sizes. Each serves a different purpose. From gel to ombre brushes, they make detail work easier. Nail art enthusiasts must know about different types. Below, explore the commonly used nail art brushes.
Gel Brushes
Gel brushes are used for gel polish application. They create precise strokes for a clean look. Two main types are available: one with oval-shaped bristles and another with flat ones. Oval brushes are great for solid colors. Flat brushes work well for UV builder gel.
French Brushes
French brushes make French manicures simple. They help create the iconic smile line. These brushes are beginner-friendly and versatile. They come in different shapes for Square, U, and C-Smile designs.
Snow Brushes
For blush manicure or smudge gradients, snow brushes are ideal. They have an oblique head that fits the nails well. They blend polishes for the desired smudged effect.
Ombre Brushes
Ombre brushes suit random, freehand designs. They are perfect for marble and ombre effects. Since the bristles are sparse, they won’t disrupt glitter applications.
Mini Oval Brushes
Mini oval brushes specialize in tiny, intricate patterns. Use them for delicate art like painting petals or landscapes.
Liner Brushes
Liner brushes come in various lengths. They draw fine details like lines and edges. Short brushes are for small details; long ones for straight, continuous lines. Liner brushes are also good for blending colors.
Using Nail Art Brushes for Different Designs

Nail art brushes are more than just painting tools. They unlock a world of creativity on tiny canvases. Each brush type offers a special technique for nail designs. Let’s dive into how you can use these brushes for different artistic effects.
Creating Precision Lines with Liner Brushes
Perfect for intricate details, liner brushes are a must. For crisp lines and delicate patterns, hold the brush firmly and paint slowly. Use short liner brushes for tiny details and the longer ones for straight lines. They are also great for blending gel polish gently at the tips.
Achieving Smooth French Tips with Angled Brushes
Angled brushes are your friends for French manicures. They help create the classic smile line with ease. Press the brush at an angle and sweep across the nail tip. This creates a smooth, rounded edge, essential for the perfect French tip.
Cleaning Up Cuticles with Clean-Up Brushes
After painting your nails, clean-up brushes tidy the edges. Dip the brush in nail polish remover and gently swipe around the cuticles. This removes any excess polish, giving your nails a professional, neat finish.
One-Stroke Designs with Angled Brushes
Angled brushes also offer an easy one-stroke design method. Load the brush with multiple colors and apply with a single stroke. This creates a colorful, blended design without much effort. Practice makes perfect, so start with simple patterns.
Creating Special Effects with Gel Brushes
Gel brushes come in different shapes for various effects. Use a rounded gel brush for solid, full-color coverage. For unique textures or 3D effects, opt for a brush with a pointed tip. Properly loading the brush with gel polish is key for special effects.
Nail Art Brushes for Beginners
Selecting Your First Nail Art Brush Set
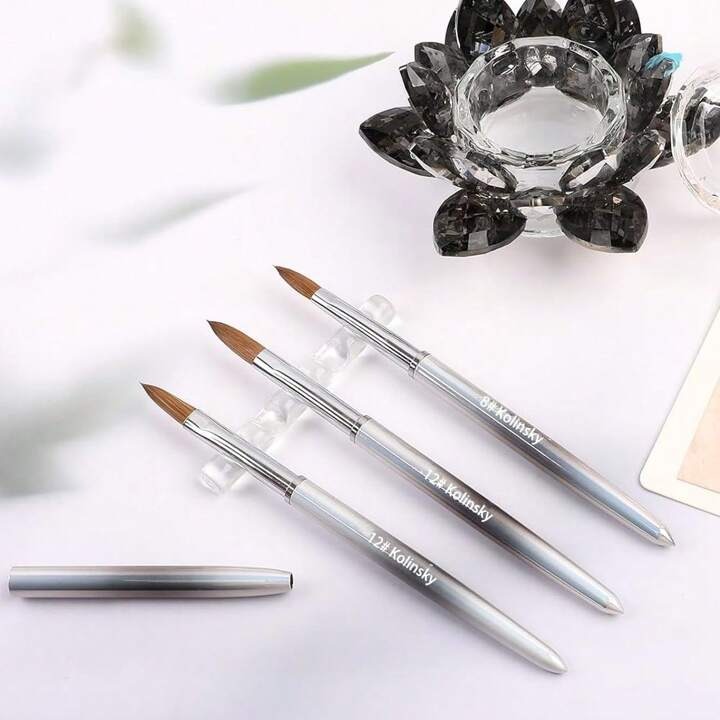
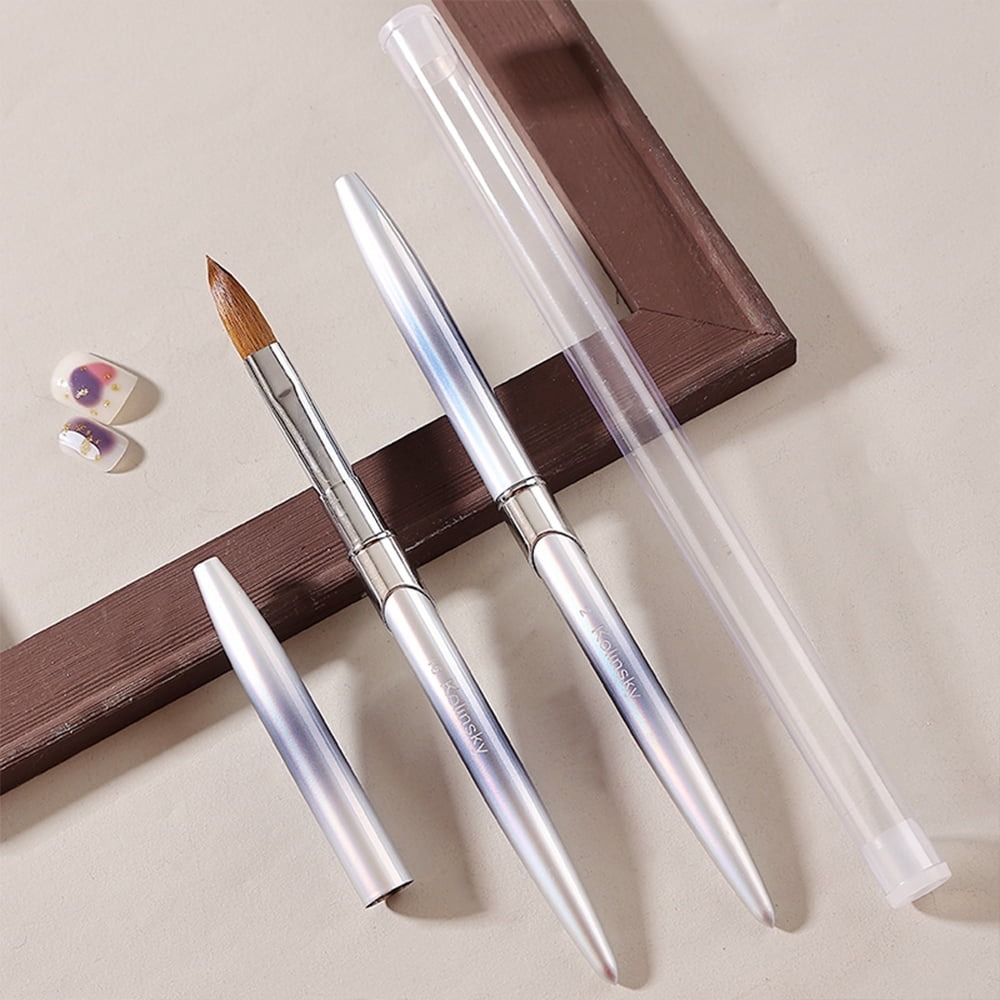
Choosing your first set of nail art brushes can be daunting. Consider a beginner-friendly kit that includes various brush types, like liner and gel brushes. Look for sets that offer versatility to try different designs. Check for soft bristles which make application easier. Always read reviews to gauge quality and ease of use.
The Role of Dotting Tools and Stamping Kits
Dotting tools and stamping kits enhance nail art designs. Dotting tools create perfect dots and fine details. Stamping kits allow for intricate patterns without freehand drawing. Use them together with your brushes for diverse nail art. Start simple and explore as you gain confidence and skill.
Caring for Your Nail Brushes

Proper care extends the life of your nail art brushes. Regular maintenance ensures they perform well for longer.
Cleaning and Maintenance Tips
Keep your brushes in the best condition with simple steps:
- Clean After Each Use: Remove gel polish or paint immediately after use. Use water for water-based products and brush cleaner for others.
- Use a Cleaner: Avoid using harsh chemicals like acetone directly on bristles. Opt for specialized brush cleaners.
- Gentle Washing: When cleaning, be gentle. Harsh scrubbing can damage bristles.
- Proper Drying: After cleaning, reshape the brush head and let it air dry. Avoid using blow dryers as they can harm the bristles.
- Regular Condition: Occasionally condition the bristles with brush oil or conditioner to prevent them from drying out and becoming brittle.
Storage Solutions for Longevity
Store your brushes in a way that maintains their shape and quality:
- Keep Upright: Store brushes vertically in a holder to prevent bristles from bending.
- Avoid Sunlight: Keep brushes away from direct sunlight. Exposure can fade and weaken bristles.
- Limited Humidity: Store in a cool, dry place. High humidity can lead to bristle damage.
- Dedicated Space: Have a separate area or container for brushes to avoid clutter and potential damage.
By following these care tips, your nail art brushes can remain effective for a variety of designs for a long time.
Where to Buy Nail Art Brushes

When starting your nail art journey, you need the right brushes. There are two main places to buy these. First, consider exploring online retailers. They offer a wide range and often have detailed reviews. Many have brush sets perfect for beginners. Second, local craft stores or beauty supply shops also sell brushes. Here, you can see the brushes in person. It’s great for getting a feel before you buy.
Online Options and Brick-and-Mortar Stores
For online shopping, look for stores that specialize in nail art supplies. Websites like Amazon or eBay have various options, too. Use keywords like ‘nail art brushes set’ to find what you need. Retailers often provide discounts and bundles. For brick-and-mortar stores, craft shops or beauty supply stores are good places. Check out places like Michaels or Sally Beauty Supply.
Price Points and Quality Considerations
The cost of brushes varies. Online, you may find cheaper deals or bigger sets. But remember, low price can sometimes mean lower quality. Read customer reviews to judge the quality. Pay attention to the bristles’ softness and durability. In stores, brushes might cost a bit more. However, you’re paying for the ability to see and touch before purchasing. Decide based on comfort, budget, and quality needs. Whether beginner or pro, good brushes are key to great DIY nail art.
Nail Art Beyond Brushes
While brushes are essential, other tools can elevate your nail art.
Exploring Nail Stamping Kits
Nail stamping kits are a game-changer for DIY nail artists. They simplify transferring intricate designs to your nails. You apply polish to a pattern plate, scrape off the excess, and stamp the design onto the nail. It’s quick, simple, and provides consistent results.
Incorporating Dotting Tools in Your Designs
Dotting tools are perfect for small, precise dots and patterns. They come in various sizes for different dot effects. Dip the tip into nail polish, then touch it to your nail. You can create flowers, eyes, or polka dots easily. Combine dotting tools with brushes to mix textures and styles in your art.