Introduction to Gel Polish Nail Art
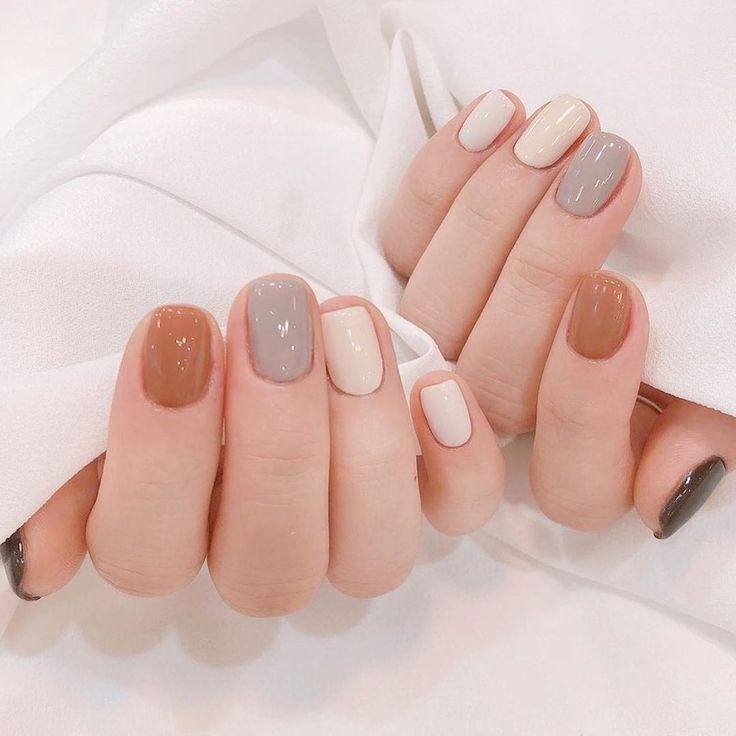
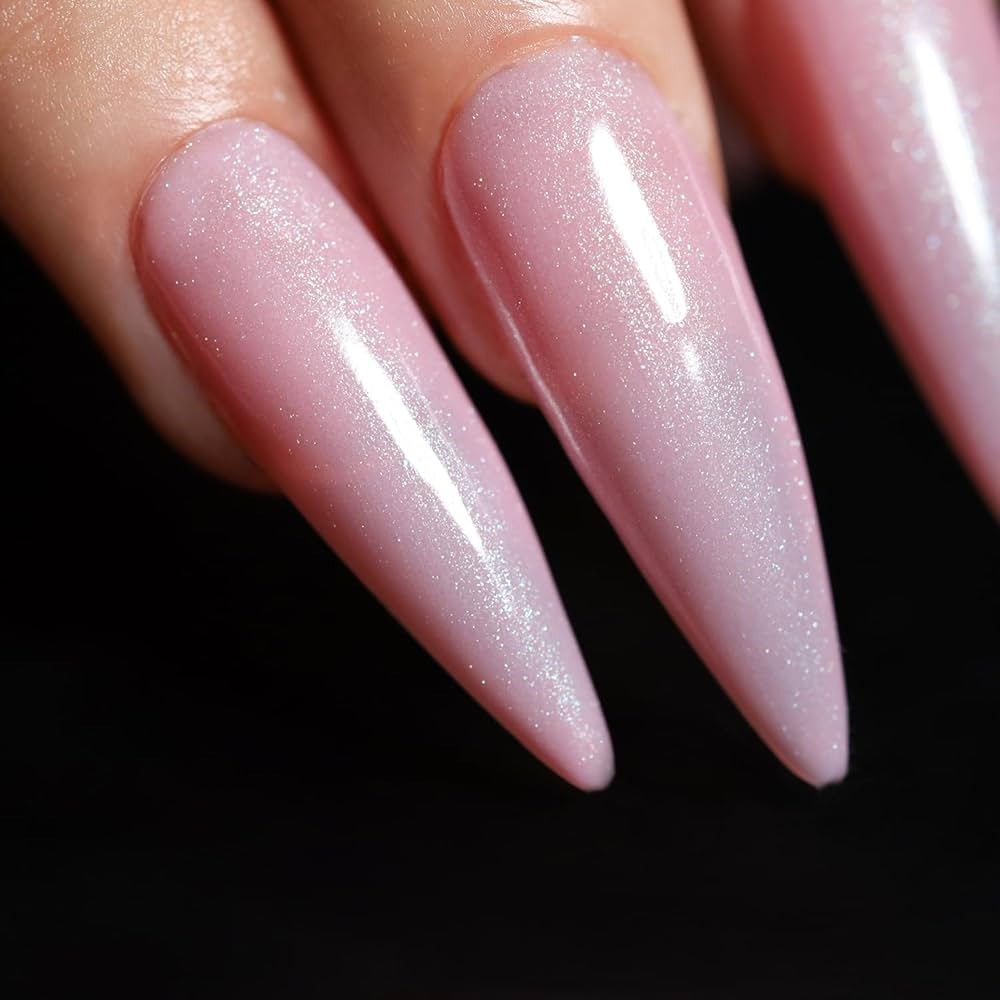
Gel polish nail art is an exciting way to express your style. It lets you transform your nails into a canvas for creativity. Unlike traditional nail polish, gel polish lasts longer and resists chips.
Easy to do at home, gel polish nail art saves you trips to the salon. It’s fun, cost-effective, and you can change designs as you please. All you need is patience and the right tools.
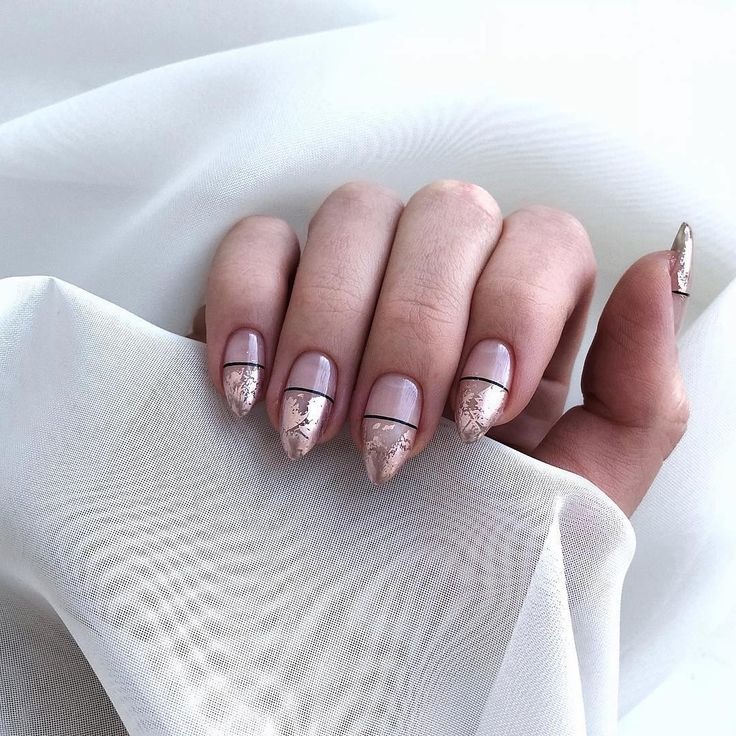
With a variety of designs, from simple lines to intricate patterns, the possibilities are limitless. Personalize your look with colors and accessories that reflect your personality.
In this guide, you’ll learn how to create stunning nail art using gel polish. We cover everything from the basics to more advanced techniques. Get ready to design, apply, and show off your nail art mastery!
Essential Tools and Materials for Gel Nail Art
For creating gel polish nail art, you need the right tools. Here’s a list to get started:
- Gel Polish: The base of your artwork, available in many colors.
- Top and Base Coats: To protect your design and make it last.
- LED or UV Lamp: Cures the gel polish, making it hard and durable.
- Nail Cleanser: Prepares the nails by removing oils and residue.
- Nail Primer: Ensures the gel polish sticks well to your nails.
- Fine Tip Brushes: For detailed designs and intricate art.
- Dotting Tools: Creates dots and small patterns with precision.
- Striping Tape: Helps make straight lines and geometric designs.
- Foils: Adds metallic and holographic effects.
- Rhinestones and Studs: Gives a 3D aspect and sparkle.
- Glitter and Pigments: For extra shimmer and color blends.
- Nail File: Shapes your nails before you start.
- Cuticle Pusher: For a clean nail bed and longer-lasting polish.
All these materials help in translating your ideas into nail art. With these at home, you can create many designs without going to a salon. Plan your design, gather your materials, and get ready to be creative!
Preparing Your Nails for Gel Polish Art

Before diving into the nail art process, preparing your nails is key. Start with clean, shaped nails. A good shape creates a great canvas for your art. Use a nail file to get the shape you prefer. Don’t forget to work gently to avoid damage.
Next, focus on the nail bed. Push back your cuticles for a wider space to paint. Use a cuticle tool or pusher. This step ensures that gel polish adheres better and lasts longer.
It’s crucial to remove any oils or residue. Clean your nails with a nail cleanser. This step prevents lifting and chipping of the gel polish later on. You want your nail art to be durable.
Now, apply a nail primer. This product helps the gel polish stick to your nails. Once applied, let it dry for a few moments. Patience here will pay off in the longevity of your nail art.
Your nails are now ready for the gel polish base coat. Use a thin layer. Cure it under the LED or UV lamp. Stick to the recommended curing time for the best results.
Proper preparation leads to better nail art. Take your time with these steps for a lasting, beautiful finish. Now you’re set to start applying your gel polish and creating your nail art designs.
Step-by-Step Guide to Applying Gel Polish
Applying gel polish correctly is critical for beautiful nail art. Here’s a simple guide to ensure success:
Step 1: Apply Base Coat
Start with a thin base coat. Cover every part of the nail. Cure it under the LED or UV lamp. Follow the lamp’s specified curing time.
Step 2: Put on Gel Polish
Choose your color and apply a thin layer of gel polish. Be careful around edges. Cure again under the lamp, just like the base coat.
Step 3: Add Second Coat
For a rich color, apply a second thin coat of polish. Cure it under the lamp until it’s hard.
Step 4: Get Creative with Art
Use your tools for designs. A fine brush for details, dots with a dotting tool. Cure after adding art.
Step 5: Apply Top Coat
Seal your design with a top coat. Cure for the last time to protect your nail art.
Step 6: Clean Up
After curing, wipe nails with a cleanser. This removes any sticky residue.
Each step is crucial for a lasting gel polish application. Remember to cure after every coat, including after applying nail art, for long-lasting results. With practice, you will master the art of gel polish application and be ready to enjoy your homemade nail art!
Creating Simple Nail Art Designs with Gel Polish

Creating stunning nail art with gel polish at home is both fun and simple. To begin, choose designs that are easy to handle. Start with simple shapes, lines, and dots. These can form the basis for more elaborate designs as you gain confidence.
Lines and Stripes
To make straight lines, use striping tape as a guide. Apply striping tape in your desired pattern. Then, paint over it with a contrasting gel polish color. Carefully remove the tape before curing under the lamp. This technique creates sharp, clean lines.
Polka Dots
For perfect polka dots, a dotting tool is your best friend. Dip the tool into your chosen gel polish. Press it gently onto the nail to form dots. Arrange dots in a random or ordered pattern. Cure under the lamp to set the design.
Marbled Effect
Achieve a marbled effect by applying drops of different colored polishes. Swirl them together with a toothpick or thin brush. Work quickly before curing. This creates an elegant, marbled look.
Ombre Gradient
For a smooth ombre gradient, use a makeup sponge. Apply two polish colors side by side on the sponge. Dab it onto the nail, blending the colors. Repeat and cure for a seamless transition.
Glitter Accents
To add sparkle, apply a thin layer of glitter gel polish on top of your color. For concentrated sparkle, add loose glitter or sequins to a tacky layer. Cure to secure the glitter.
These designs are a great starting point for your gel polish nail art journey. With practice, you can create beautiful, intricate nail art right at home. Remember to keep each layer thin and cure properly for the best result. Now, let your creativity run wild and enjoy the process!
Advanced Techniques for Gel Polish Nail Art
After mastering the basics of gel polish, you can try more advanced techniques. These methods will further enhance your nail art skills. Let’s explore some creative ways to use gel polish for intricate designs.
Using Sponge for Color Fades
Create color fades using a small piece of sponge. Apply two or more polish colors on the sponge side by side. Dab gently on the nail until you achieve a gradient look. Cure under the lamp.
Creating Swirls with Toothpicks
For a swirling pattern, use a toothpick. Place different color drops on the nail. Use the toothpick to swirl the colors together. Work quickly and cure to set the design.
Employing Stamping Kits
Stamping kits allow detailed designs. Apply gel polish to the stamping plate. Press the stamper onto the plate then onto your nail. Cure it right after applying.
Layering for 3D Effects
Building layers can create 3D effects. Apply a base coat and cure. Add layers of polish and partially cure each for a textured look. Fully cure the final layer.
Using Negative Space
Negative space involves leaving parts of the nail unpainted. Paint around stickers or tape placed in patterns. Remove the stickers or tape before curing.
These advanced techniques require practice but offer standout results. Experiment to find which methods work best for you.
Tips for Maintaining Your Gel Nail Art

Maintaining your gel nail art is key for longevity and appeal. Here are essential tips:
- Avoid Harsh Chemicals: Direct contact with harsh chemicals can damage your nail art. Use gloves when cleaning or using chemicals.
- Moisturize Regularly: Apply cuticle oil daily to nourish your nails and cuticles. It keeps them hydrated and prevents chips.
- Wear Protective Gloves: When doing tasks that might scratch your nails, wear gloves. This prevents accidental chipping.
- Touch Up Your Top Coat: Refresh the top coat every week. This helps protect the design and maintain shine.
- Avoid Hot Water: Hot water can weaken the gel polish bond. Use lukewarm water instead for hand washing.
- Gentle Use: Avoid using your nails as tools to open cans or scrape off labels.
Following these tips helps keep your gel nail art looking fresh and vibrant for longer. Enjoy your beautiful nails without frequent salon visits!
Removal and Aftercare for Gel Nail Art
Proper removal and aftercare are crucial for maintaining healthy nails after sporting gel polish nail art. Here’s a straightforward guide.
Removing Gel Nail Art
To remove gel nail art without harming your natural nails, follow these steps:
- Buff the Surface: Gently buff the shiny surface of your gel polish. This breaks the seal and helps the remover penetrate.
- Soak Cotton Pads in Acetone: Use pure acetone for effectiveness. Place soaked cotton pads on your nails.
- Wrap in Foil: Secure the cotton pads with aluminum foil. This traps heat and accelerates the removal process.
- Wait and Remove: Leave them on for about 15-20 minutes. The gel polish should lift off easily.
- Gently Scrape Off Residue: Use a cuticle pusher to remove any remnants, carefully avoiding scratching the nail bed.
- Buff and Shape: After removal, buff your nails lightly and shape them as desired.
Aftercare for Your Nails
After removing gel polish, nail aftercare helps restore moisture and strength:
- Wash and Dry Your Hands: Clean your hands thoroughly to remove any acetone residue.
- Hydrate with Cuticle Oil: Apply cuticle oil generously around your nails. It hydrates and nourishes the nail beds and cuticles.
- Moisturize Your Hands: Use a quality hand cream to moisturize your hands and nails, helping them recover from the drying effects of acetone.
- Take Breaks Between Applications: Allow your nails to rest and breathe between gel applications. This reduces the risk of damage over time.
Following these steps will help ensure that your gel nail art looks fantastic and that your nails remain healthy and strong.