Creating stunning 3D nail art is an exciting way to express your personality and creativity through your nails. It combines both artistic techniques and a bit of skill, allowing anyone to stand out with intricate designs. In this guide, we’ll discuss how to make 3D nail art step by step and explore various techniques and tips that will help you master this art form.
Understanding the Basics of 3D Nail Art
To effectively learn how to make 3D nail art, it’s essential to start with the basics. First, you need to gather the right materials, which include nail polish, acrylic paints, nail art brushes, a dotting tool, and of course, nail sculpting products such as acrylic powders or gel. These supplies are crucial for creating detailed and vibrant designs.
Second, familiarize yourself with various nail shapes and sizes. Different nail shapes can serve as canvases for unique 3D designs. Whether you’re aiming for a classic stiletto shape or a more rounded look, understanding how to shape your nails is vital before applying any art.
Essential Tools and Materials

Before diving into the world of 3D nail art, it’s crucial to gather the necessary tools and materials. Here’s what you’ll need:
- Acrylic Paints or Gel: Both acrylic and gel products can be used to create 3D effects. Acrylic tends to dry quickly, while gel requires curing under a UV lamp. Knowing how to make 3D nail art using these materials will greatly expand your creativity.
- Nail Brushes: Invest in high-quality brushes specifically designed for nail art. A fine detail brush will help you create intricate designs, while a dotting tool can be used for various effects.
- Nail Tips or Stencils: If you are just starting, consider using nail tips or temporary stencils. They can help you achieve consistent shapes and styles until you are confident in your freehand abilities.
- Top Coat: A good top coat is essential to seal in your 3D designs and add a glossy finish.
With these tools, you’ll be well-prepared to explore the exciting realm of 3D nail art. Remember, having the right tools can greatly impact your final results and make the process much more enjoyable.
Fundamental Techniques
Once you’re equipped with the right materials, it’s time to learn some fundamental techniques to answer the question of how to make 3D nail art effectively.
- Creating Base Designs: Start with a solid nail polish base. Choose a color that complements your 3D elements. It’s advisable to let the base dry thoroughly before adding any additional layers.
- 3D Application Methods: There are several ways to apply 3D designs. You can use a nail art brush to sculpt your design directly on the nail or use pre-made 3D embellishments such as gems, stickers, or molded acrylic pieces.
- Layering Techniques: Layering is crucial when creating 3D effects. For instance, if you’re sculpting flowers, start with the petals, let them dry, and then add details like pistils or leaves.
Understanding these fundamental techniques will serve as a foundation for creating impressive and durable 3D nail art.
Popular 3D Nail Art Designs

Exploring the variety of designs available can inspire you and spark your creativity. Here are some popular 3D designs to consider:
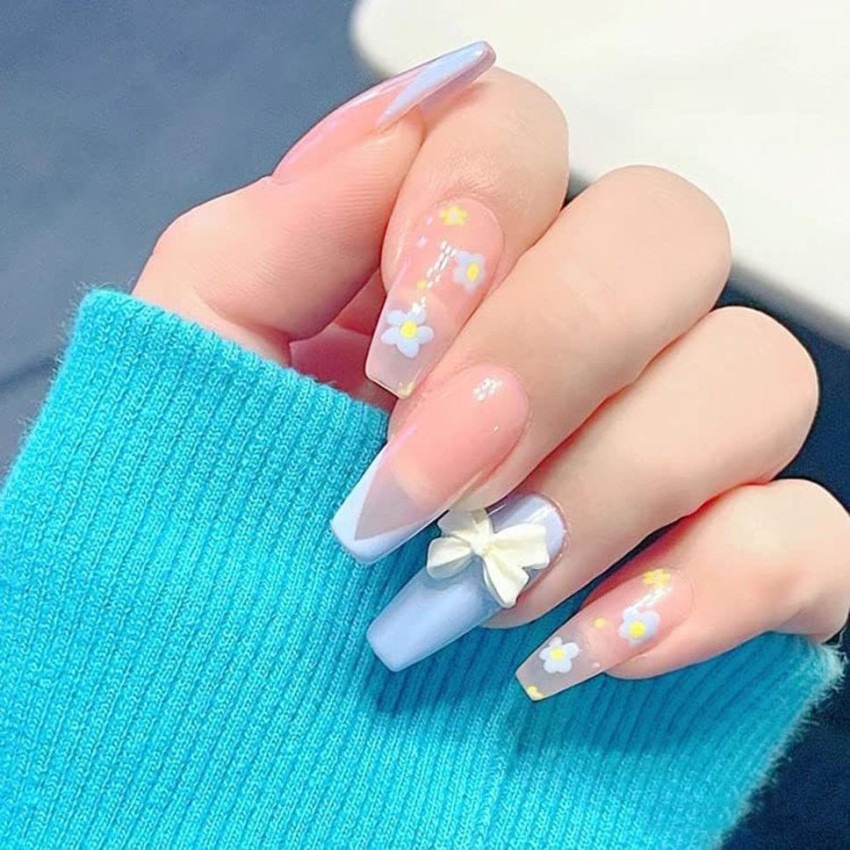
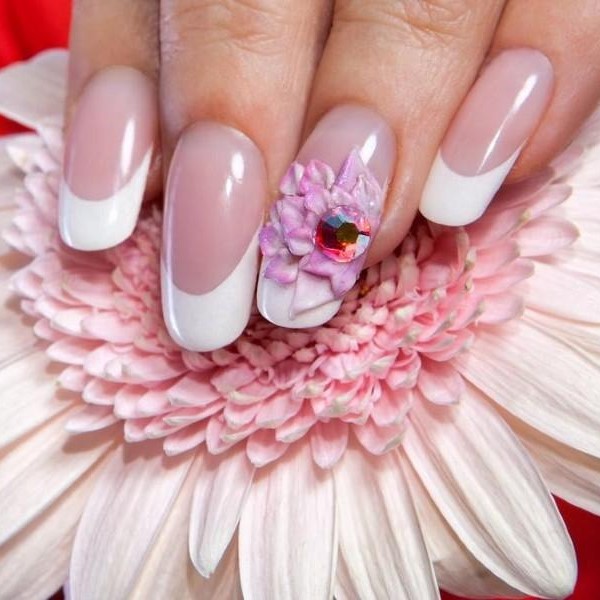
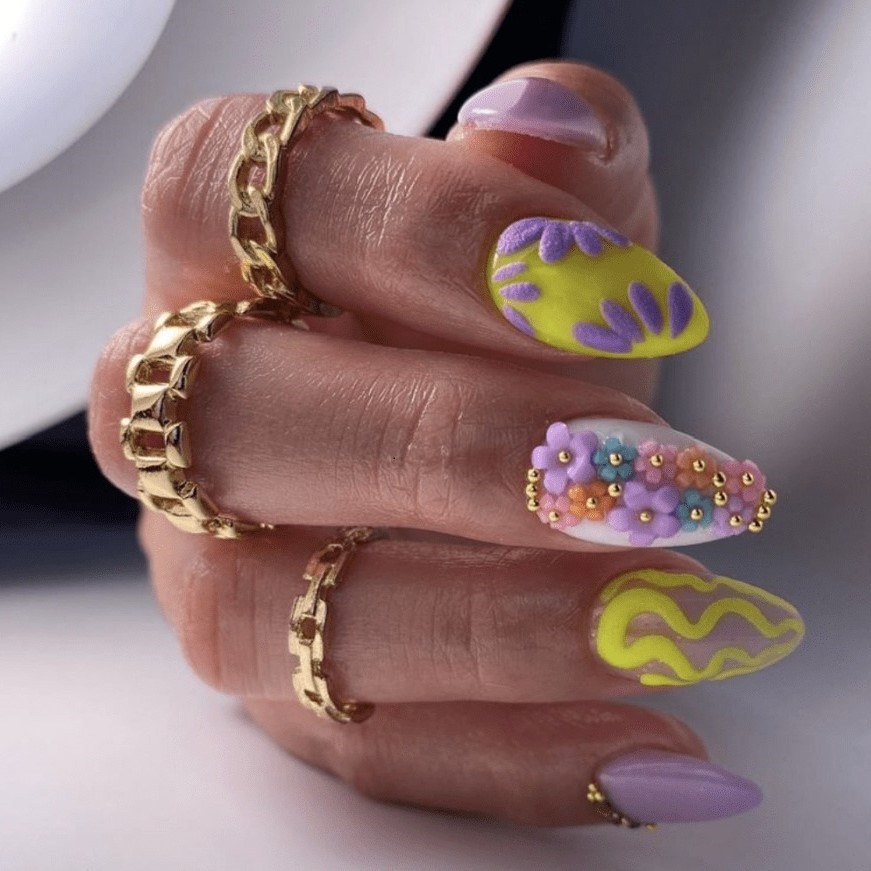
- Floral Designs: 3D flowers make for a popular choice as they add a touch of femininity. You can create roses, daisies, or any flower of your choice using acrylic or gel.
- Animal Motifs: From cute kittens to peeking bears, animal-themed 3D designs can appeal to both the young and the young-at-heart.
- Seasonal Themes: Incorporating seasonal elements into your 3D nail art is always fun. Think of snowflakes in winter or beach-themed designs in summer.
When you explore diverse designs, you will find that the possibilities are endless, and each design can serve as a stepping stone for you to develop unique techniques in how to make 3D nail art.
Troubleshooting Common Problems
Creating 3D nail art can come with its challenges. Here are some common problems you might face along the way and how to troubleshoot them:
- Bubbling: If bubbles appear in your acrylic or gel, it may be due to improperly mixed materials. Always mix thoroughly before application.
- Design Lifting: If your 3D elements start lifting, ensure you’re using a good quality base coat and top coat. Also, make sure each layer is adequately cured if you’re using gel.
- Smudging: To prevent smudging, let each layer dry completely before proceeding to the next step. Patience is key when it comes to intricate work.
By knowing how to troubleshoot these common issues, you can save your designs from becoming a source of frustration and continue to develop your 3D nail art skills confidently.
Care and Maintenance of 3D Nail Art
To keep your 3D nail art looking fresh and beautiful, you’ll need to pay attention to care and maintenance. Here are a few tips:
- Avoid Excessive Exposure to Water: Prolonged exposure to water can weaken your designs. Make an effort to wear gloves when doing dishes or bathing.
- Regularly Apply Top Coat: To maintain shine and protect the 3D elements, reapply a top coat every few days. This can help avoid chips and keep your nail art looking vibrant.
- Regular Touch-Ups: If you notice wear and tear on your designs, don’t hesitate to make touch-ups or even remove and reapply the 3D elements as needed.
Taking care of your 3D nail art ensures that you can enjoy your work for as long as possible and keeps your nails looking salon-fresh every day.
FAQs about 3D Nail Art

1. Can I remove 3D nail art easily?
If you used gel polish, removal may require soaking in acetone. Acrylic often needs to be filed off, so it’s best to consult a professional if you’re unsure.
2. Do I need a UV lamp for 3D nail art?
A UV or LED lamp is necessary if you’re using gel products. If you’re using regular nail polish or acrylic that air dries, you won’t need one.
3. How can I make sure my 3D nail art is secure?
Ensure that all components are well-attached using the appropriate adhesives. Seal with a high-quality top coat to help prevent chipping or lifting.
4. Can I add 3D elements on top of existing nail designs?
Yes! You can add 3D elements over existing nail art; just ensure the base design is dry and properly set before adding new elements.
5. Are there any special tips for working with acrylics?
Use a good monomer and polymer ratio. Work quickly, as acrylic can dry fast. Practice shaping the acrylic for the desired effect, and don’t forget to apply a top coat for shine and durability.
Conclusion: Embracing Your Creativity
In conclusion, understanding how to make 3D nail art is not just about the techniques, tools, and designs; it’s also about unleashing your creativity and having fun in the process. Remember that practice makes perfect, and don’t be afraid to experiment with different styles and techniques.
- Keep Learning: The world of nail art continuously evolves with new trends and tools. Stay updated through tutorials and workshops.
- Join Communities: Engaging with other nail art enthusiasts can provide inspiration and motivation. You can share your work and gain constructive feedback.
By cultivating a passion for nail art and continuously improving your skills, you will be able to create stunning 3D designs that reflect your personality and style. Embrace the creative journey that is 3D nail art and let your imagination run wild!