Have you ever stared at your nail polish collection, wishing for a shade that doesn’t exist? Or maybe you’re looking for a fun DIY project to spark your creativity. Well, the answer to your color conundrum is simple: mix your own! Yes, you absolutely can mix nail polish colors to create unique and personalized shades.
Why Mix Nail Polish?
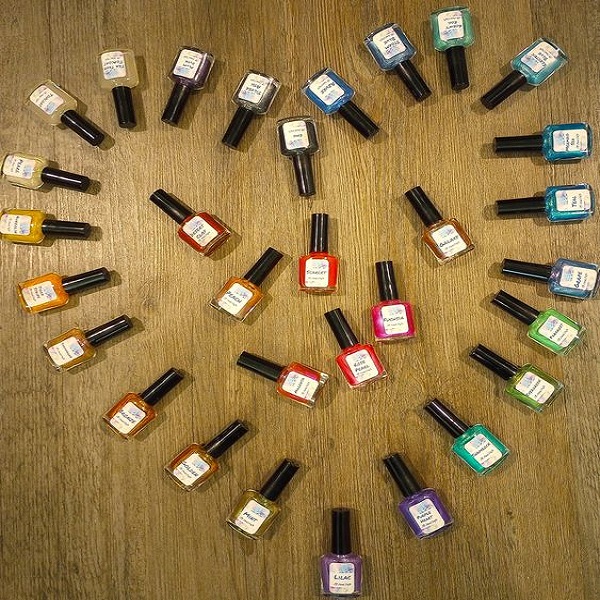
Mixing nail polish opens up a world of possibilities:
- Endless Shades: Create custom colors that perfectly match your outfit, mood, or occasion.
- Revive Old Polishes: Give new life to neglected polishes by combining them with others.
- Save Money: Avoid buying a new polish for every little whim by mixing shades you already own.
- Express Creativity: Experiment with different color combinations and become your own nail artist.
Essential Tools for Mixing Nail Polish
Before you start mixing, gather these essential tools:
Mixing Surface
A clean palette, plastic lid, or even a piece of aluminum foil will do.
Mixing Tool
Toothpicks, wooden skewers, or small paintbrushes work well.
Empty Bottles
You’ll need empty nail polish bottles to store your custom creations.
Nail Polish Remover
For cleaning up spills and mistakes.
Basic Color Theory
Understanding basic color theory can help you create beautiful and harmonious shades:
- Primary Colors: Red, yellow, and blue are the primary colors. They cannot be created by mixing other colors.
- Secondary Colors: Green, orange, and purple are secondary colors, made by mixing two primary colors.
- Tertiary Colors: These are created by mixing a primary and a secondary color (e.g., yellow-green, red-orange).
- Complementary Colors: These are colors opposite each other on the color wheel (e.g., red and green, blue and orange). They create a high contrast when used together.
- Analogous Colors: These are colors next to each other on the color wheel (e.g., blue, blue-green, green). They create a harmonious and pleasing look.
How to Mix Nail Polish Colors
Now, let’s get mixing!
- Choose Your Base: Start with a base color that will be the dominant shade in your mix.
- Add a Drop: Add a drop or two of another color to your base. Start with a small amount, as you can always add more.
- Mix Thoroughly: Use your mixing tool to blend the colors until they’re evenly distributed.
- Test and Adjust: Apply a small amount of the mixture to a nail wheel or piece of paper to check the color. If it’s not quite right, add more of one color or the other until you achieve the desired shade.
- Bottle It Up: Once you’re happy with the color, transfer it to an empty nail polish bottle using a funnel.
Mixing Tips
- Less is More: Start with small amounts of each color and gradually add more until you achieve the desired shade.
- Same Brand: It’s best to mix polishes from the same brand, as they tend to have similar formulas that blend well together.
- Similar Finishes: Mixing polishes with similar finishes (e.g., creme and creme, shimmer and shimmer) will result in a smoother, more consistent texture.
- Experiment: Don’t be afraid to experiment with different color combinations. You might be surprised at the beautiful results you can create.
Popular Color Combinations
Here are some popular color combinations to try:
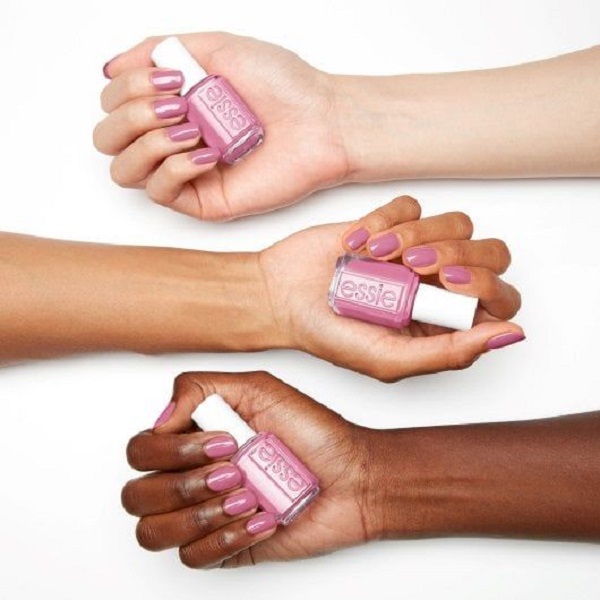
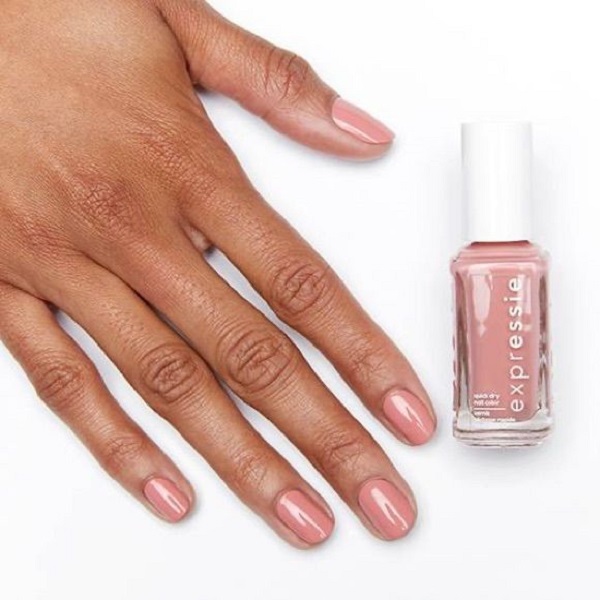
- Red + White: Creates various shades of pink.
- Blue + White: Creates various shades of light blue.
- Yellow + Blue: Creates green.
- Red + Yellow: Creates orange.
- Blue + Red: Creates purple.
- Black + Any Color: Darkens the color and creates a deeper shade.
- White + Any Color: Lightens the color and creates a pastel shade.
- Clear + Any Color: Creates a sheer version of the color.
Additional Tips
- Storage: Store your custom nail polish colors in a cool, dark place away from direct sunlight.
- Shake Well: Always shake your custom polish well before using to ensure the colors are evenly mixed.
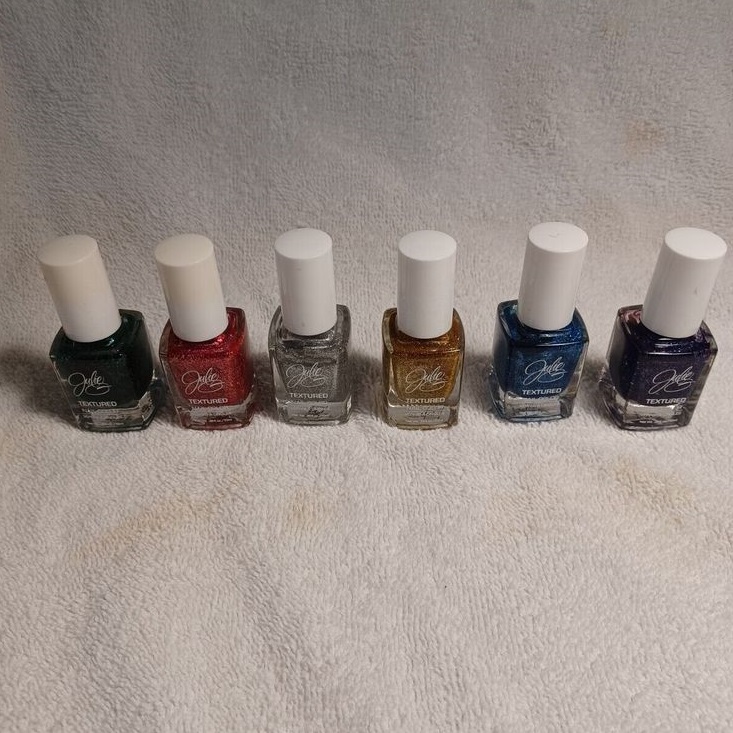
- Get Creative: Try adding glitter, flakes, or other nail art embellishments to your custom mixes for even more unique looks.
Mixing nail polish colors is a fun and creative way to express yourself and achieve the perfect manicure. With a little experimentation and the right techniques, you can create an infinite number of shades to match your every mood and outfit. So, don’t be afraid to get mixing and unleash your inner nail artist!
Advanced Mixing Techniques
If you’re ready to take your nail polish mixing skills to the next level, try these advanced techniques:
- Marbling: Create a swirled, marbled effect by layering different colors of polish on your mixing surface and then lightly dragging a toothpick or brush through them before applying to your nails.
- Gradient (Ombre): Achieve a gradient effect by applying two or more colors to a makeup sponge and then dabbing it onto your nails.
- Layering: Apply a base color, let it dry, and then apply a second color on top to create depth and dimension.
- Water Marbling: Create intricate designs by dropping different colors of polish into a bowl of water and then swirling them together with a toothpick before dipping your nails in.
Safety Considerations
While mixing nail polish is generally safe, it’s important to take a few precautions:
- Ventilation: Mix nail polish in a well-ventilated area to avoid inhaling fumes.
- Gloves: Wear gloves to protect your skin from spills and stains.
- Non-Reactive Containers: Use glass or metal containers for mixing, as plastic can react with some nail polish ingredients.
- Proper Disposal: Dispose of leftover polish and mixing tools responsibly.
Troubleshooting Mixing Issues
If you encounter any issues while mixing, here are some troubleshooting tips:
- Thick or Gloopy Polish: Add a few drops of nail polish thinner to your mixture to make it easier to apply.
- Separated Polish: If your polish separates after mixing, shake it vigorously or add a drop or two of nail polish thinner and stir well.
- Streaky Application: Make sure your base coat is completely dry before applying your custom color. Apply thin coats and allow each coat to dry completely before adding another.
Inspiration for Your Next Manicure
Need some inspiration for your next DIY manicure? Here are a few ideas:
- Themed Manicures: Create custom colors for holidays, sports teams, or special events.
- Matching Mani-Pedi: Mix matching shades for your fingernails and toenails.
- Seasonal Colors: Experiment with warm, rich colors for fall and winter, and bright, pastel shades for spring and summer.
- Accent Nails: Paint all but one nail a neutral color and then use your custom shade on the accent nail for a pop of personality.
Once you’ve mastered the art of mixing nail polish, share your creations with the world! Post photos of your unique manicures on social media, create tutorials to teach others your techniques, or even start your own custom nail polish line.
The Joy of Experimentation
Remember, mixing nail polish is all about having fun and expressing your creativity. There are no rules, so don’t be afraid to experiment and try new things. The more you mix, the better you’ll become at creating unique and beautiful colors that are uniquely yours. So, go ahead and unleash your inner nail artist. The possibilities are truly endless. Let your imagination run wild and your nails become your canvas. Happy mixing!
Conclusion
Mixing nail polish colors is a fun, affordable, and creative way to express yourself and achieve the perfect manicure. So, grab your polishes, unleash your creativity, and start mixing! Who knows, you might just discover your new favorite shade.
Remember, the possibilities are endless when it comes to mixing nail polish. With a little experimentation and the right tools, you can create beautiful, unique manicures that are truly one-of-a-kind. Happy mixing!