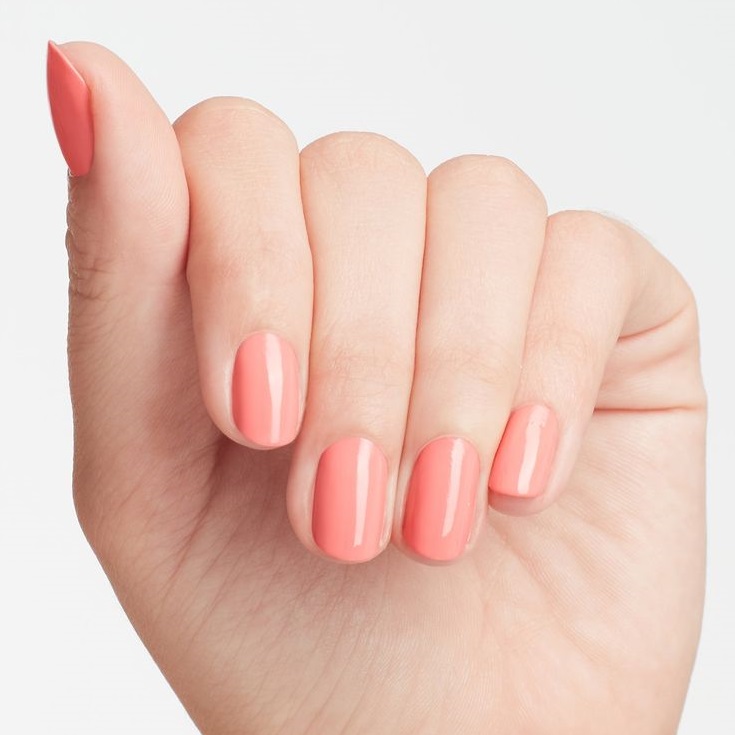
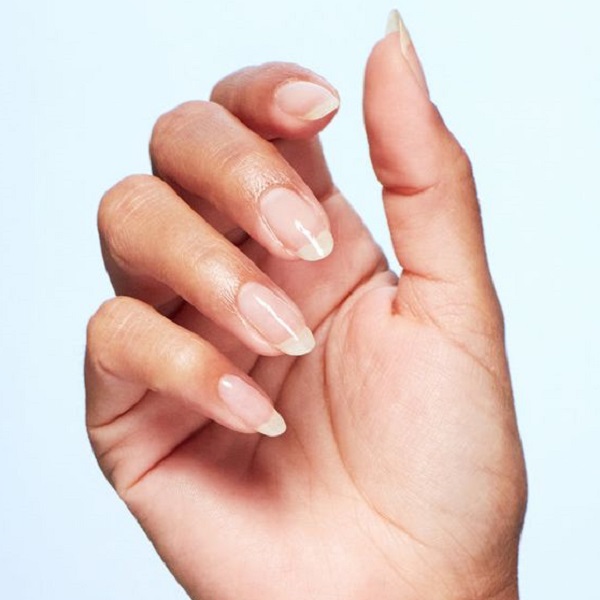
A Guide to Curing Gel Nail Polish
Achieving a flawless gel manicure requires more than just applying the gel polish; it also depends on properly curing the polish so that it sets into a hard, durable finish. How long for gel nail polish to dry? In this guide, we will explore the steps and different methods for curing gel nail polish, which ensures the longevity and aesthetic of your gel nails.
Understanding the Process of Curing Gel Polish
Curing gel polish is a chemical process where a photo-initiated reaction is triggered by UV or LED light. This reaction causes oligomers within the gel polish to form longer chains, which turn the liquid polish into a solid, cured layer. It’s important to understand that curing is not simply drying; it’s a transformation of the polish’s chemical structure that leads to a chip-resistant and glossy finish.
Importance of Using UV or LED Lamps
Curing gel nail polish is not possible without the right kind of light. Whether you opt for a UV or an LED lamp, the purpose of these lamps is to emit the specific wavelengths needed to initiate the curing process. Not using a lamp or using an improper light source will result in soft, uncured gel polish that can easily be damaged.
Comparing UV and LED Lamps for Curing
When it comes to curing gel polish, you have two choices: UV lamps and LED lamps. Both are effective, but they have distinct differences.
UV lamps have been the traditional choice for curing gel polishes, using a broad spectrum of UV light to cure the polish. These lamps typically take longer, around two minutes per layer, to cure the polish fully.
LED lamps, on the other hand, are known for their efficiency. They use targeted wavelengths to cure gel polish significantly faster, often in just 30 seconds to a minute per layer. Additionally, LED lamps tend to last longer without the need for bulb changes and are more energy-efficient compared to UV lamps.
In conclusion, the choice between UV and LED lamps ultimately comes down to personal preference, budget, and specific needs such as curing time and frequency of use. Regardless of your choice, ensure that you use a quality lamp that’s designed specifically for gel polish curing to achieve the best and most lasting results for your gel manicure.
DIY Techniques for Drying Gel Polish without a Lamp
While professional curing lamps are the standard for setting gel polish, not everyone has access to such equipment at home. If you’re looking for alternative ways to dry gel nails, this section of the guide will introduce a few DIY techniques that can help.
Utilizing Non-UV Gel Polishes
The beauty industry has responded to the demand for more accessible gel nail solutions by creating non-UV gel polishes. These unique formulations don’t require a UV or LED lamp to cure. Instead, they dry like traditional nail polishes, but with the longevity and resilience of gels. To use non-UV gel polishes effectively:
- Choose a brand that specifies it does not require a UV light to cure.
- Clean and prep your nails as you would for a regular gel manicure.
- Apply the non-UV gel polish in thin, even coats.
- Allow ample time between coats for the polish to set.
Handy Quick-Drying Products and Methods
If you’re in a hurry, several products and methods can speed up the drying process for non-UV gel polishes:
- Quick-dry sprays or drops are available that can significantly reduce drying time. Simply apply these to freshly painted nails.
- A dry fast top coat can be layered over your gel polish to seal in the color and reduce drying time.
- Using a hairdryer on a cool setting can also help to harden the gel polish more quickly without a lamp.
Household Tricks for Faster Drying Times
For those who prefer a more natural approach, a few household tricks might just be the solution:
- An ice water bath can help to harden the nail polish. After painting your nails, allow them to air dry for a minute, and then dip them into a bowl of ice water for a few seconds.
- Applying thin layers of polish allows each layer to dry faster. Thick coats take longer to dry and are more likely to smudge.
- Keeping your hands cool can help your gel polish to set. Avoid warm environments or handling warm objects right after painting your nails.
Remember, while these methods can help when you’re in a pinch, nothing replaces the solid cure you get from a professional lamp. For durability and quality, investing in the right equipment is always recommended.
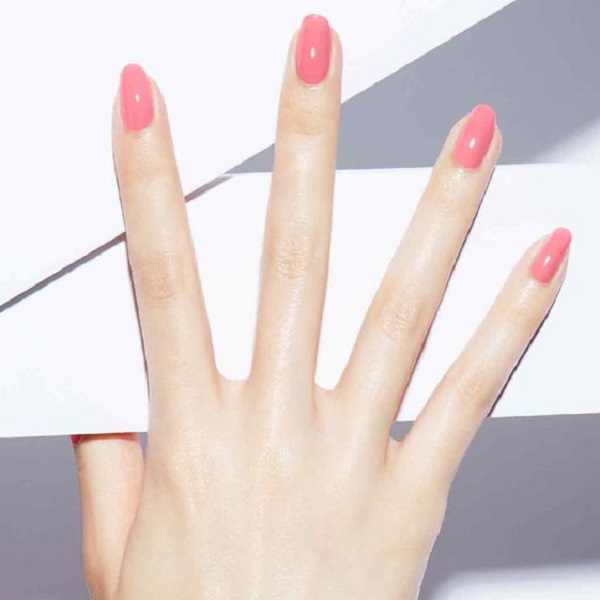
Professional Tips for Perfect Gel Nails Every Time
Achieving the perfect gel nails involves more than just applying the polish and using a lamp; it requires meticulous prep work, expert application, and proper maintenance. By following these professional tips, you can ensure that your gel polish dries properly and your manicure remains stunning and long-lasting.
Prepping Your Nails for Optimal Curing
Proper nail preparation is essential for the curing process. Start by cleaning your nails thoroughly with a non-acetone remover to eliminate any natural oils or residue that could prevent the gel polish from adhering effectively. Keep the nails hydrated by applying cuticle oil, but make sure to clean the nail bed one more time before applying the base coat.
Shape your nails with a file to your desired style, and gently push back the cuticles with a cuticle stick for a neat appearance that allows for precise gel application. Lightly buffing the surface of your nails can also improve adherence; however, be gentle to avoid weakening the nail. Finally, use a lint-free wipe and nail cleanser to remove any remaining dust or oil before you begin the application process.
Expert Application for Quick Curing
How long for gel nail polish to dry? The key to quick curing lies in the application technique. Apply a very thin base coat and cure it as recommended, which is usually shorter than the curing time for color coats. When applying the color, be sure to apply it in thin, even layers. This allows the light to penetrate through to the bottom of the layer, which is crucial for proper curing.
After applying each layer, cure it according to your lamp’s instructions—usually between 30 seconds to 60 seconds for LED lamps, and two minutes for UV lamps. Keep in mind that the thumb may need separate curing if it doesn’t lay flat alongside the other nails due to the lamp’s design. As a pro-tip, avoid applying gel polish too closely to the skin or cuticle line as this can cause lifting and peeling.
Maintaining Your Gel Manicure for Lasting Results
How long for gel nail polish to dry? Preserve the beauty of your gel nails by maintaining them properly. Wear gloves while doing household chores to protect your manicure from harsh chemicals and hot water. When applying lotions or oils, avoid direct contact with your gel nails as they can cause dullness or become a potential lifting point.
Use cuticle oil to keep your nails and the skin around them healthy and to prevent hangnails. Should you notice any chips or lifting, resist the temptation to peel or pick at the polish. This can cause damage to the natural nail underneath. Instead, visit a professional for a touch-up or removal.
In summary, proper preparation, careful application, and regular maintenance are key for drying gel nail polish and achieving a professional quality, long-lasting gel manicure. Whether you’re at home or in the salon, these tips are sure to help you perfect your gel nail routine.
The Waiting Game: How to Test if Your Gel Polish is Dry
Impatience is natural, but jumping the gun can ruin your manicure. Here’s how to test if your gel nails are truly cured:
- The Touch Test: Gently tap the surface of your nails with a fingertip. If it feels hard, smooth, and doesn’t leave any fingerprints, it’s likely cured.
- The Shine Test: Cured gel polish should have a high-gloss shine. If it appears dull or tacky, it needs more time under the lamp.
- The Stick Test: Gently press a lint-free wipe on your nails. If it comes away clean, your gel is dry. If it picks up any color or leaves a smudge, it’s not ready yet.
Common Mistakes That Delay Drying Time
How long for gel nail polish to dry?Avoid these common pitfalls that can slow down the curing process:
- Thick Coats: Applying thick layers of gel polish can hinder proper curing. Always apply thin, even coats.
- Contamination: Dust, oils, or lotion on your nails can interfere with curing. Ensure your nails are clean and dry before applying each layer.
- Old Bulbs: If you’re using a UV lamp, old or weak bulbs might not emit enough light to cure the gel properly. Replace bulbs according to the manufacturer’s recommendations.
- Improper Lamp Placement: Make sure your hand is positioned correctly under the lamp so that all nails receive equal exposure.
- Inadequate Curing Time: Don’t cut corners!