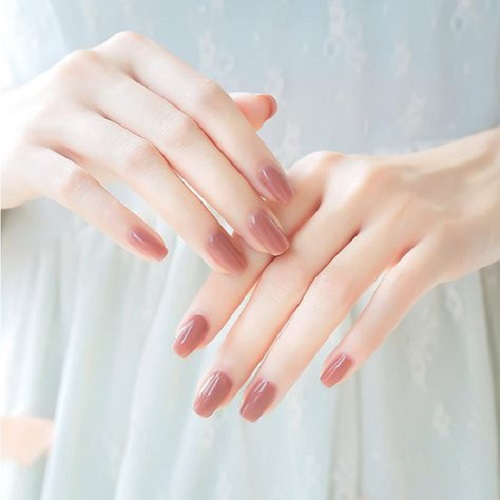
Gel nail polish is a popular choice for those who want a chip-resistant, long-lasting manicure. However, applying gel polish requires a special curing light and specific removal process. If you’re new to gel polish, this guide will walk you through everything you need to know to achieve a salon-quality manicure from home.
What You’ll Need for a Gel Manicure
Before you dive in, gather the necessary supplies:
- Gel base coat: This creates a foundation for the gel color and helps it adhere to your nails.
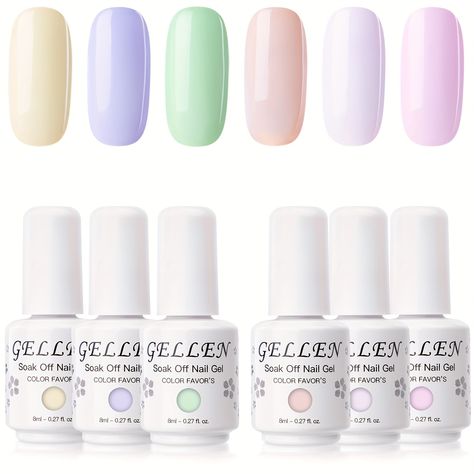
- Gel polish in your desired color(s): Choose colors that complement your skin tone and outfit.
- Gel top coat: This seals the color and protects your manicure from chipping.
- UV or LED curing lamp: This lamp cures the gel polish, hardening it under light.
- Nail file: To gently buff and shape your nails before application.
- Nail polish remover: You’ll need non-acetone remover for gel polish.
- Cotton balls or wipes: To remove any polish mistakes or for cleaning up after removal.
- Buffer: This is optional, but helps smooth out the nail surface for better polish application.
- Cuticle oil: Moisturizes cuticles and keeps them healthy.
Preparing Your Nails for Gel Polish
Once you have your supplies, prep your nails for a flawless application:
Remove any old polish.
Make sure your nails are completely bare and free of any oils or debris.
Trim and shape your nails.
Use nail clippers or scissors to trim your nails to your desired length. Then, file them into a square shape with a nail file.
Gently buff the nail surface.
Buffing creates a slightly rough surface for the gel polish to adhere to better. Avoid over-buffing, which can damage your nails.
Push back your cuticles.
Apply cuticle oil and gently push back your cuticles with a cuticle pusher. Trim any excess cuticles with cuticle trimmers (be very careful).
Wipe your nails with alcohol.
This removes any dust or oil left behind from buffing or cuticle care.
Applying Gel Polish
Now that your nails are prepped, you’re ready to apply the gel polish:
- Apply a thin layer of gel base coat. Evenly coat all five nails, making sure to get under the tips. Avoid flooding your cuticles.
- Cure the base coat under the UV/LED lamp. Refer to your lamp’s instructions for the specific curing time, typically 30-60 seconds.
- Apply a thin layer of gel color. Use smooth, even strokes to coat your entire nail. Again, avoid touching your cuticles.
- Cure the gel color under the lamp. Repeat this step for a second coat of gel color for a more opaque look.
- Apply a thin layer of gel top coat. This seals the color and protects your manicure. Cure under the lamp according to the instructions.
- Clean up any polish mistakes. Use a cotton swab dipped in non-acetone nail polish remover to carefully remove any polish that landed on your skin.
Removing Gel Polish Safely
When it’s time to remove your gel polish, avoid peeling it off, which can damage your nails. Here’s the safe removal process:
- File the top coat. Buff the top coat gently to remove the glossy shine. This helps the remover penetrate the gel layers.
- Soak your nails in non-acetone remover. Saturate cotton balls with non-acetone remover and place them on each nail. Wrap each fingertip in foil to hold the cotton balls in place.
- Let your nails soak for 10-15 minutes. Check on your nails periodically. The gel polish should start to lift and wrinkle.
- Gently push off the softened gel polish. Use a cuticle pusher or orangewood stick to gently push off the softened gel polish from your nails. Don’t scrape or pry if the polish isn’t ready to come off.
- Buff away any remaining gel residue. You can use a nail buffer to remove any leftover gel particles on your nails.
- Moisturize your nails and cuticles. Apply cuticle oil to hydrate your nails and cuticles after the removal process.
Tips for a Long-Lasting Gel Manicure
Here are some extra tips to ensure your gel manicure lasts:
- Wear gloves when doing housework or chores that can damage your nails.
- Avoid prolonged contact with hot water. This can weaken the gel polish.
H2: Gel Manicure Aftercare and Safety
Once you’ve achieved your beautiful gel manicure, proper care will extend its lifespan and keep your nails healthy. Here are some aftercare practices:
- Moisturize regularly. Apply cuticle oil to keep your nails and cuticles hydrated and prevent dryness.
- Wear gloves for protection. Protect your nails when doing chores like cleaning or washing dishes that can expose them to harsh chemicals or moisture.
- Avoid using your nails as tools. Don’t pry open objects or use your nails for tasks that can cause chipping or breaking.
- Be mindful of removal. When removing gel polish, follow the recommended removal process carefully to avoid damaging your nails.
Alternatives to Gel Polish
While gel polish offers a long-lasting manicure, there are alternative options to consider:
- Regular nail polish: Traditional nail polish provides a variety of colors and finishes, though it may chip sooner than gel polish.
- Nail wraps: Pre-designed nail wraps offer an easy and convenient way to achieve salon-looking nails at home. They typically don’t last as long as gel polish but can be a good option for temporary nail art.
- Buff and shine: For a natural look, you can simply buff your nails to a healthy shine.
Gel Polish Application Troubleshooting
Even with careful application, minor issues can arise. Here’s how to address some common gel manicure mishaps:
-
Polish Pooling Around Cuticles: Apply a thinner layer of gel polish. Use a cuticle pusher to gently push back any excess polish before curing.
-
Uneven Cure: Ensure all your nails are positioned evenly under the lamp during curing. Consider rotating your hand for better exposure.
-
Bumpy Nails: File the nail surface gently with a buffer to smooth out any ridges before applying the base coat.
-
Smudges: If you accidentally smudge wet polish, use a cotton swab dipped in non-acetone remover to gently remove it immediately. Be careful not to touch the surrounding painted area.
Conclusion
Gel nail polish can be a fun and convenient way to achieve beautiful, long-lasting manicures at home. By following the proper application and removal techniques, you can enjoy chip-resistant nails for weeks. Remember to prioritize nail health by using proper aftercare practices and consider alternative options when needed.