Cat eye nail polish creates a mesmerizing, glamorous look on nails. The key to achieving this effect lies in using a special type of polish and a magnet. This article will walk you through everything you need to know about using cat eye nail polish, from gathering your supplies to achieving a flawless finish.
Assembling Your Cat Eye Kit
Before you dive into creating your cat eye masterpiece, here’s what you’ll need:
Base coat:
Apply a base coat to protect your nails and create a smooth canvas for the polish.
Cat eye nail polish:
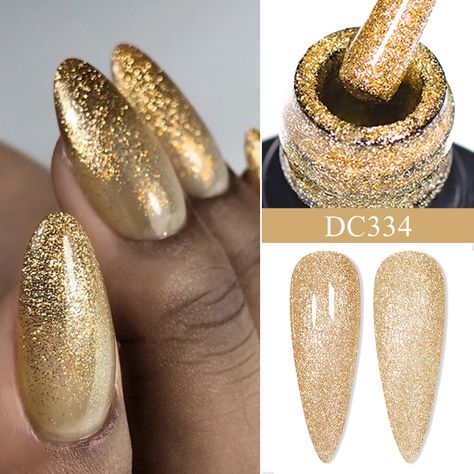
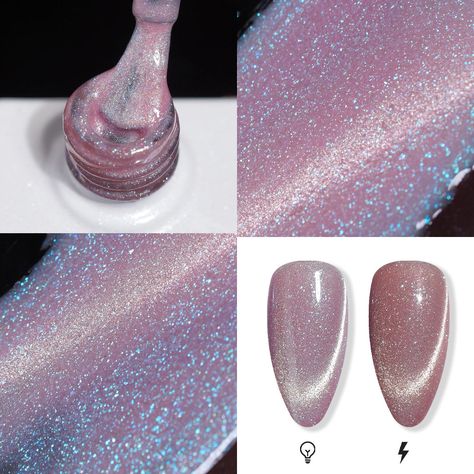
This polish contains magnetic particles that respond to a magnet, creating the signature cat eye effect. Cat eye polishes come in a variety of colors, so you can choose a shade that suits your style.
Magnet:
The magnet used with cat eye polish has a distinctive striped pattern. It’s important to use the magnet that comes with your specific polish, as different magnets create different effects.
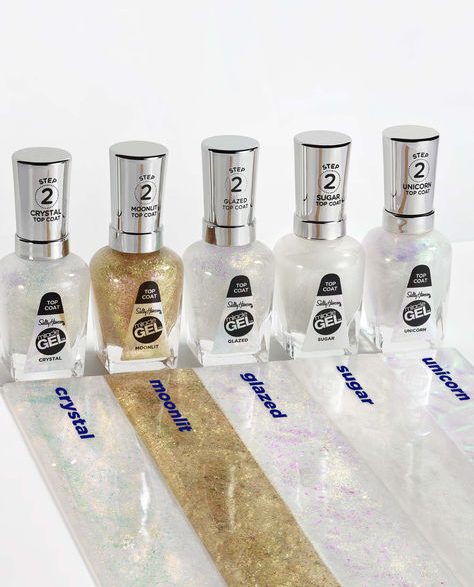
Top coat:
A top coat seals your manicure, protects the polish from chipping, and adds a glossy shine.
-
Optional: Nail polish remover, cotton swabs, cleanup brush

Applying the Base Coat
-
Wash your hands thoroughly and remove any existing nail polish.
-
Apply a thin layer of base coat to all your nails. Ensure you coat the tips of your nails as well.
-
Let the base coat dry completely according to the product instructions.
Creating the Cat Eye Effect
-
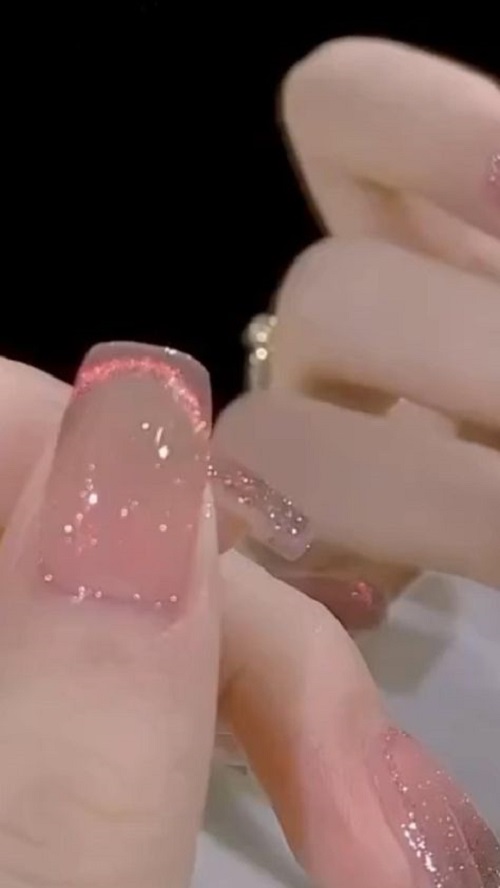
Once the base coat is dry, apply a thin coat of your chosen cat eye polish to each nail.
-
Here comes the key step: While the cat eye polish is still wet, hold the magnet near your nail, keeping a distance of about 2-3 millimeters. The ideal distance may vary depending on your polish, so experiment a bit to find the sweet spot.
-
Hold the magnet in place for a few seconds, allowing the magnetic particles in the polish to react and form the cat eye effect. You can experiment by holding the magnet at different angles to achieve different sized and shaped lines.
-
Apply a second thin coat of cat eye polish if needed to achieve desired opacity. Remember to use the magnet again while the polish is wet to create the cat eye effect.
-
Tip: If you make a mistake, don’t panic! You can quickly wipe away the wet polish with a cotton swab dipped in nail polish remover and start over on that nail.
Finishing Touches
-
Once you’re satisfied with the cat eye effect on all your nails, apply a layer of top coat to seal the polish and add shine.
-
Let the top coat dry completely before resuming your normal activities.
Caring for Your Cat Eye Manicure
-
To extend the life of your cat eye manicure, avoid chipping by wearing gloves for household chores.
-
Apply a quick-drying top coat every other day to add shine and reinforce the polish.
-
When it’s time to remove your cat eye polish, use a nail polish remover containing acetone. Acetone will remove most cat eye polishes more effectively than non-acetone removers.
Beyond the Basics: Creative Cat Eye Designs
The beauty of cat eye nail polish is its versatility. Here are some ideas to spark your creativity:
-
Try different color combinations: Experiment with using a base coat in a contrasting color for a bolder look.
-
Add nail art accents: Once the cat eye effect is dry, you can add stripes, dots, or other nail art designs using regular nail polishes.
-
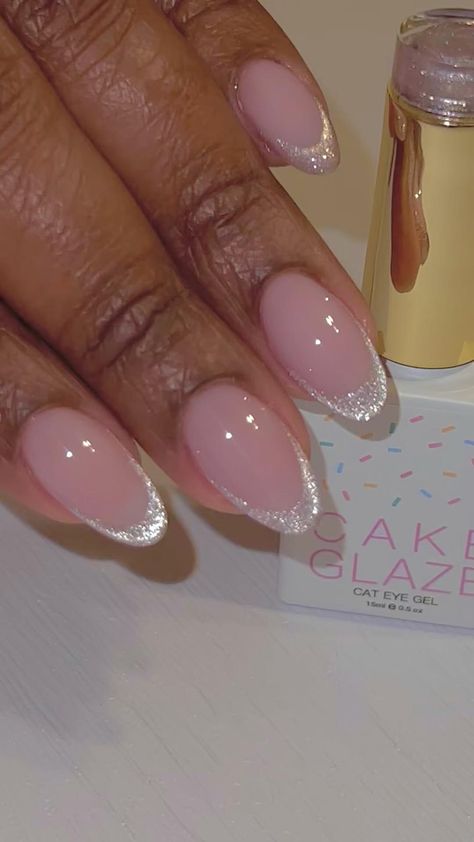
French cat eye: For a twist on the classic French manicure, use a nude or light pink base coat and create a thin cat eye line at the tips of your nails.
With a little practice and these tips, you can achieve stunning cat eye nails that will turn heads.
Perfecting Your Technique: Tips and Tricks
Here are some additional pointers to elevate your cat eye application:
-
Steady hand is key: For the most precise application of the magnet, try bracing your painting hand against a stable surface.
-
Practice on a swatch wheel: Before tackling your nails, experiment with the magnet on a swatch wheel or a fake nail to get comfortable creating the cat eye effect.
-
Clean up mistakes swiftly: Since cat eye polish dries quickly, act fast if you need to correct any wobbly lines. Use a cotton swab dipped in acetone-free nail polish remover to clean up around the edges.
-
Lighting matters: Good lighting helps you see exactly where the magnet is positioned relative to your polish. Natural light or a bright desk lamp work well.
Choosing the Right Cat Eye Polish
Cat eye polishes come in various color options and finishes. Here’s a quick guide to selecting the perfect one for you:
-
Opaque vs. Sheer: Opaque cat eye polishes provide full coverage in one or two coats. Sheers offer a more subtle effect and can be layered over other colors.
-
Color Palette: Go bold with a vibrant cat eye shade, or choose a classic black or silver for a timeless look. Consider your outfit and personal style when picking a color.
-
Finish: Cat eye polishes come in glossy, matte, and even holographic finishes. Explore different options to find your favorite.
Rocking Your Cat Eye Nails
Cat eye nails are a showstopping way to express your style. Here are some ideas for incorporating them into your look:
-
Complement your outfit: Match your cat eye color to your outfit for a cohesive look. For example, pair a teal cat eye with a patterned dress in teal and navy.
-
Accessorize: Don’t forget the rings! Silver or metallic rings can beautifully complement your cat eye manicure.
-
Confidence is key: Own your fabulous cat eye nails! With a little practice and these tips, you’ll be a cat eye nail pro in no time.
By following these steps and unleashing your creativity, you can achieve stunning cat eye nails that will add flair to any look.
Cat eye nail polish is a fun and versatile way to elevate your manicure game. By following these tips and exploring your creativity, you can achieve stunning nails that will add a touch of glamour to any look. Remember, practice makes perfect! So grab your favorite cat eye polish and start experimenting.